
Winkelwagen
U heeft geen artikelen in uw winkelwagen
Painting British armour from the Flames of War Mid-War starter Tobruk
Painting mid-war British armour – Flames of War
Now you’ve picked up your Tobruk Flames of War starter set, you’ve got some British tanks which will need some paint.
So, get your tea on to brew and pull up your knee length socks, it’s time to paint some Brits!
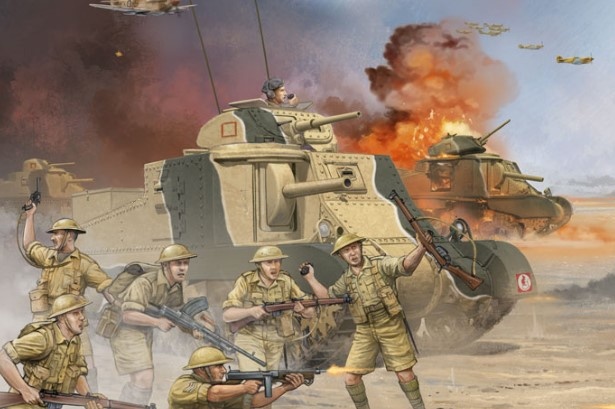
Fun in the Sun
If you’ve yet to see the new Tobruk mid-war starter set for Flames of War, you can read the full review over here. But, for the British you’ll get an impressive array of armour:
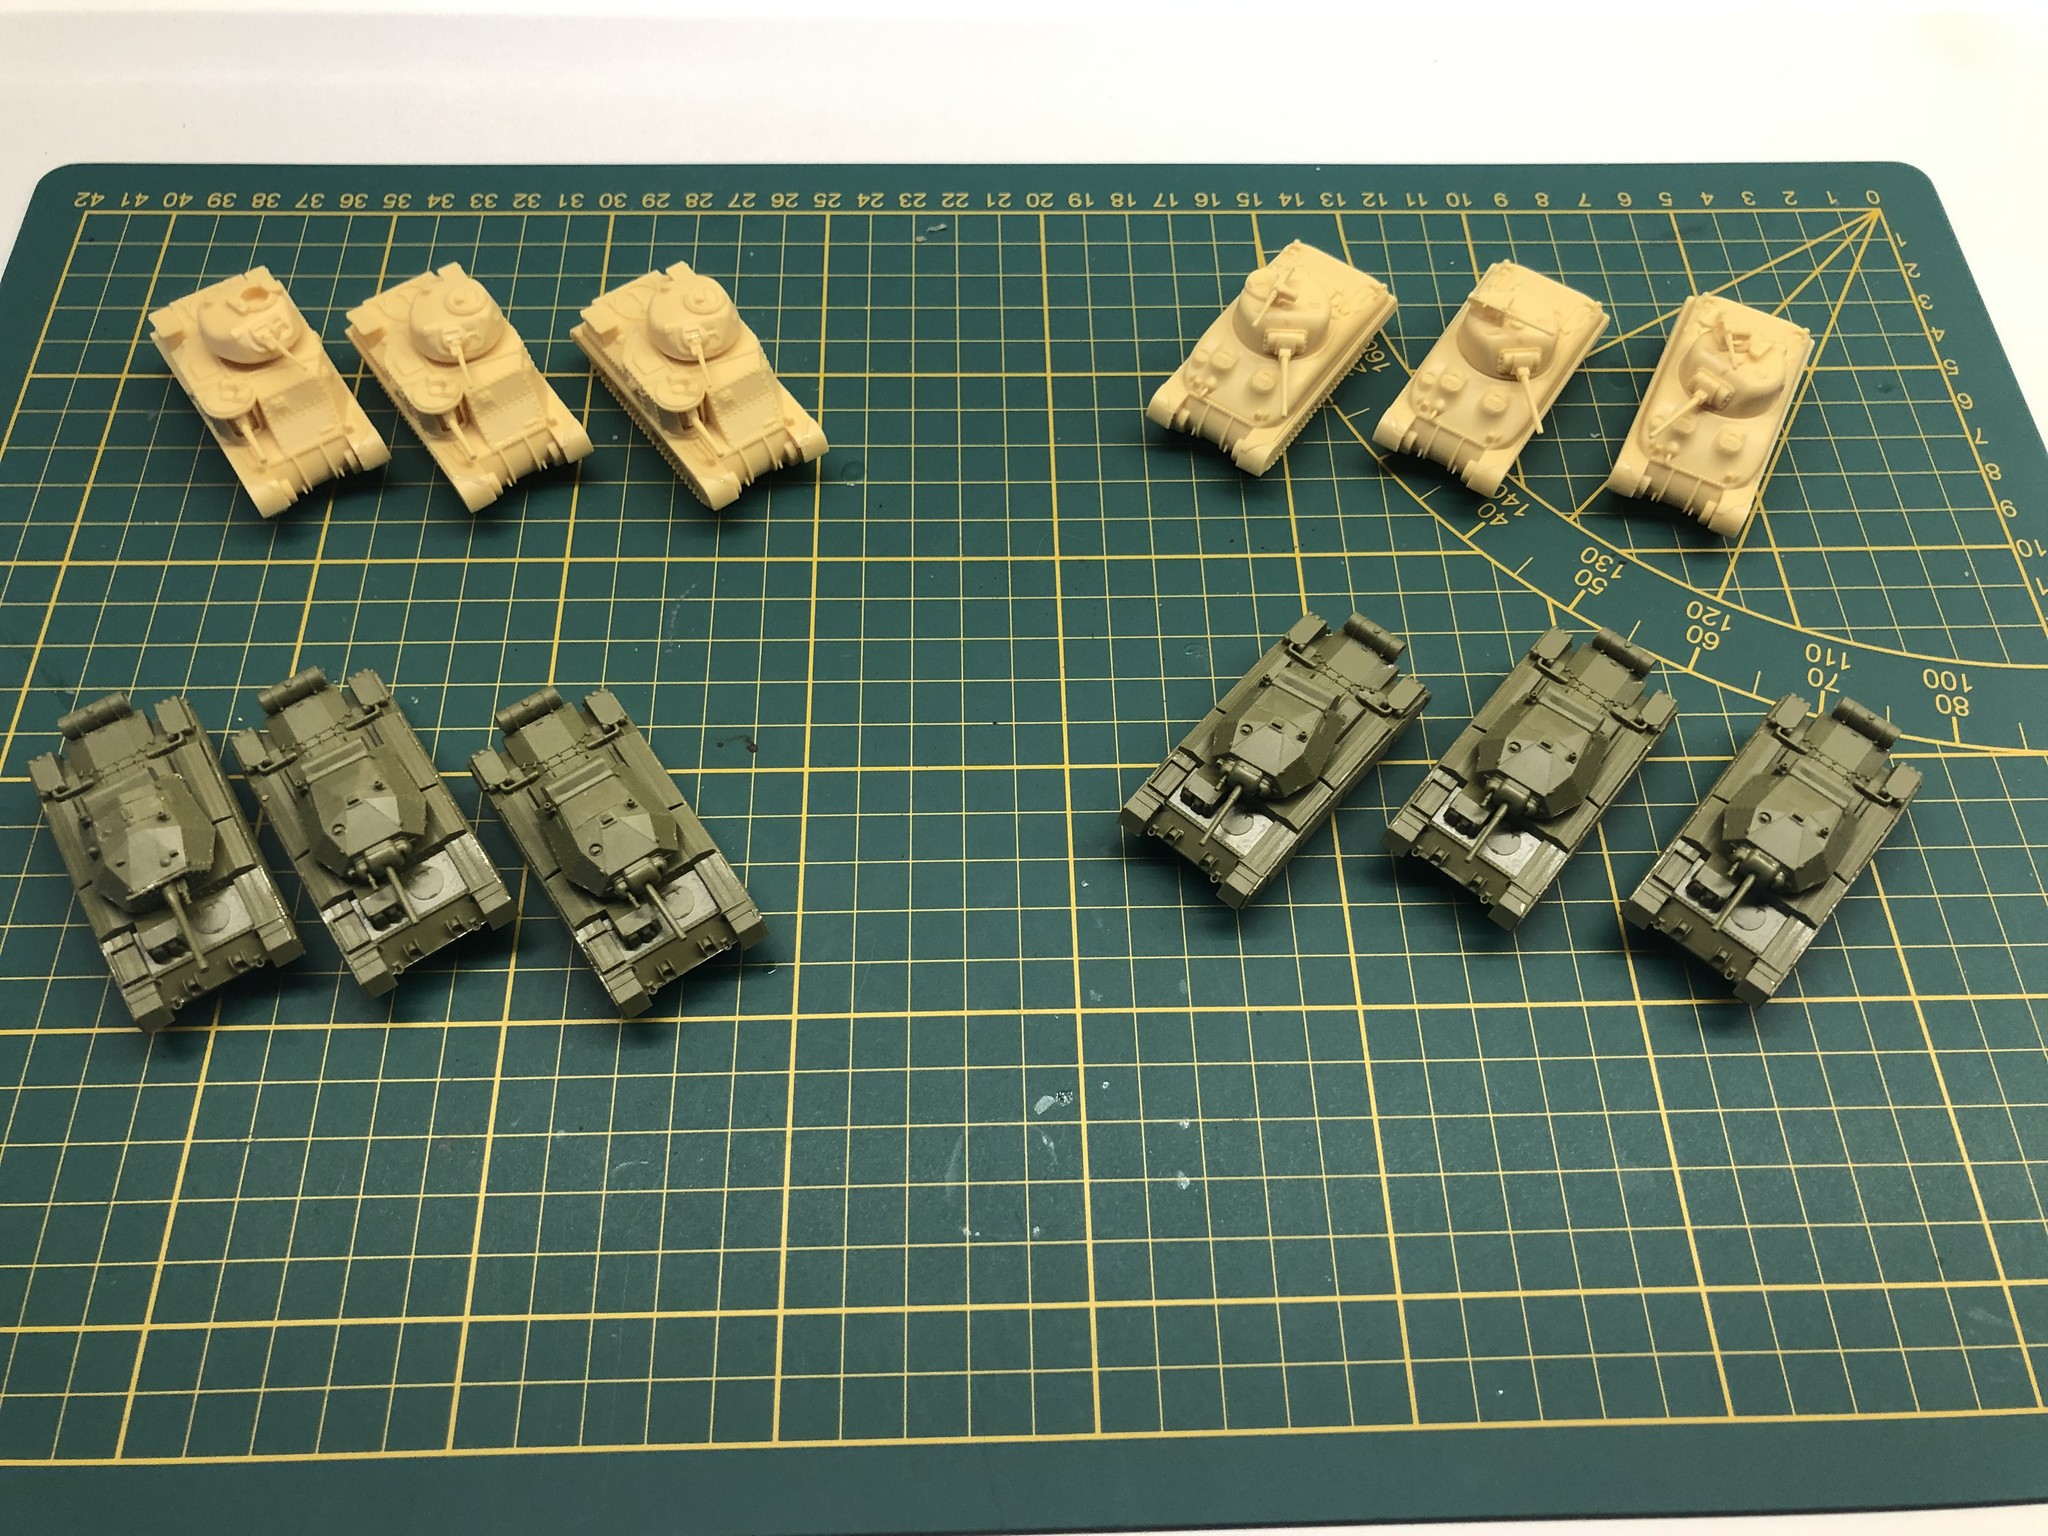
If you don’t know your mid-war British, you’re looking at:
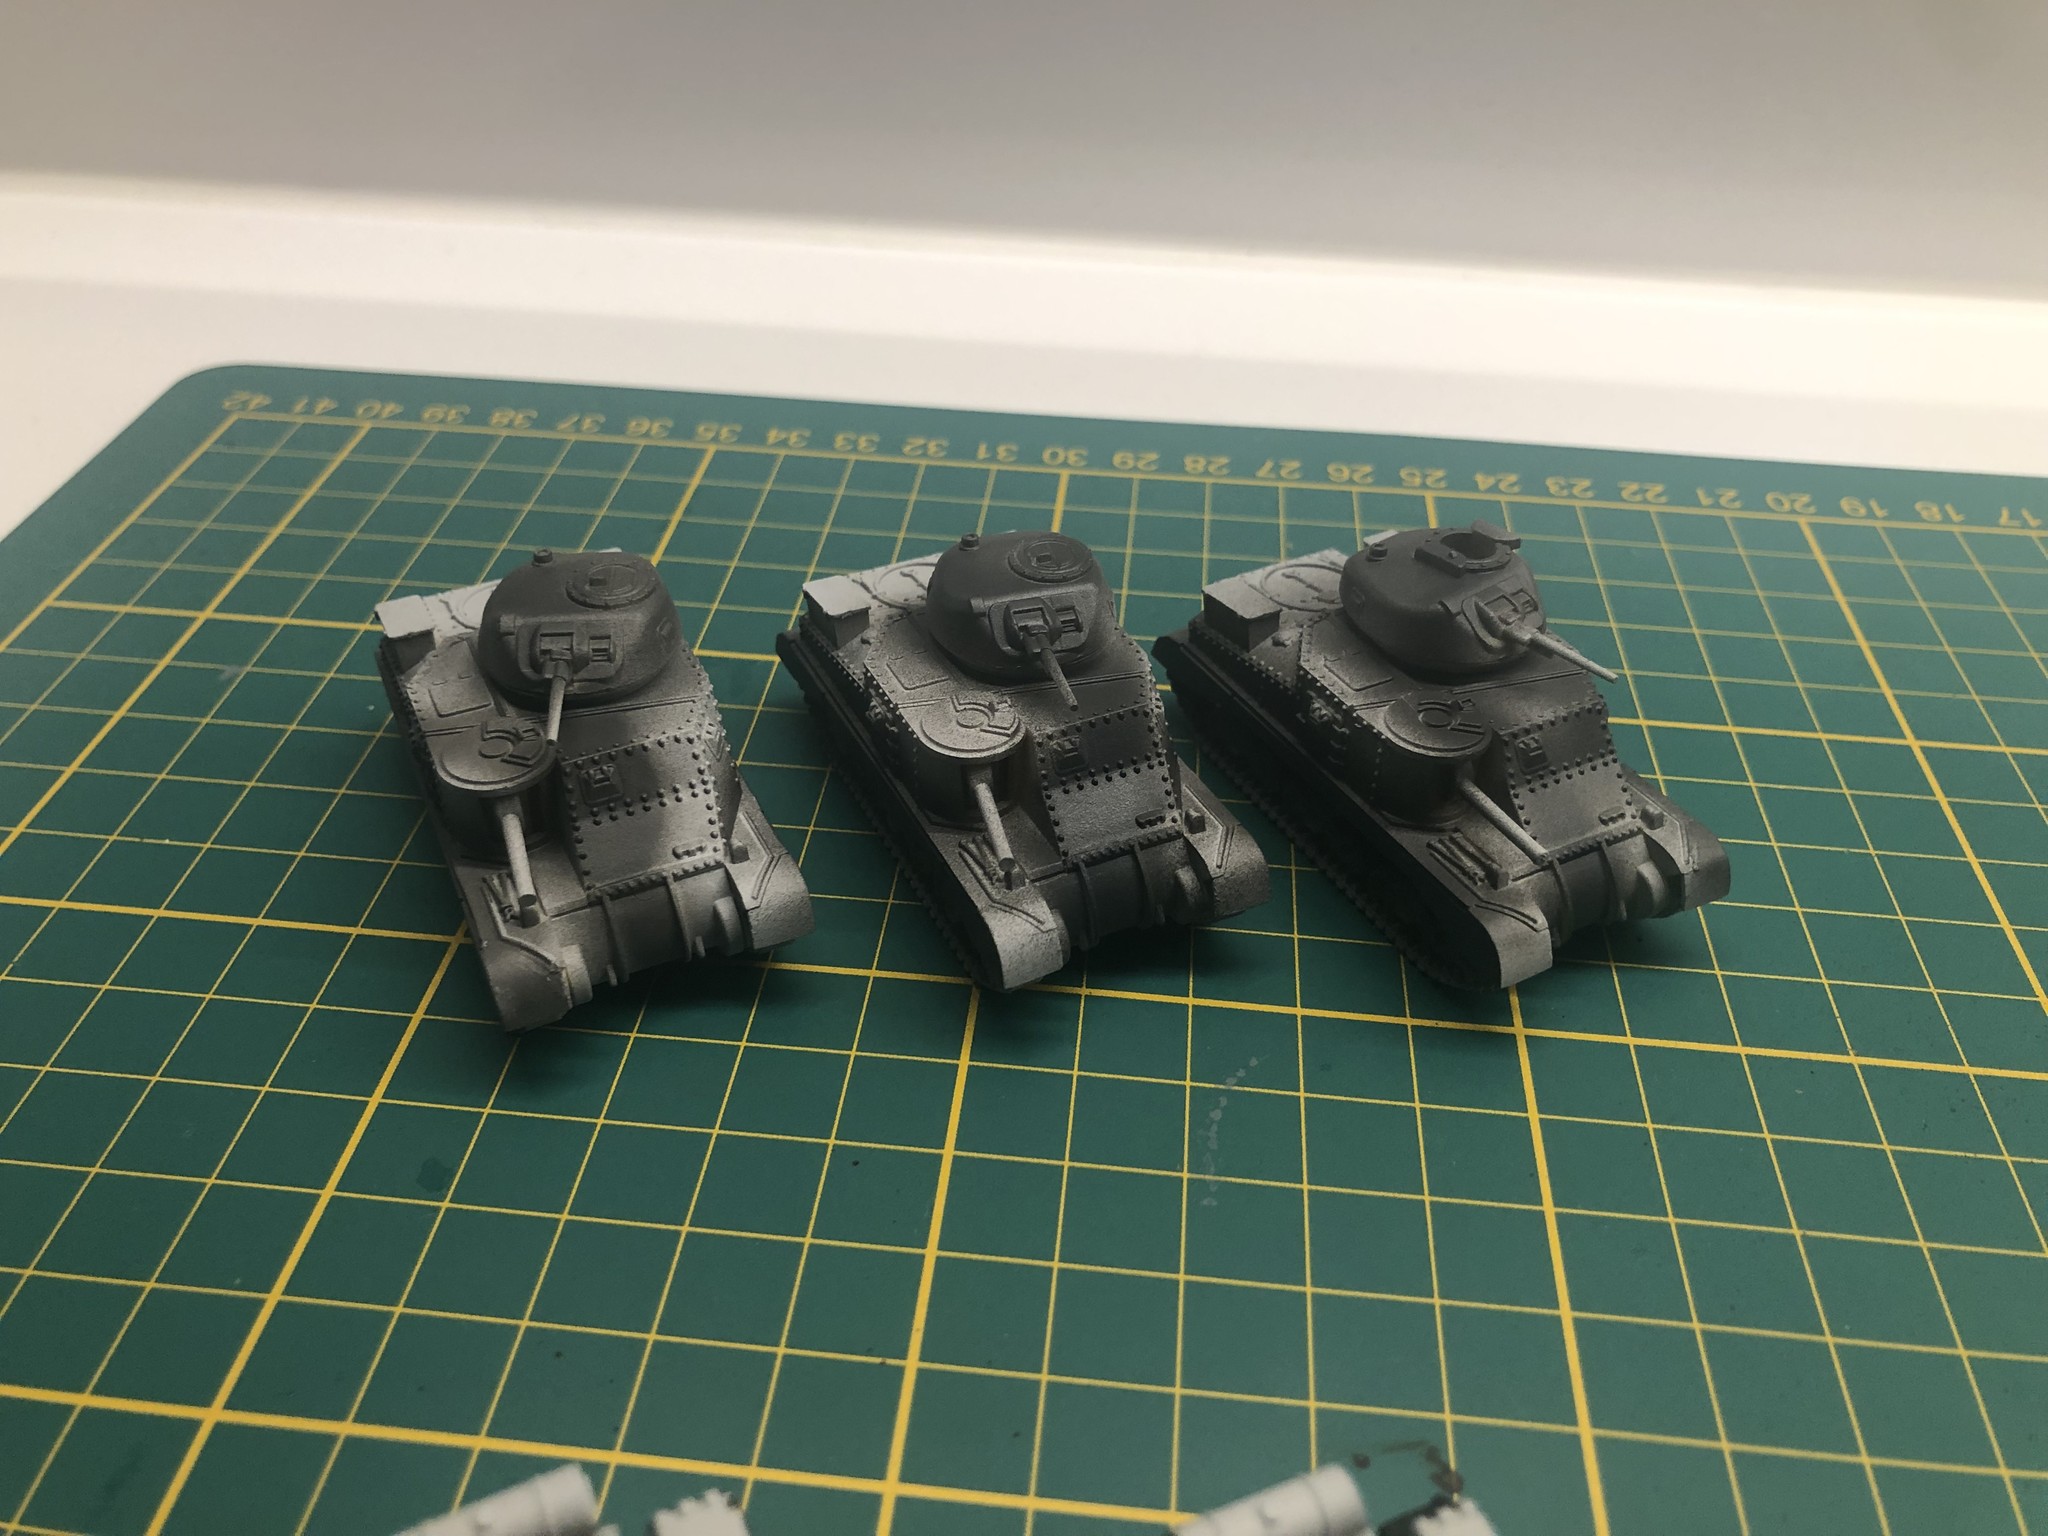
6x Crusader tanks
3x Grant tanks
3x Sherman tanks
An impressive, armoured fist to take on the Italians which also come in the box.
We built these using the instructions in the box. If you’re not sure which type of each tank to make, we’ve included our recommendations of how to build the British Tobruk tanks in the review above.
Let’s get to work….
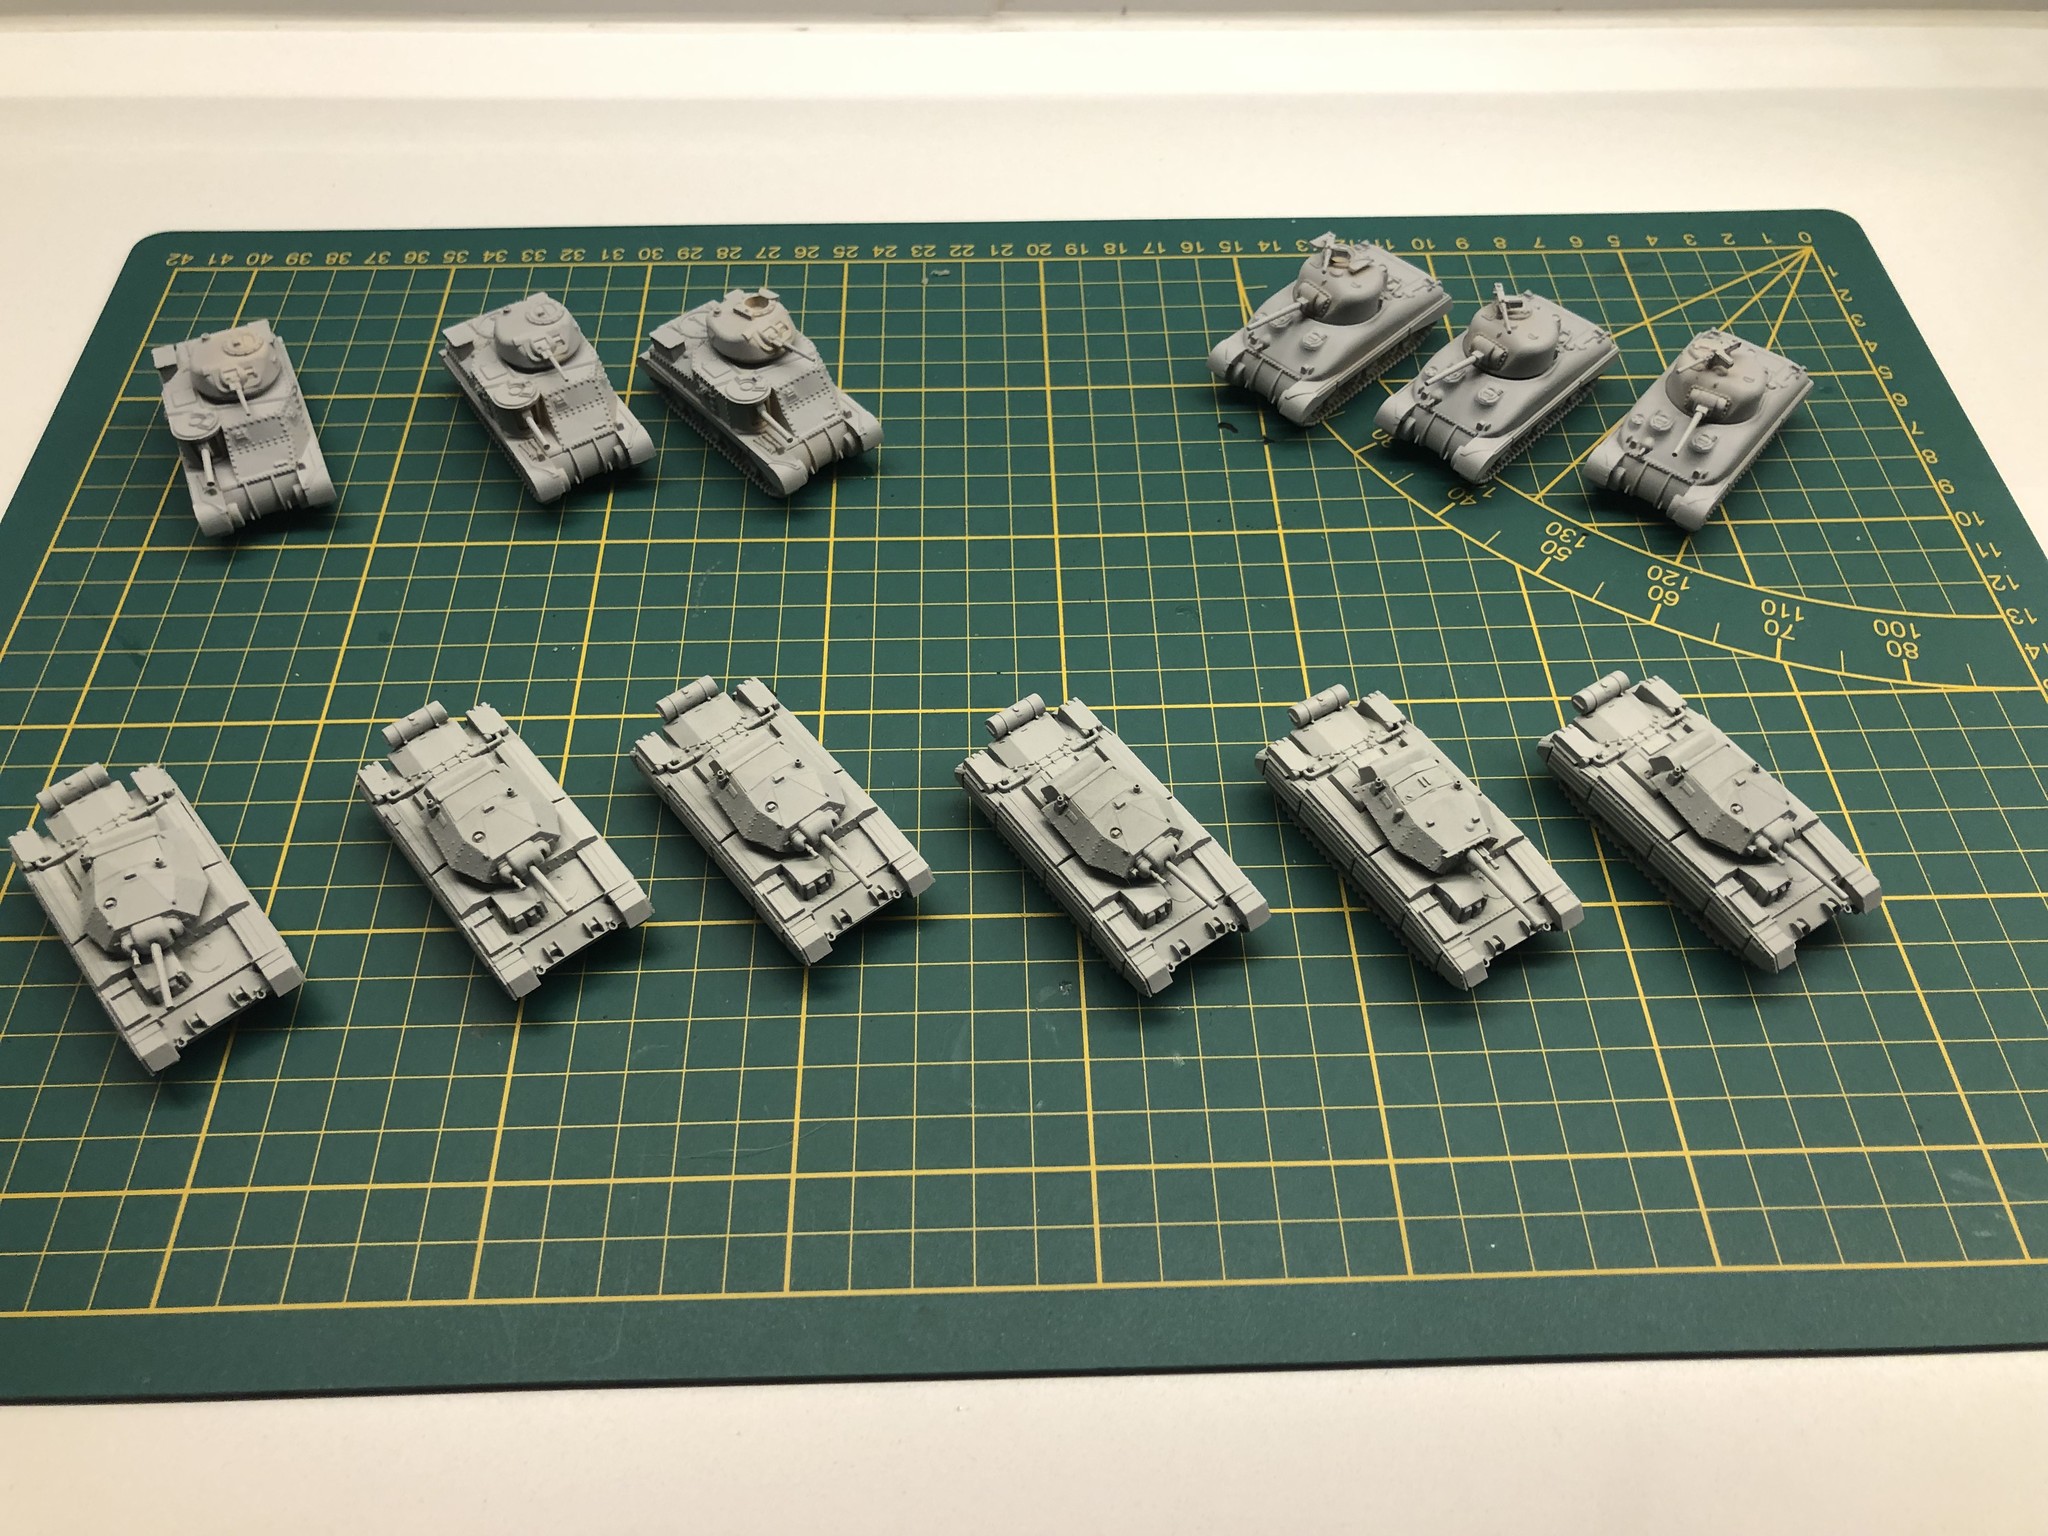
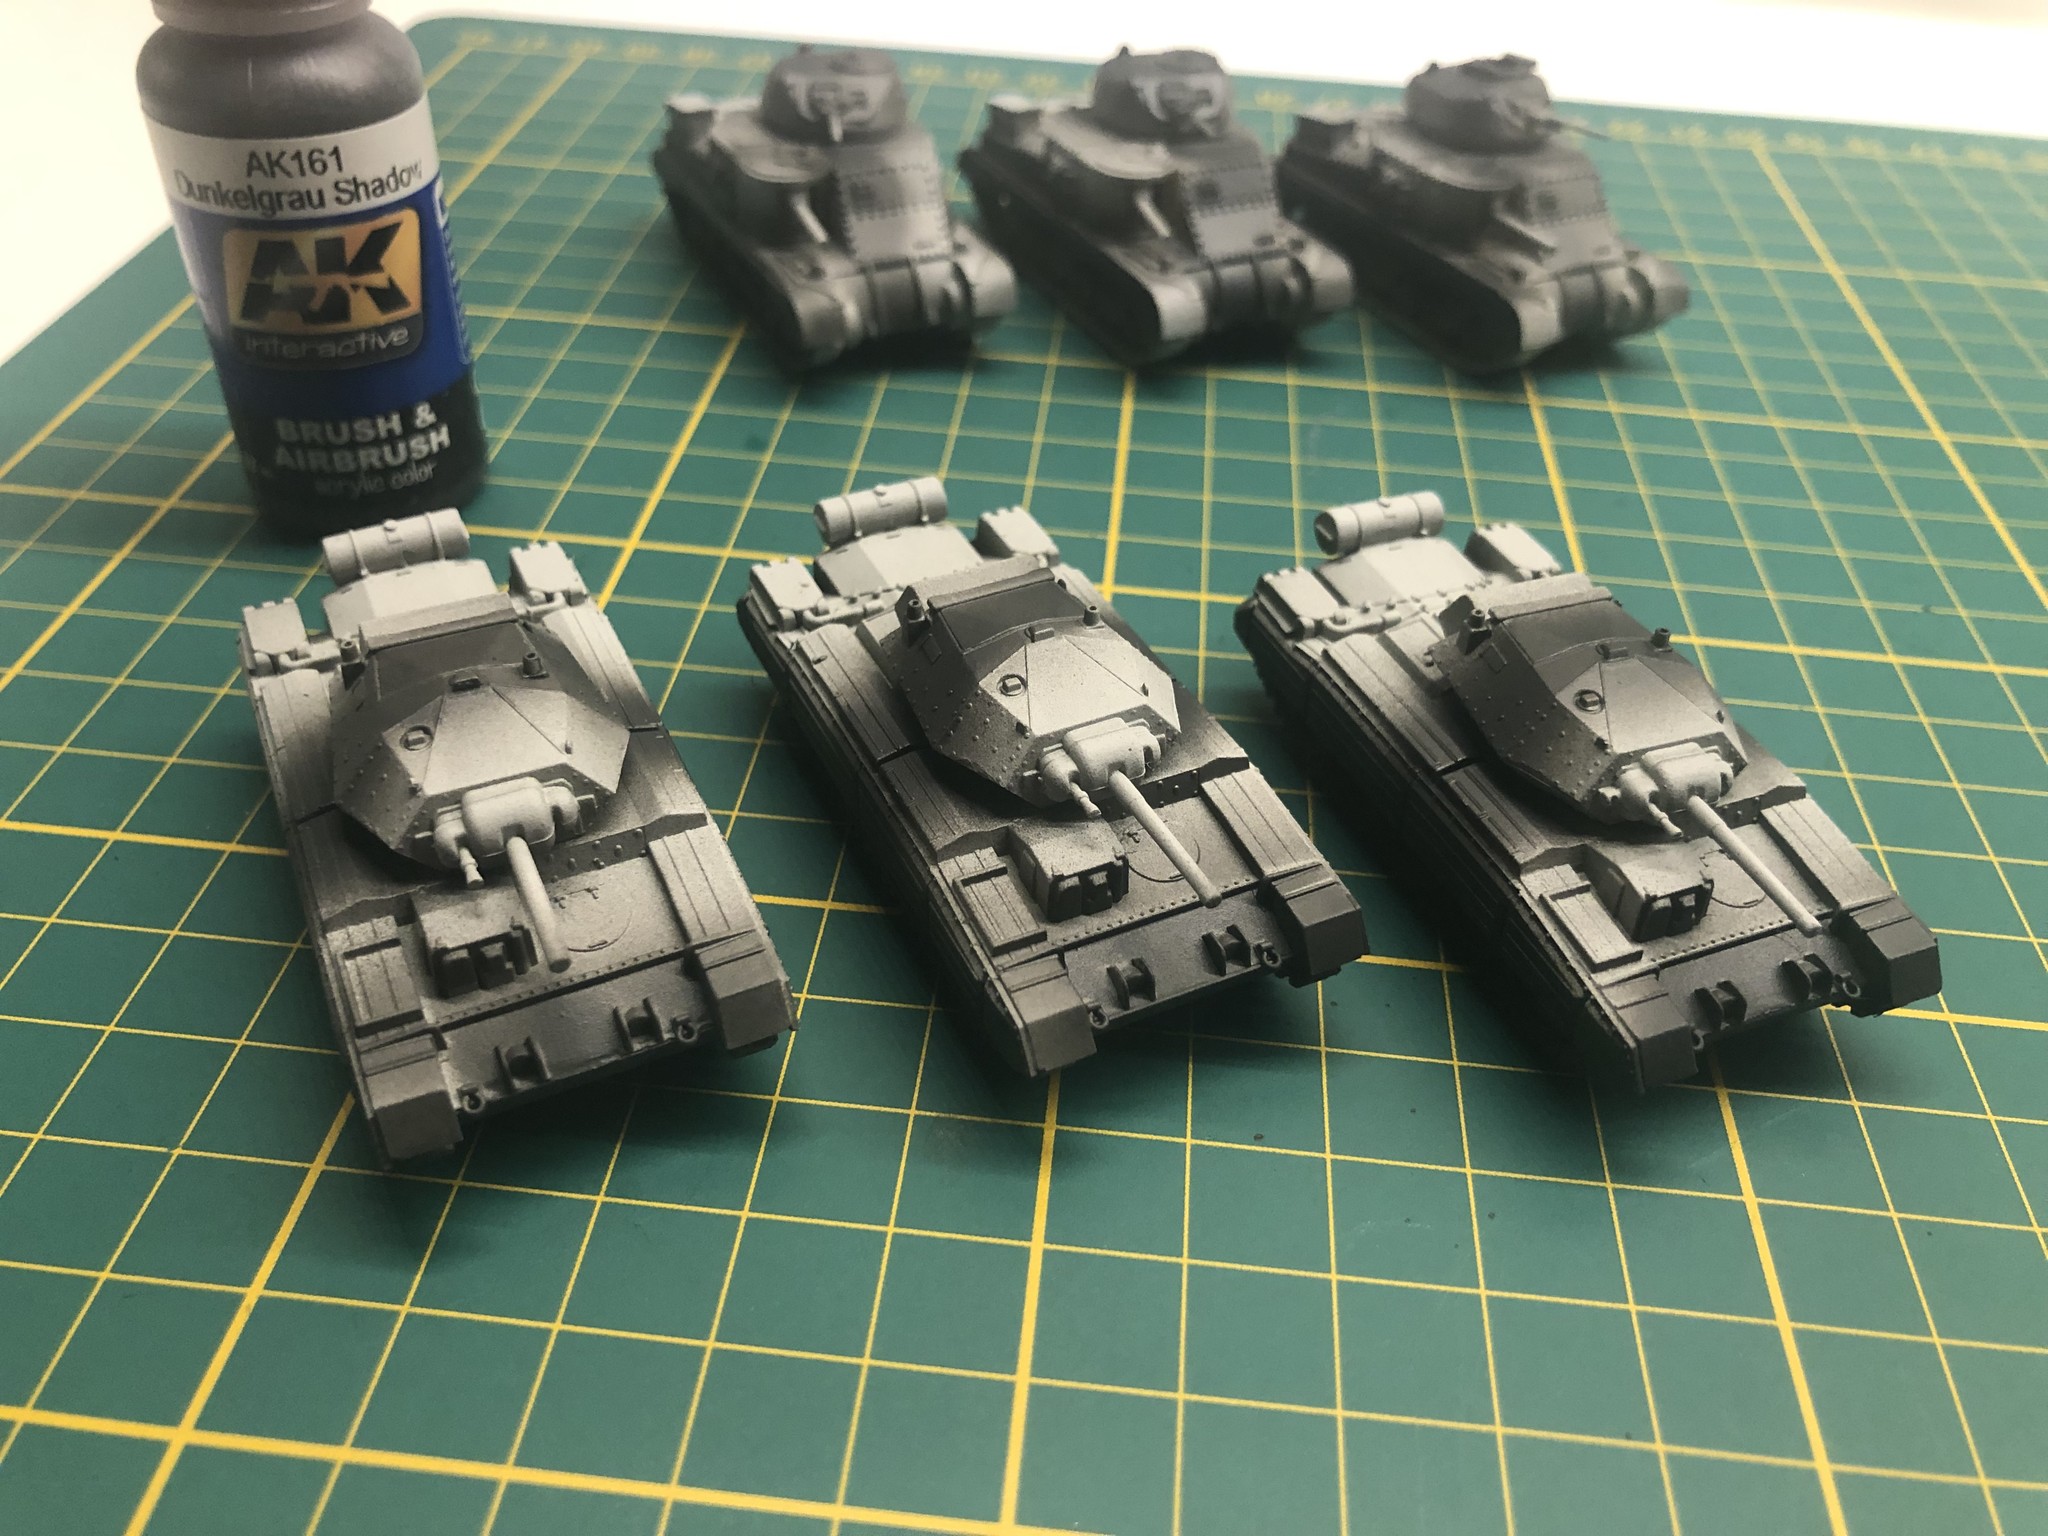
The first step is to put down an all over primer coat. We’ve opted for a light grey as our primer coat.
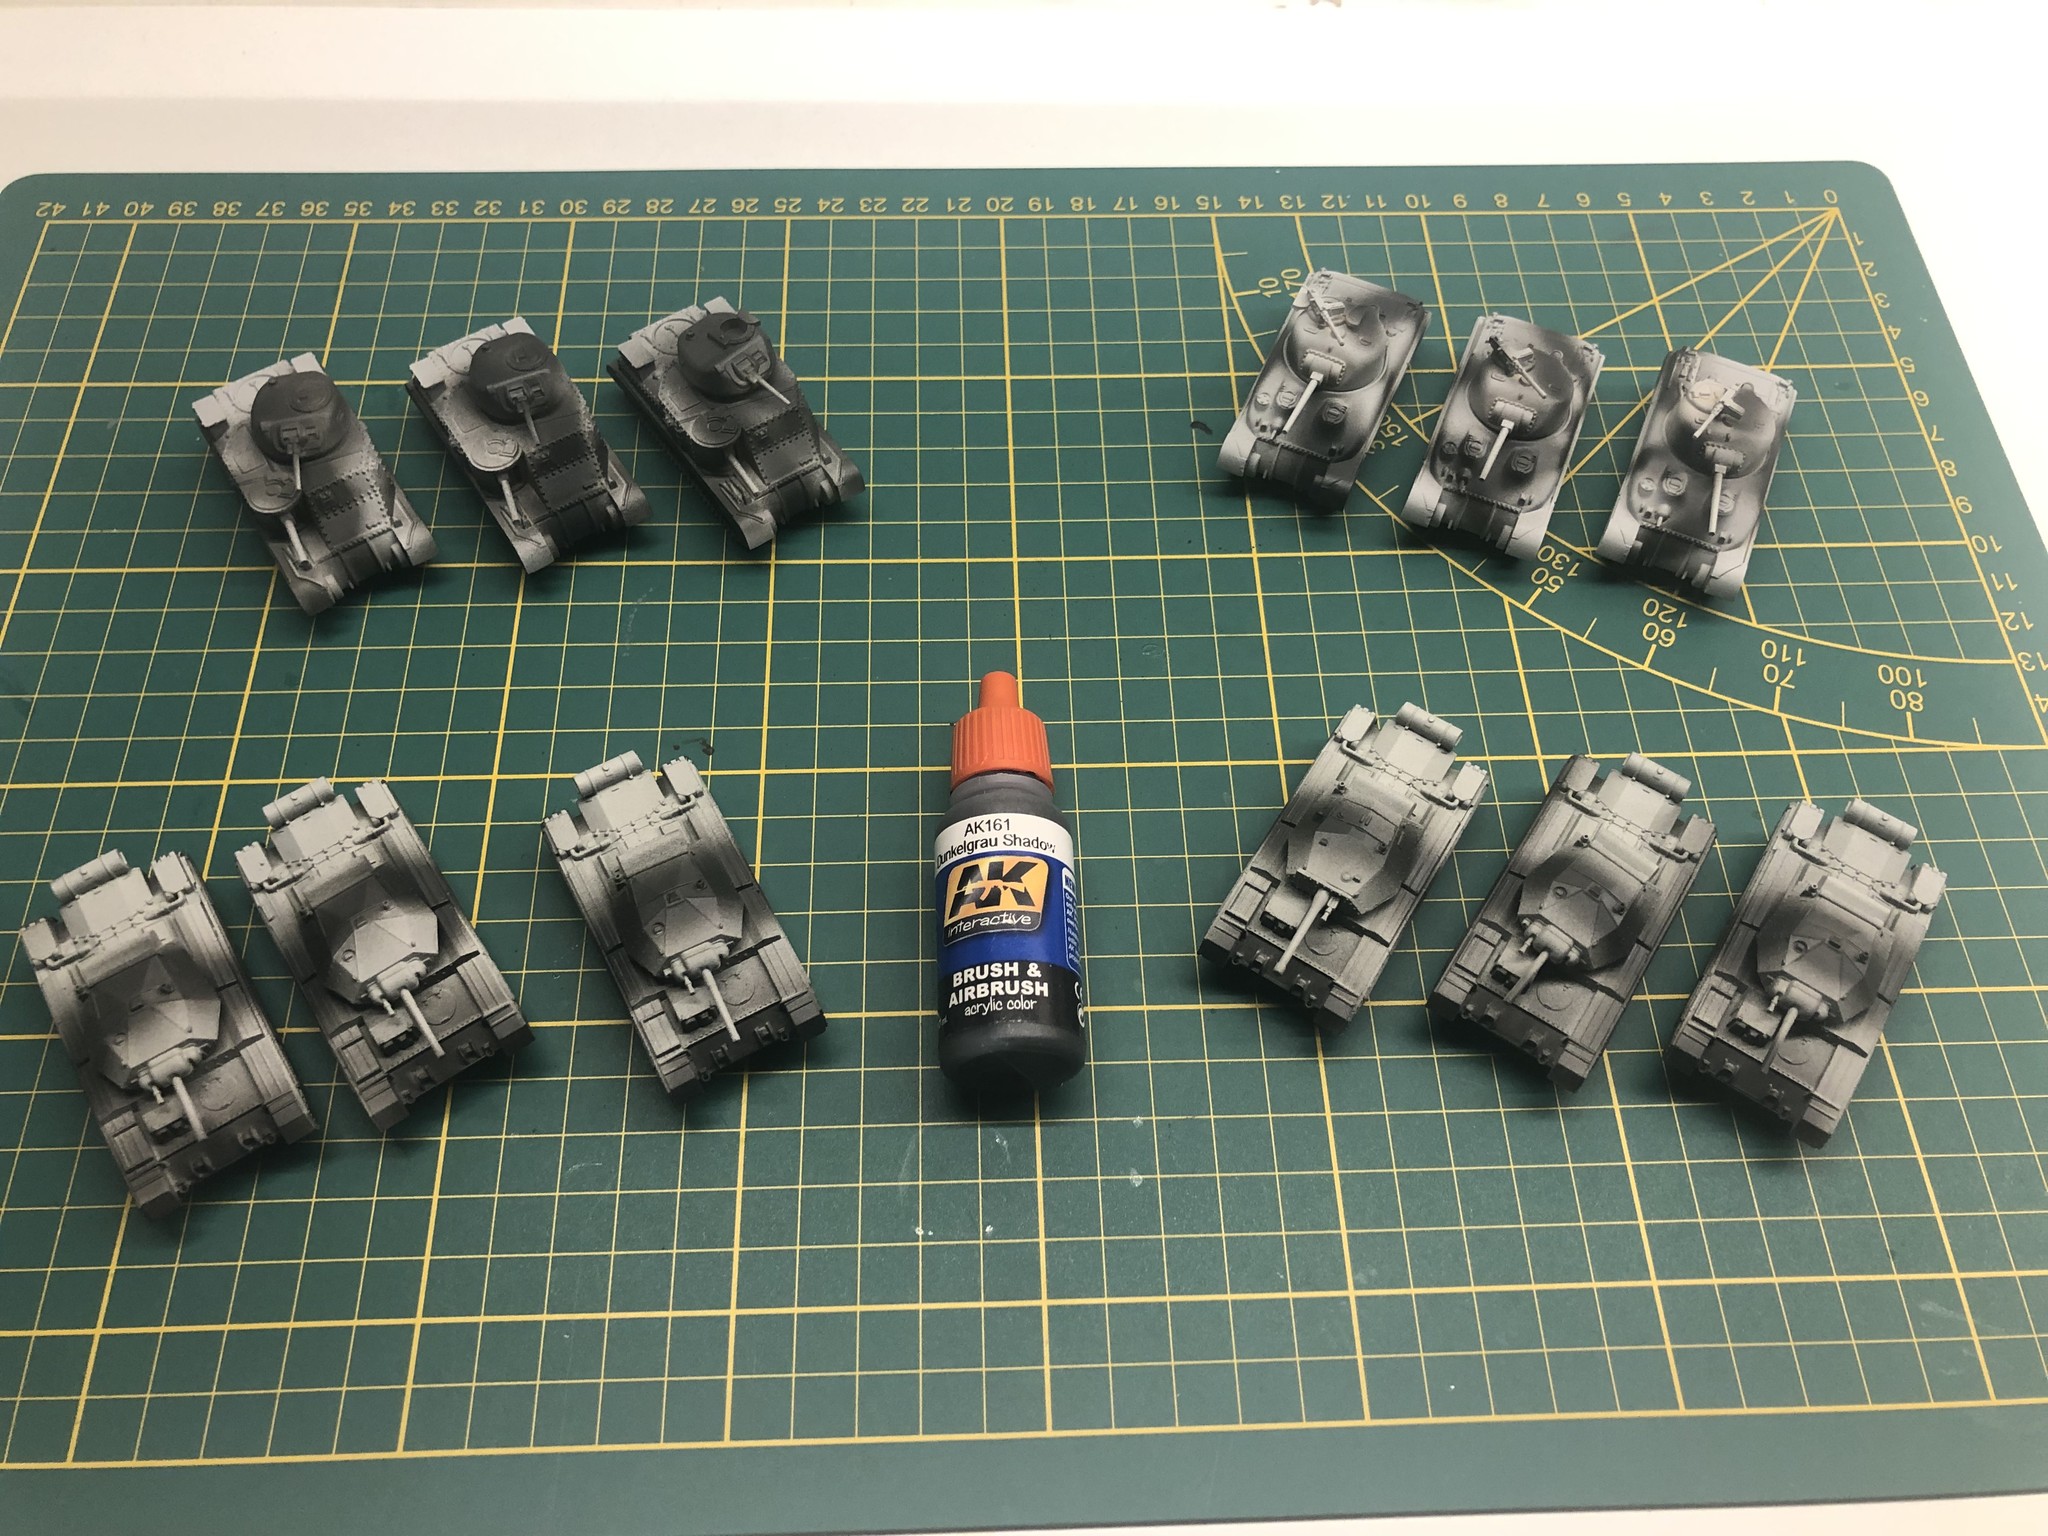
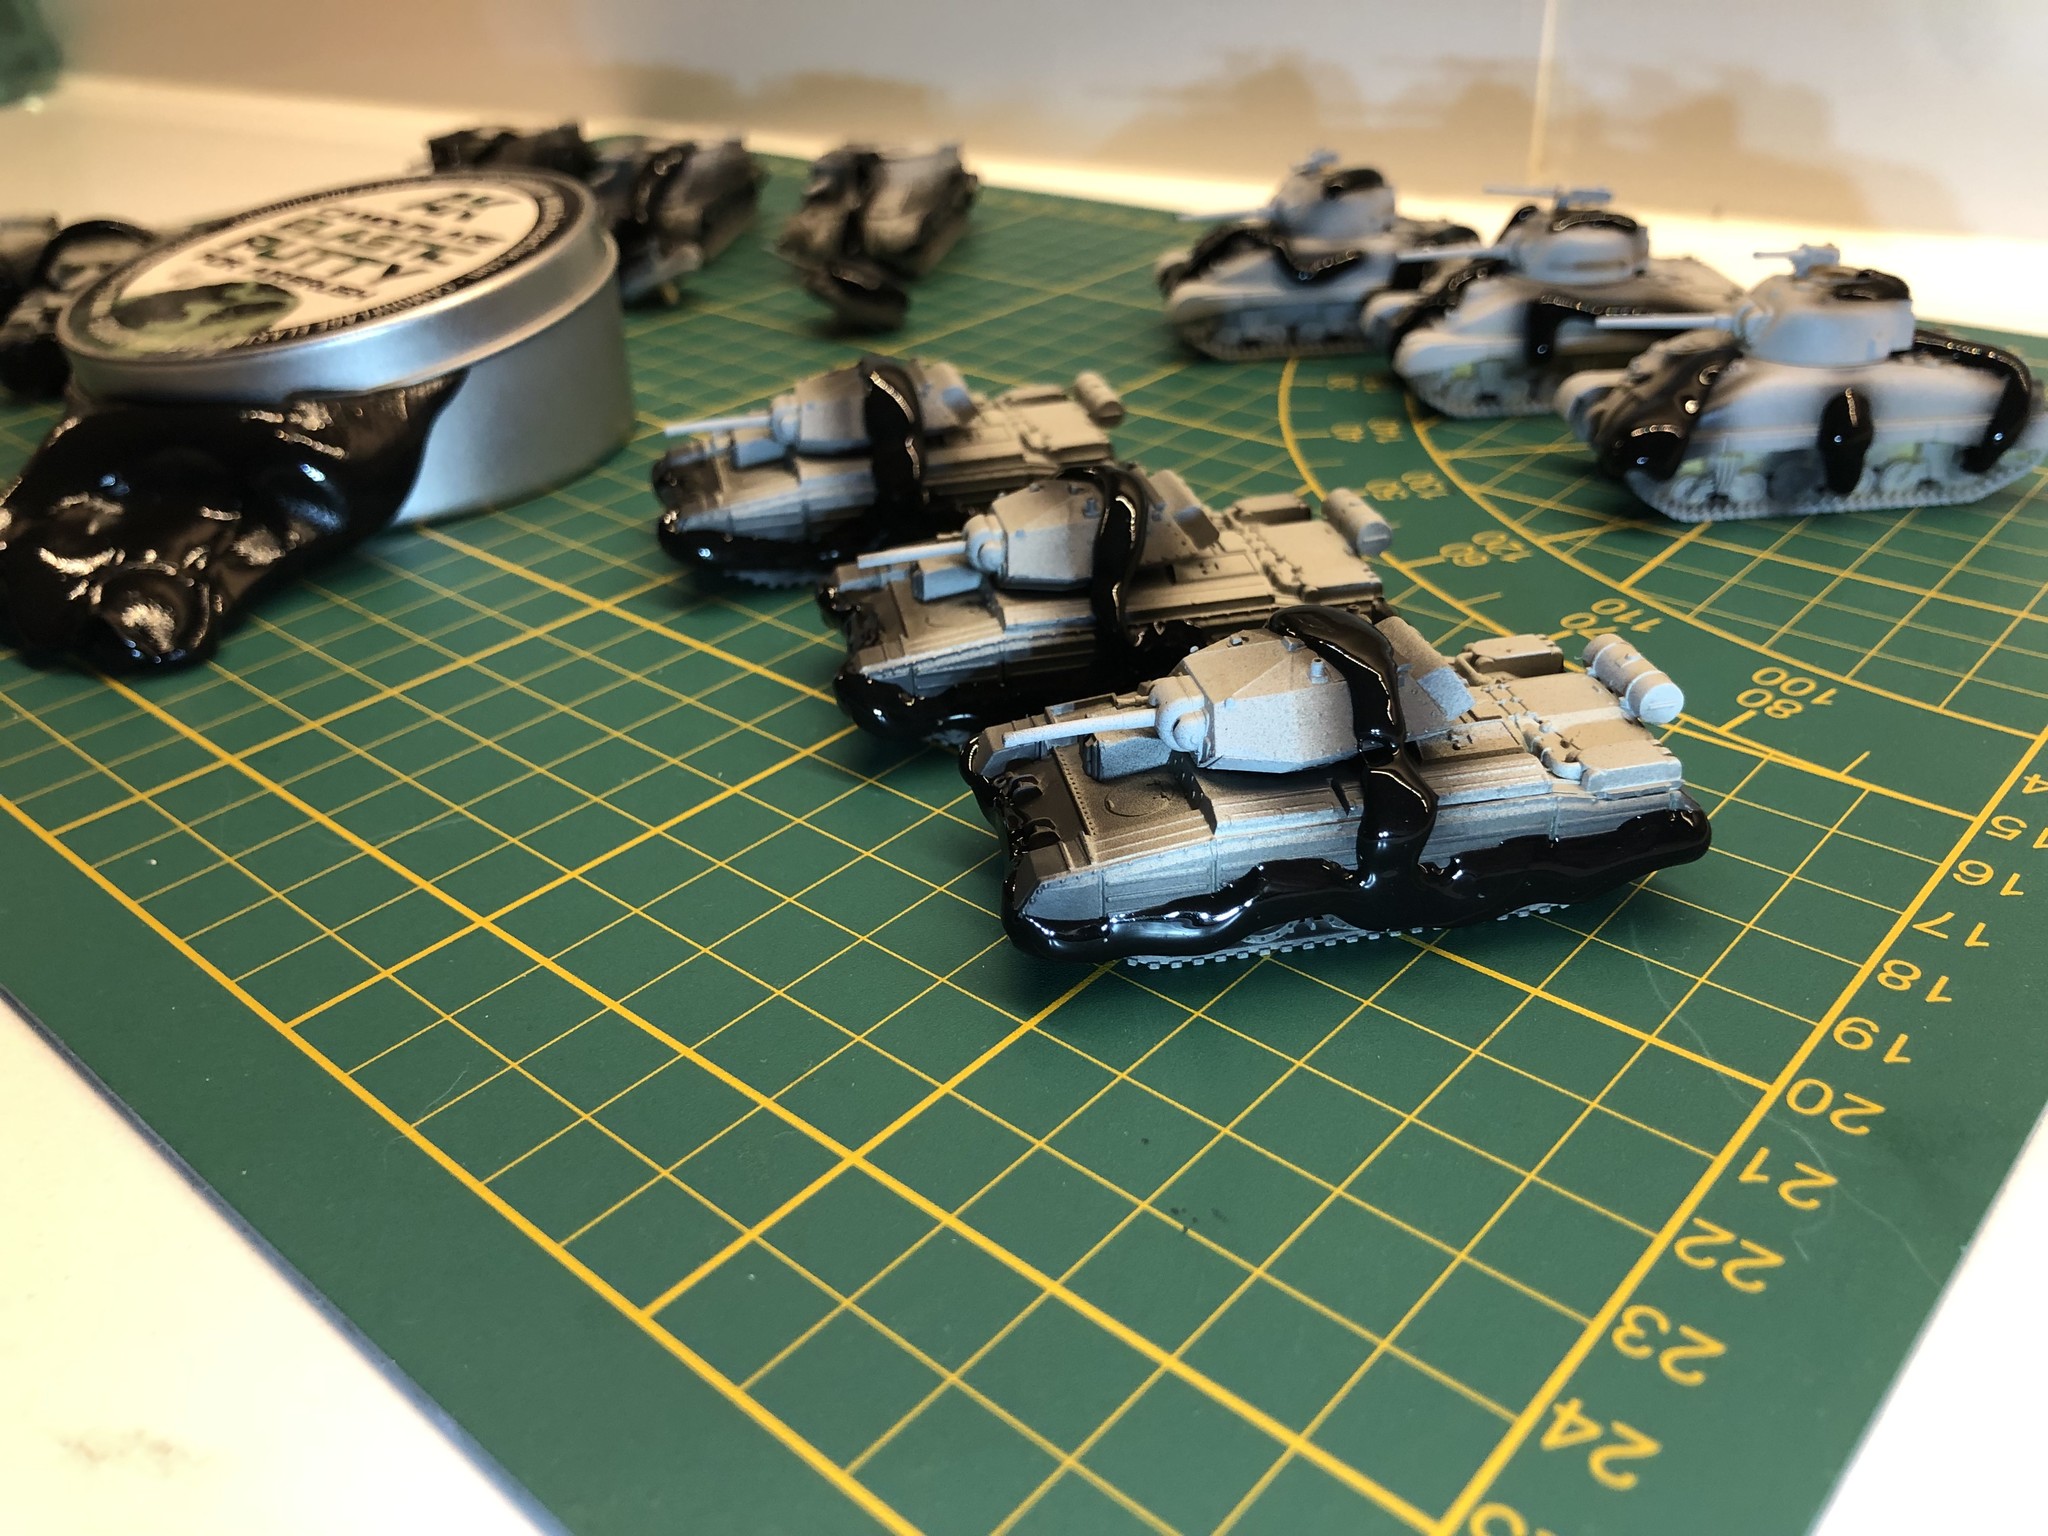
Let this dry completely, then we’re on to our first layer of camouflage. We completed this step with an airbrush using Dunkelgrau Shadow (AK161) from AK Interactive.
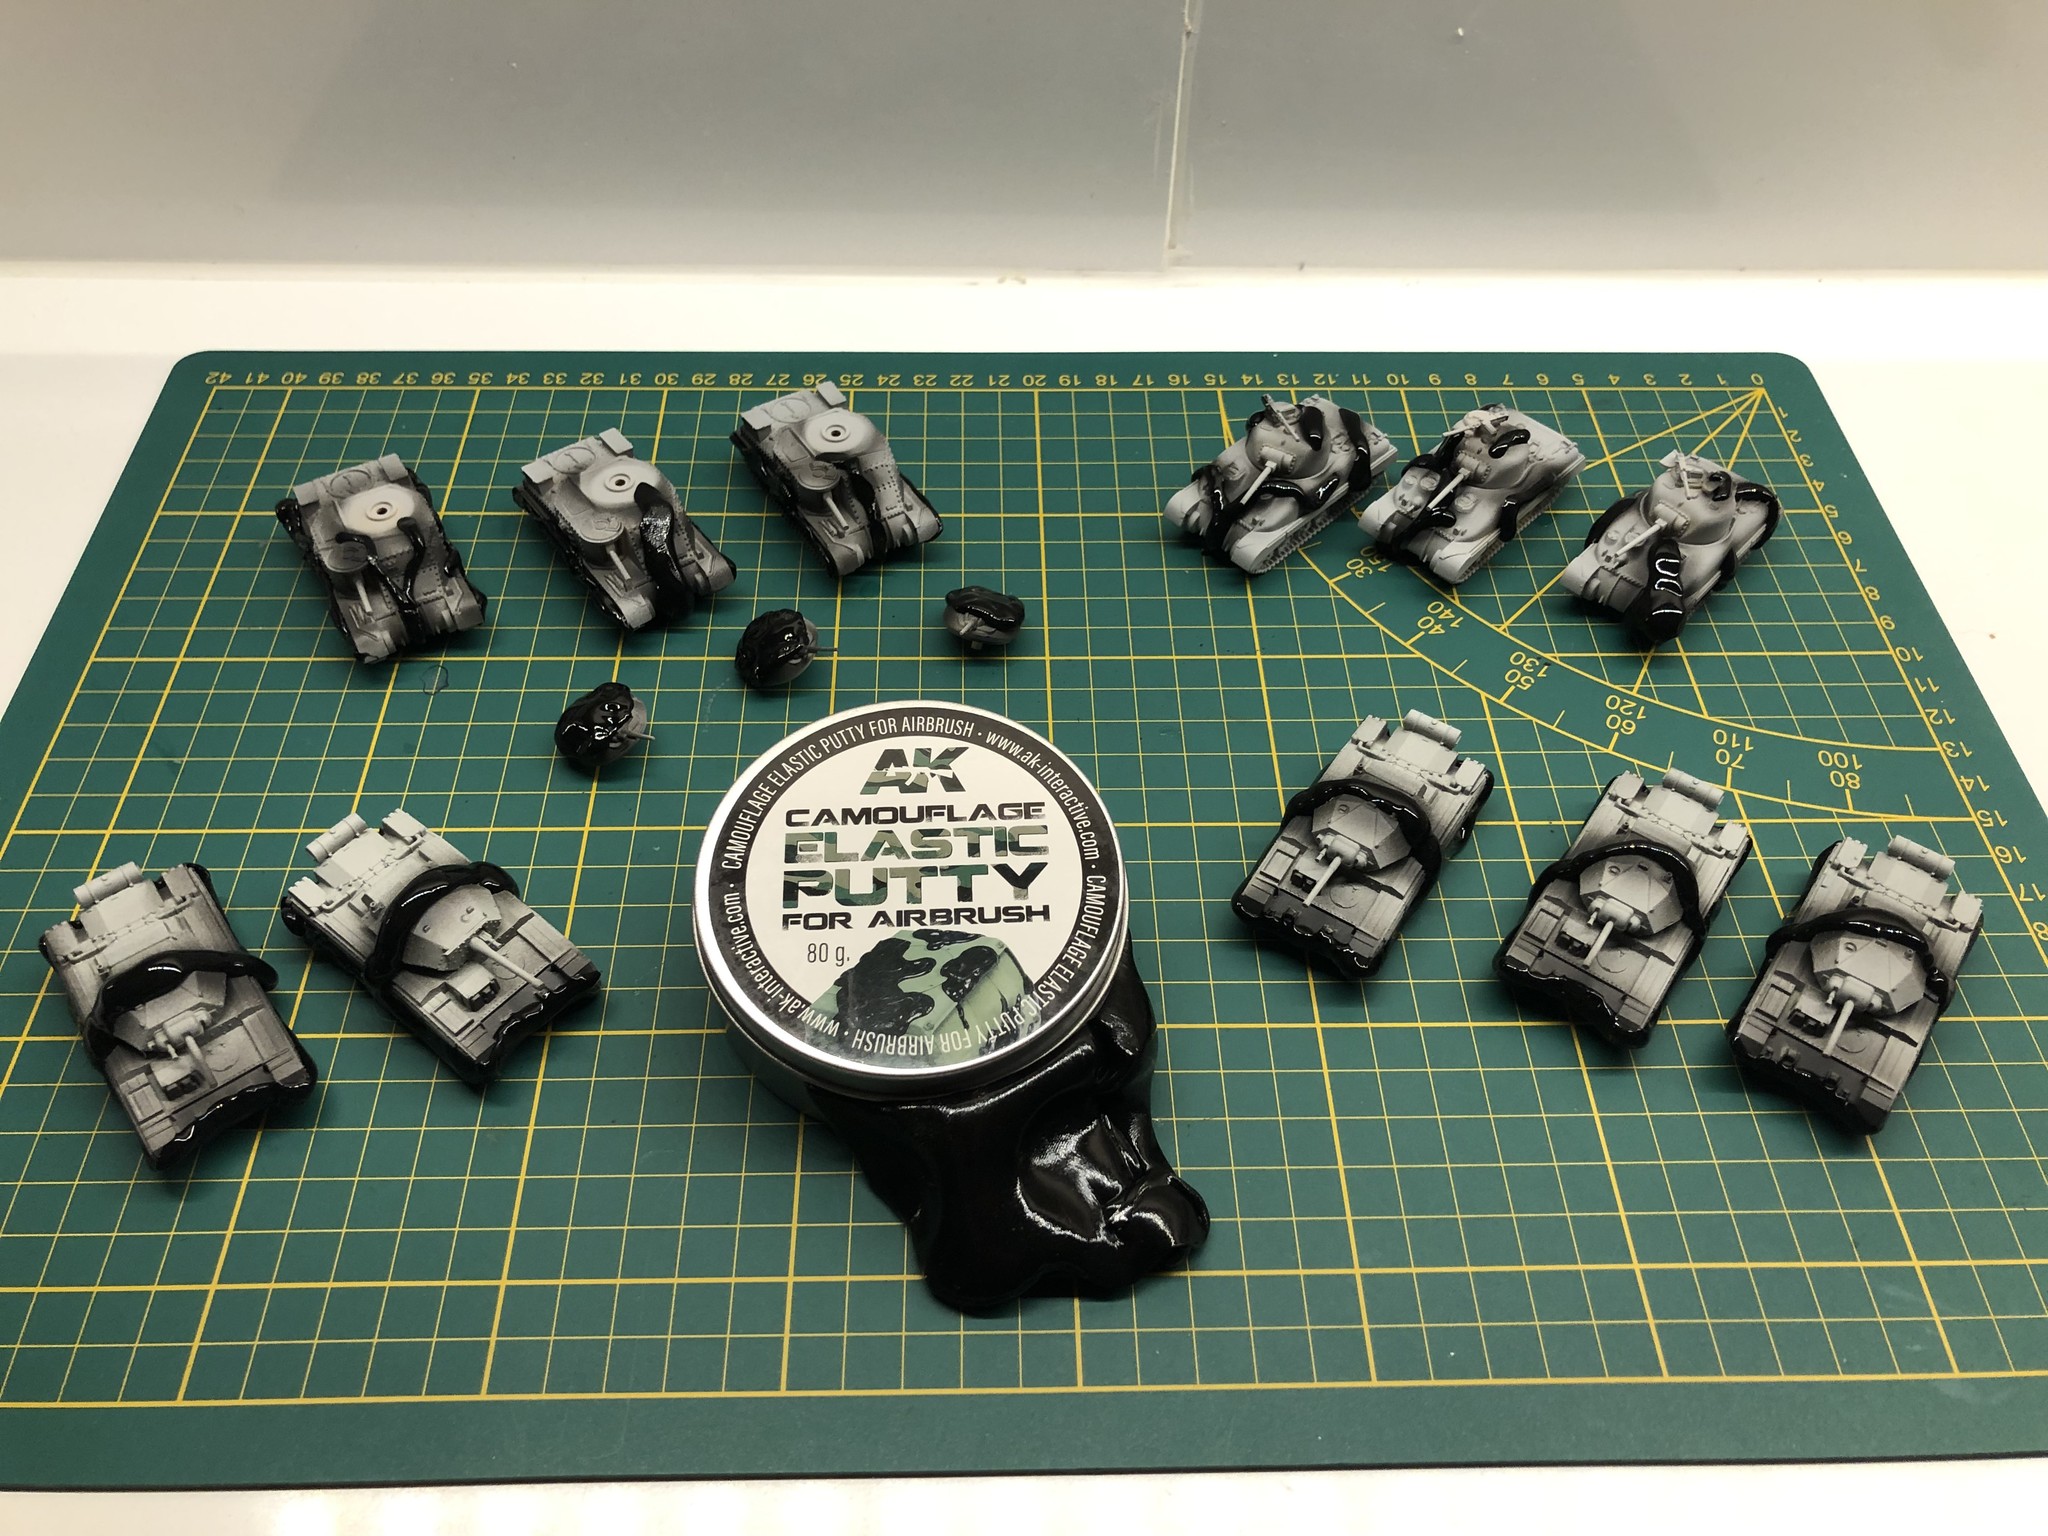
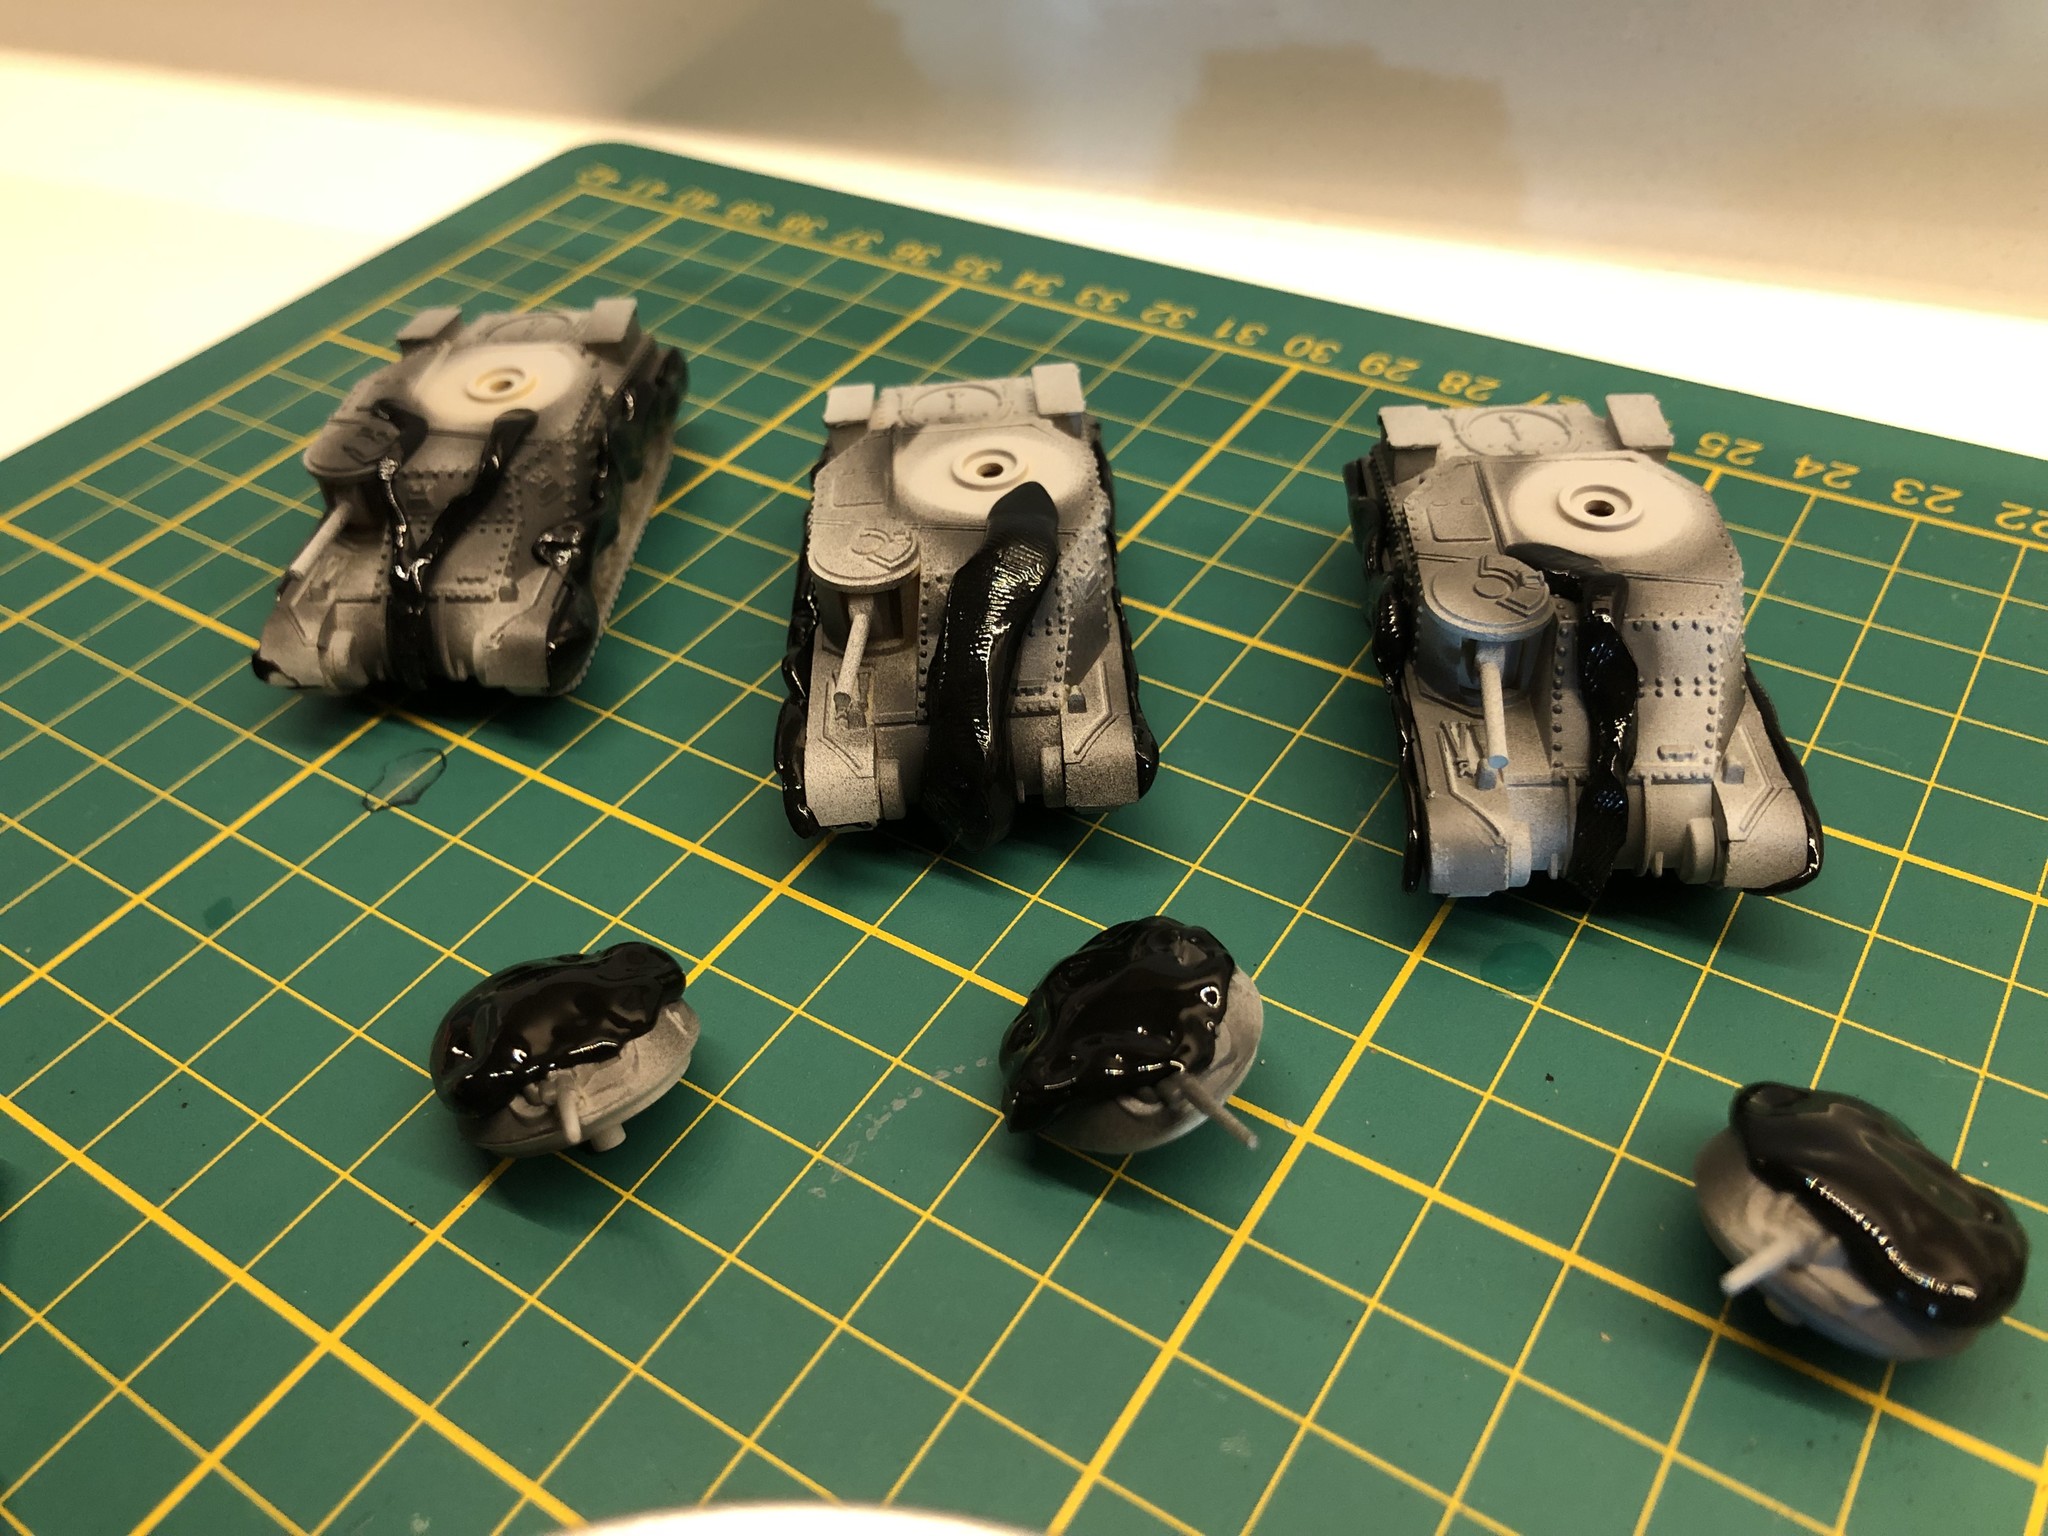
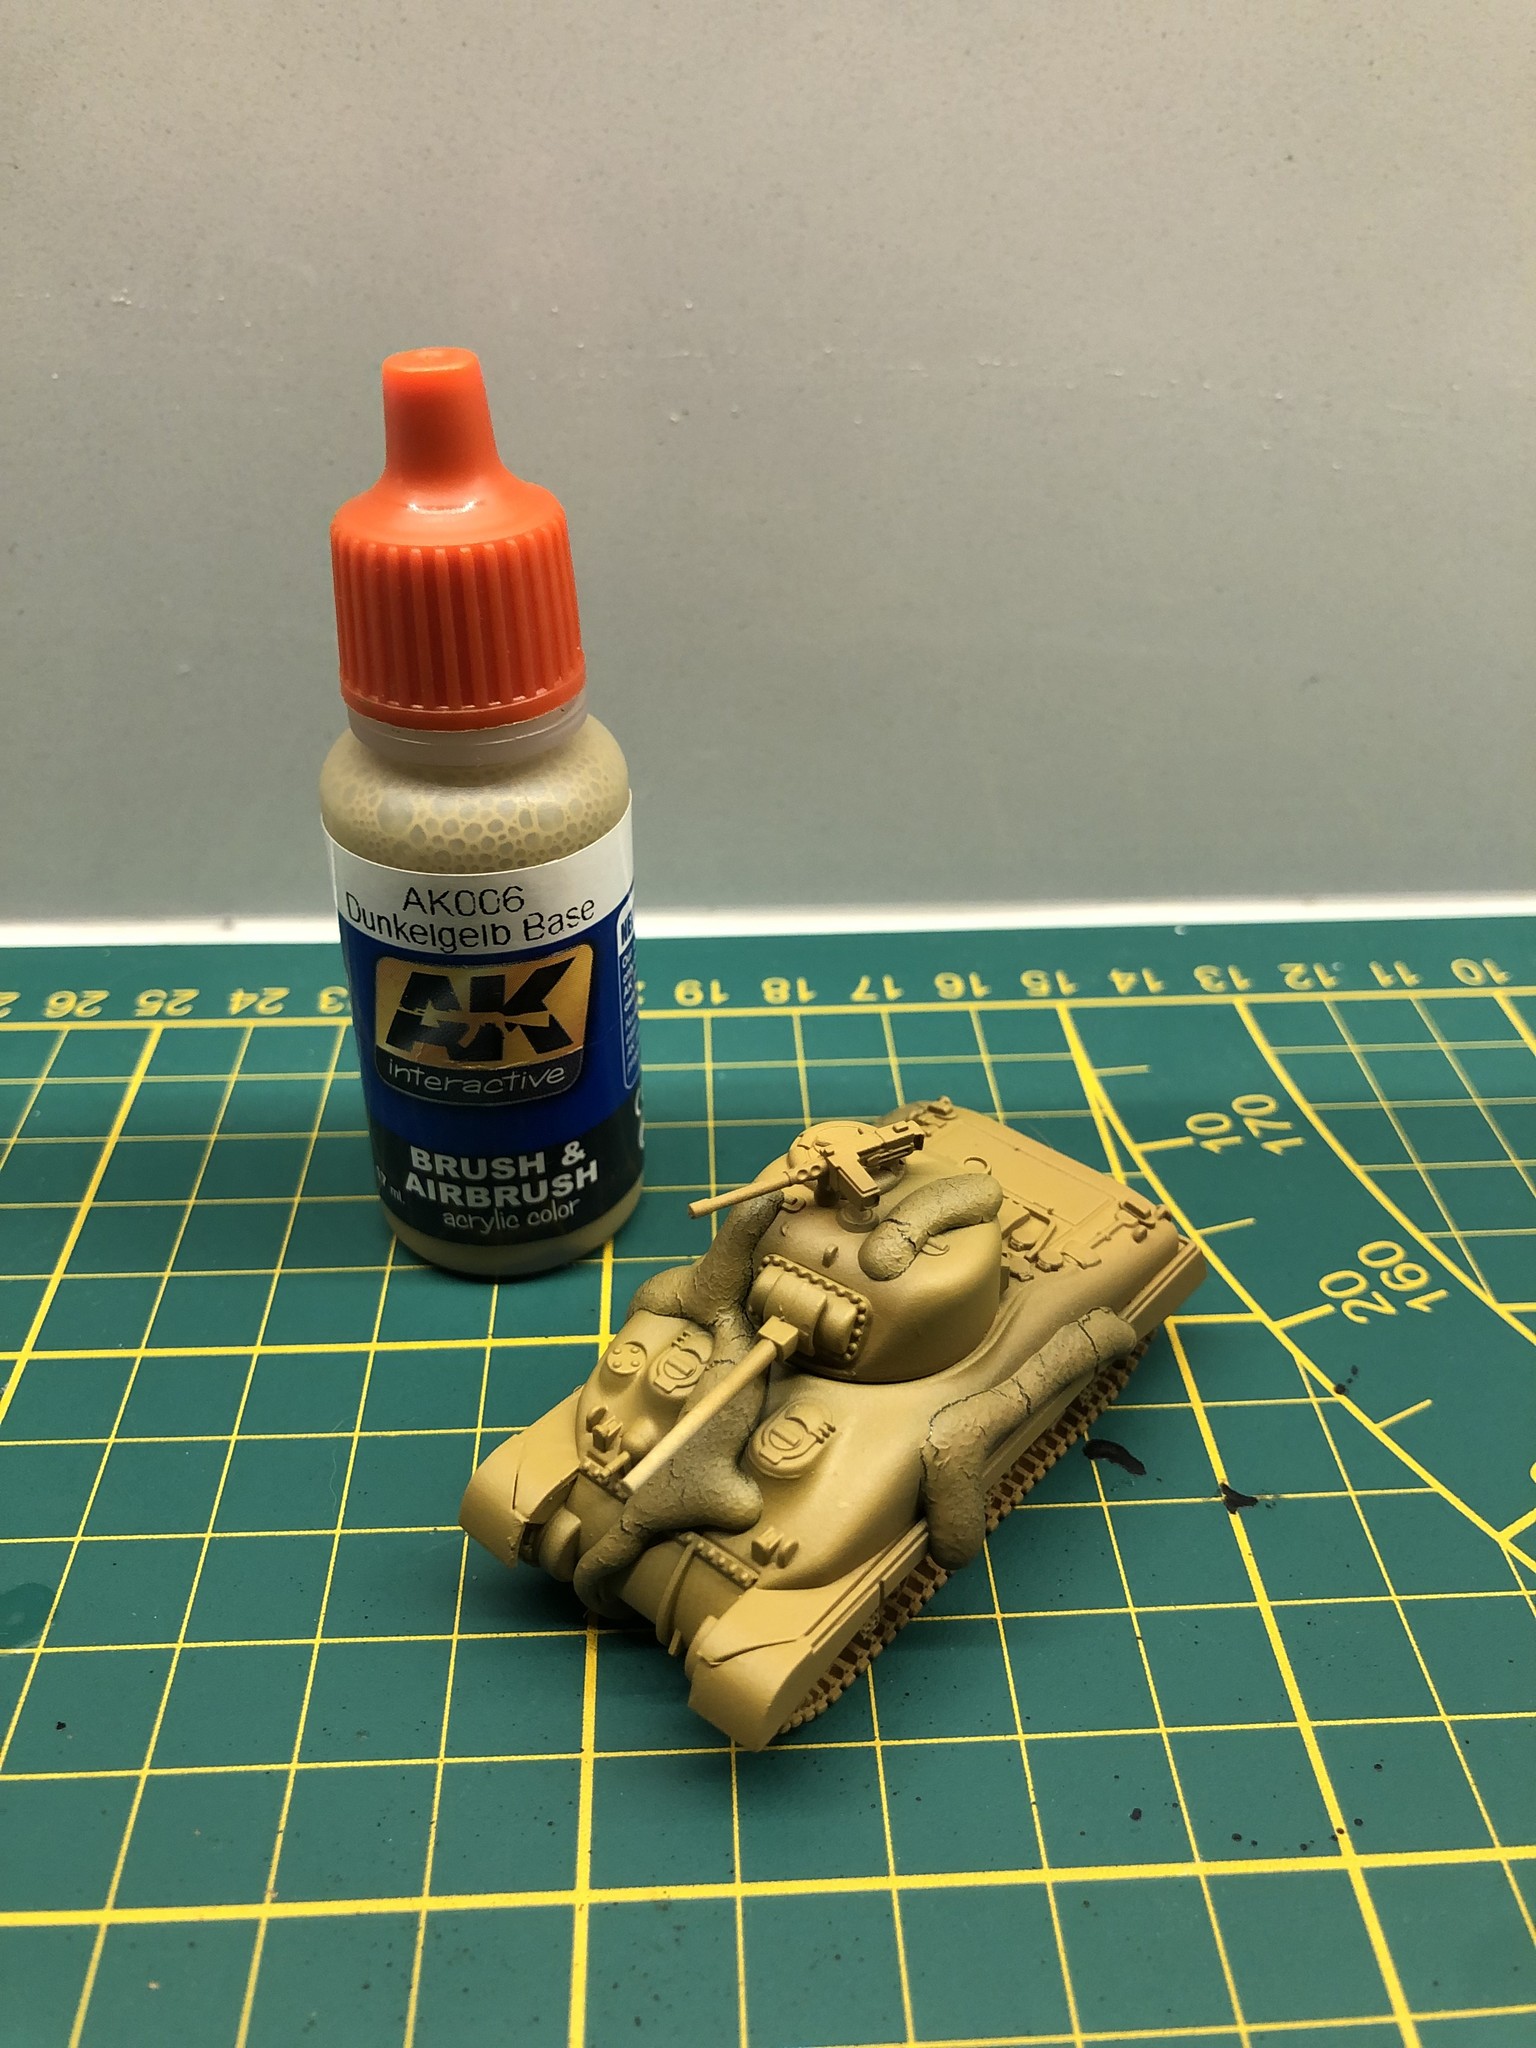
With the first part of the camo down, it’s time to protect it and then put on the next layer. We use AK Camouflage Plastic Putty to mask of the paint we want to keep in place before the next step.
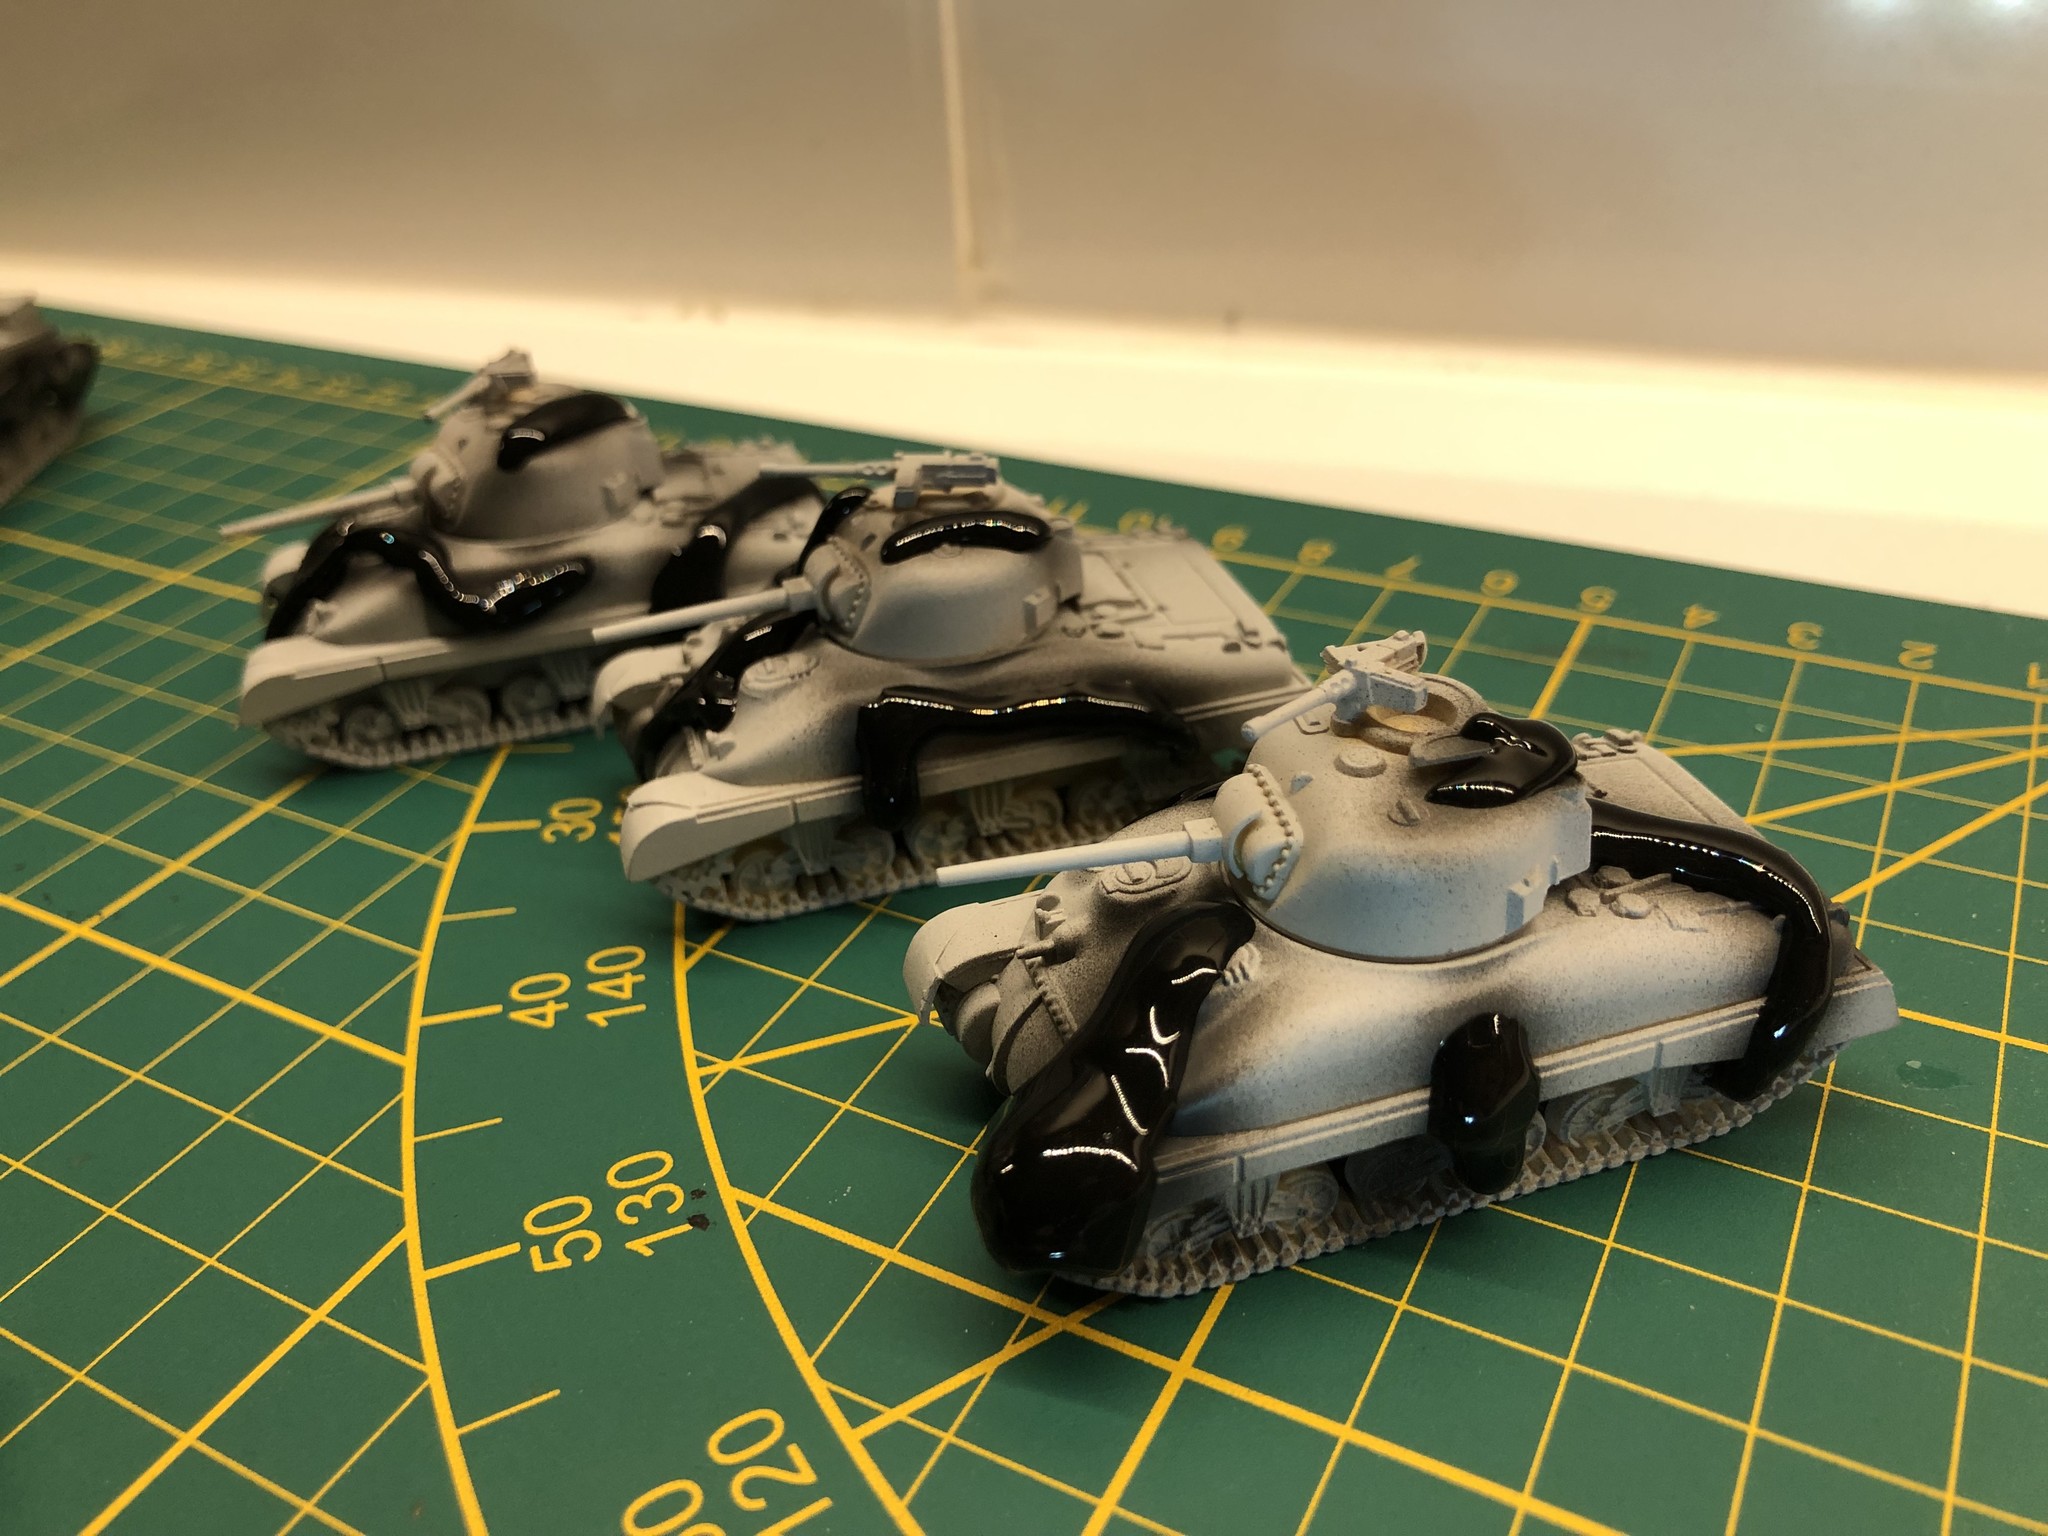
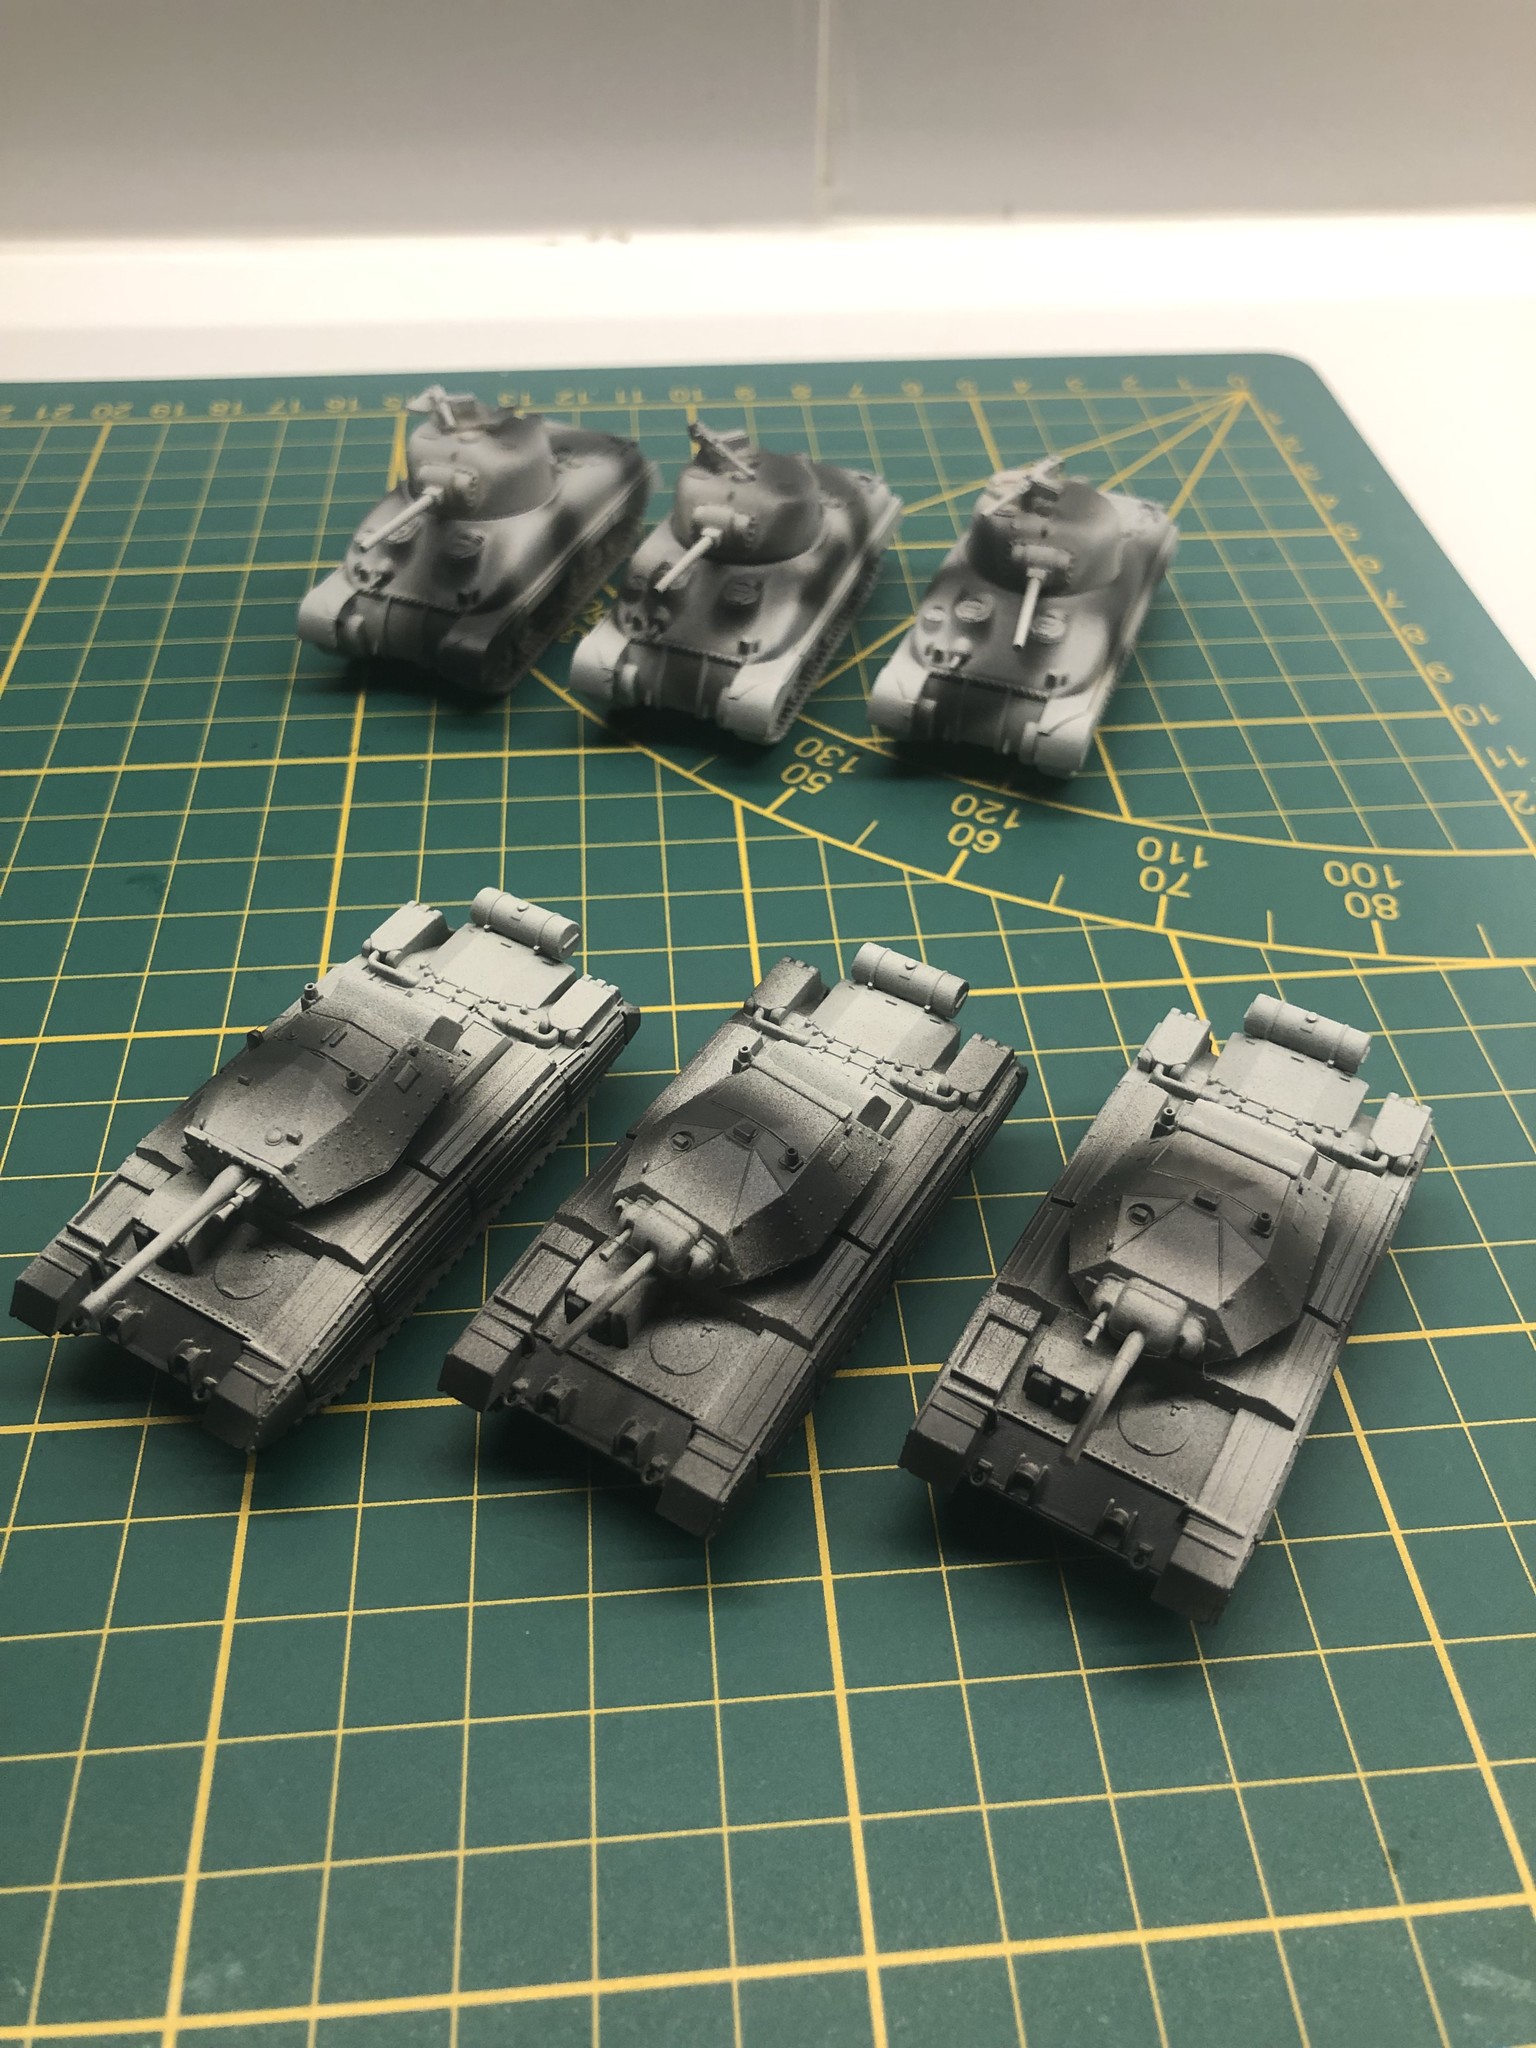
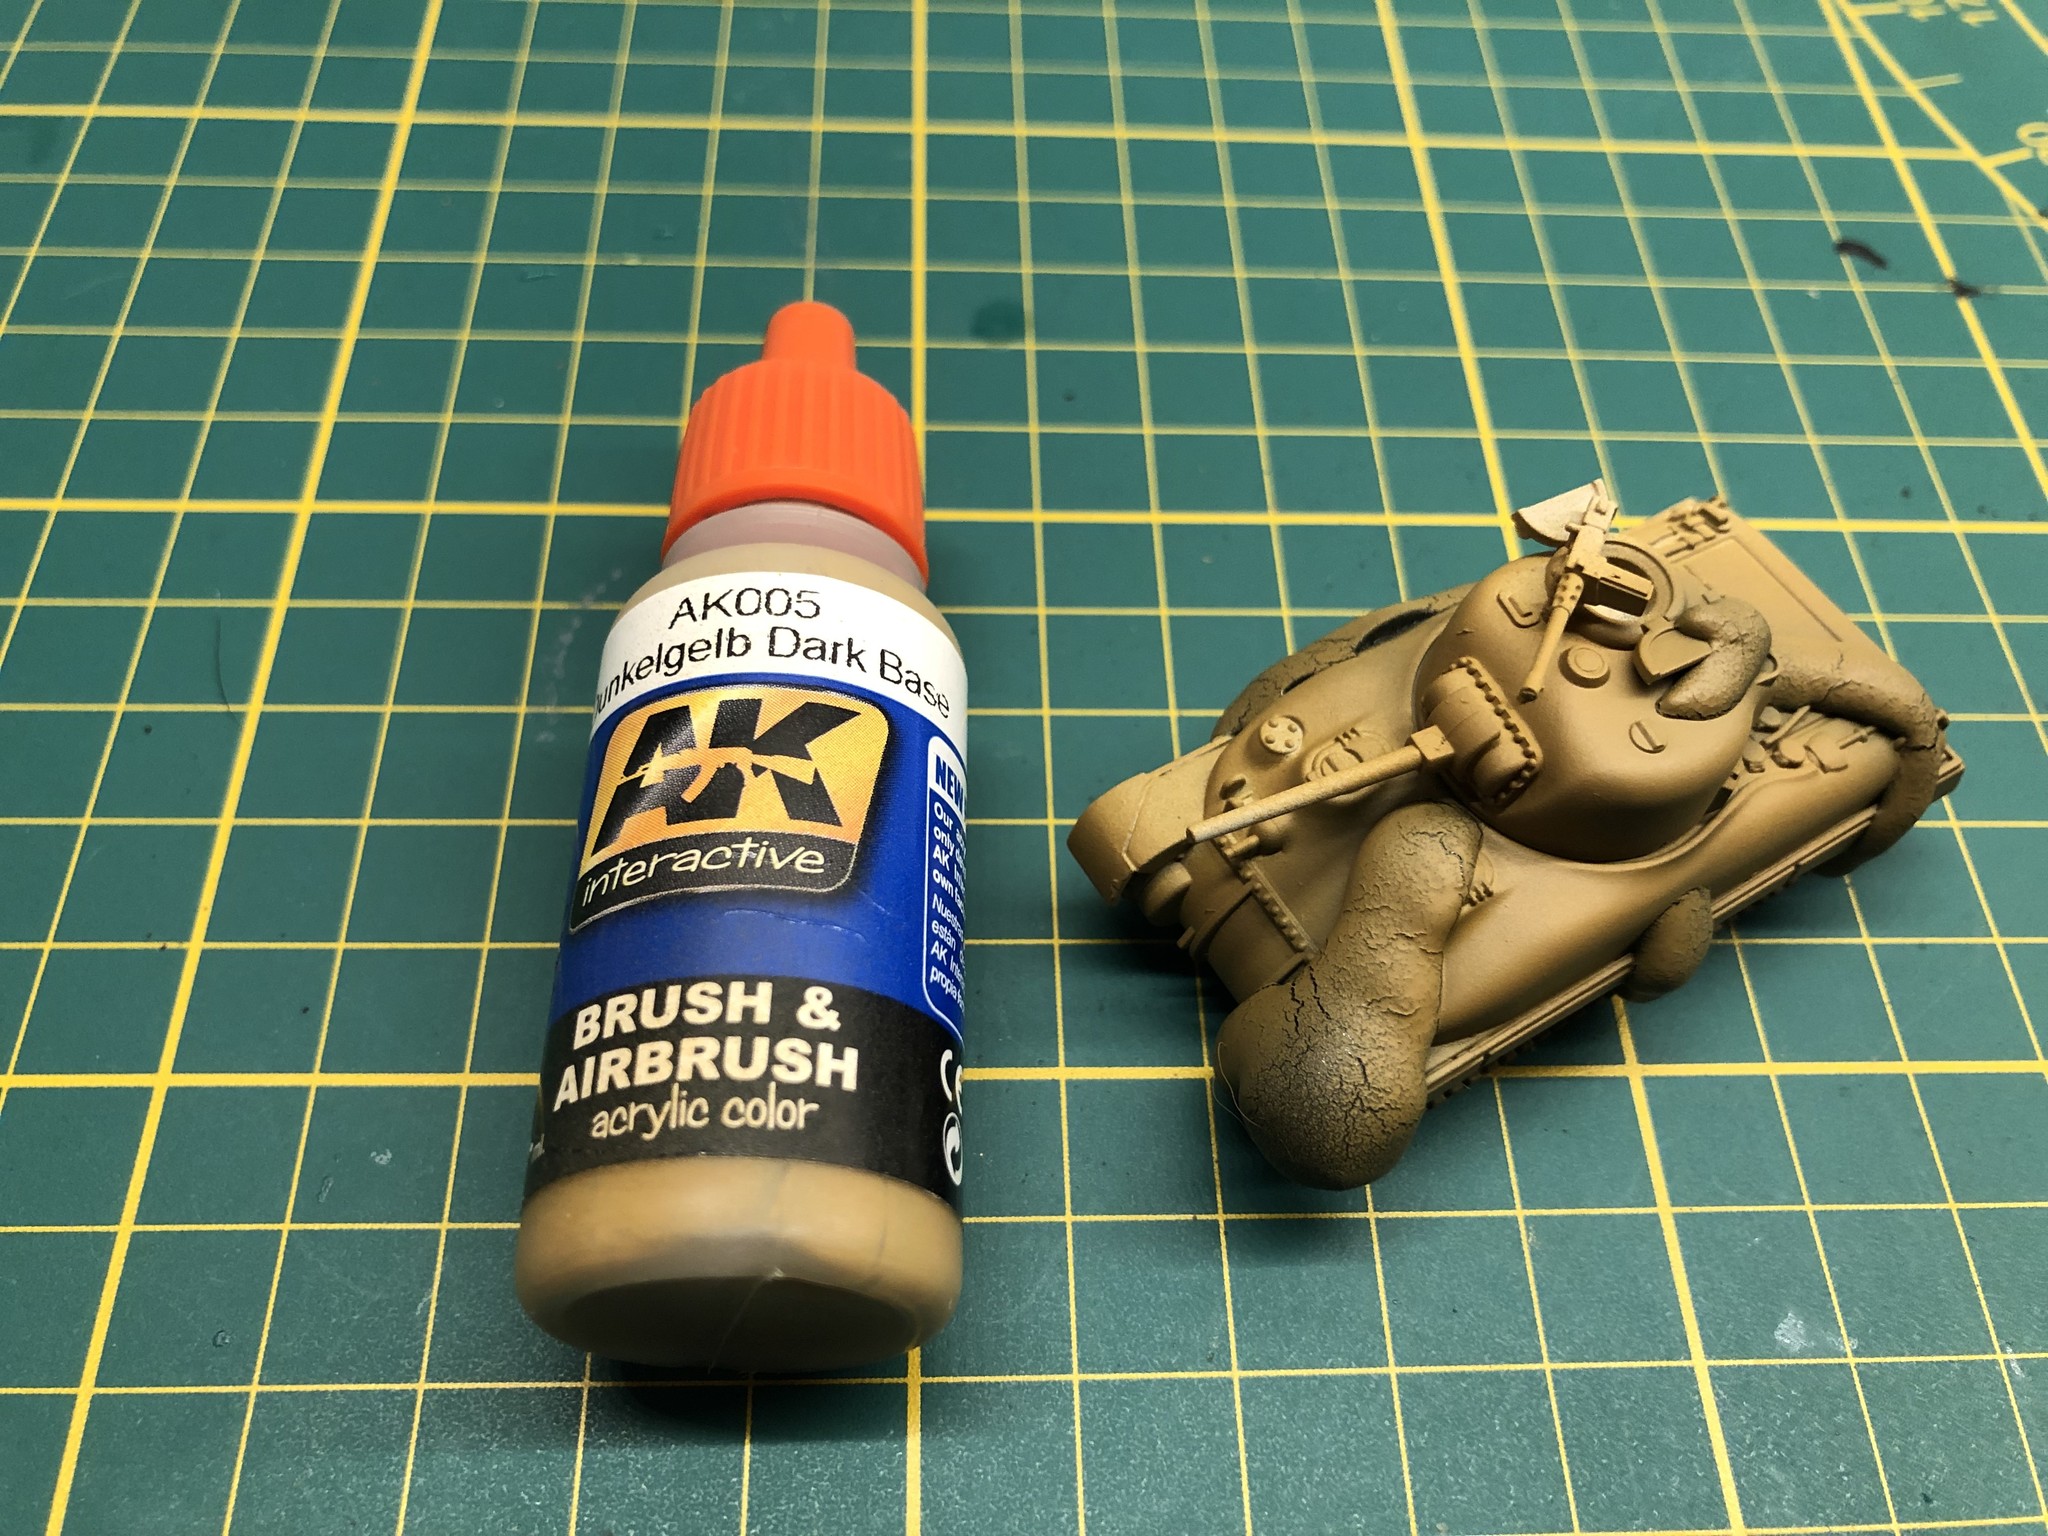
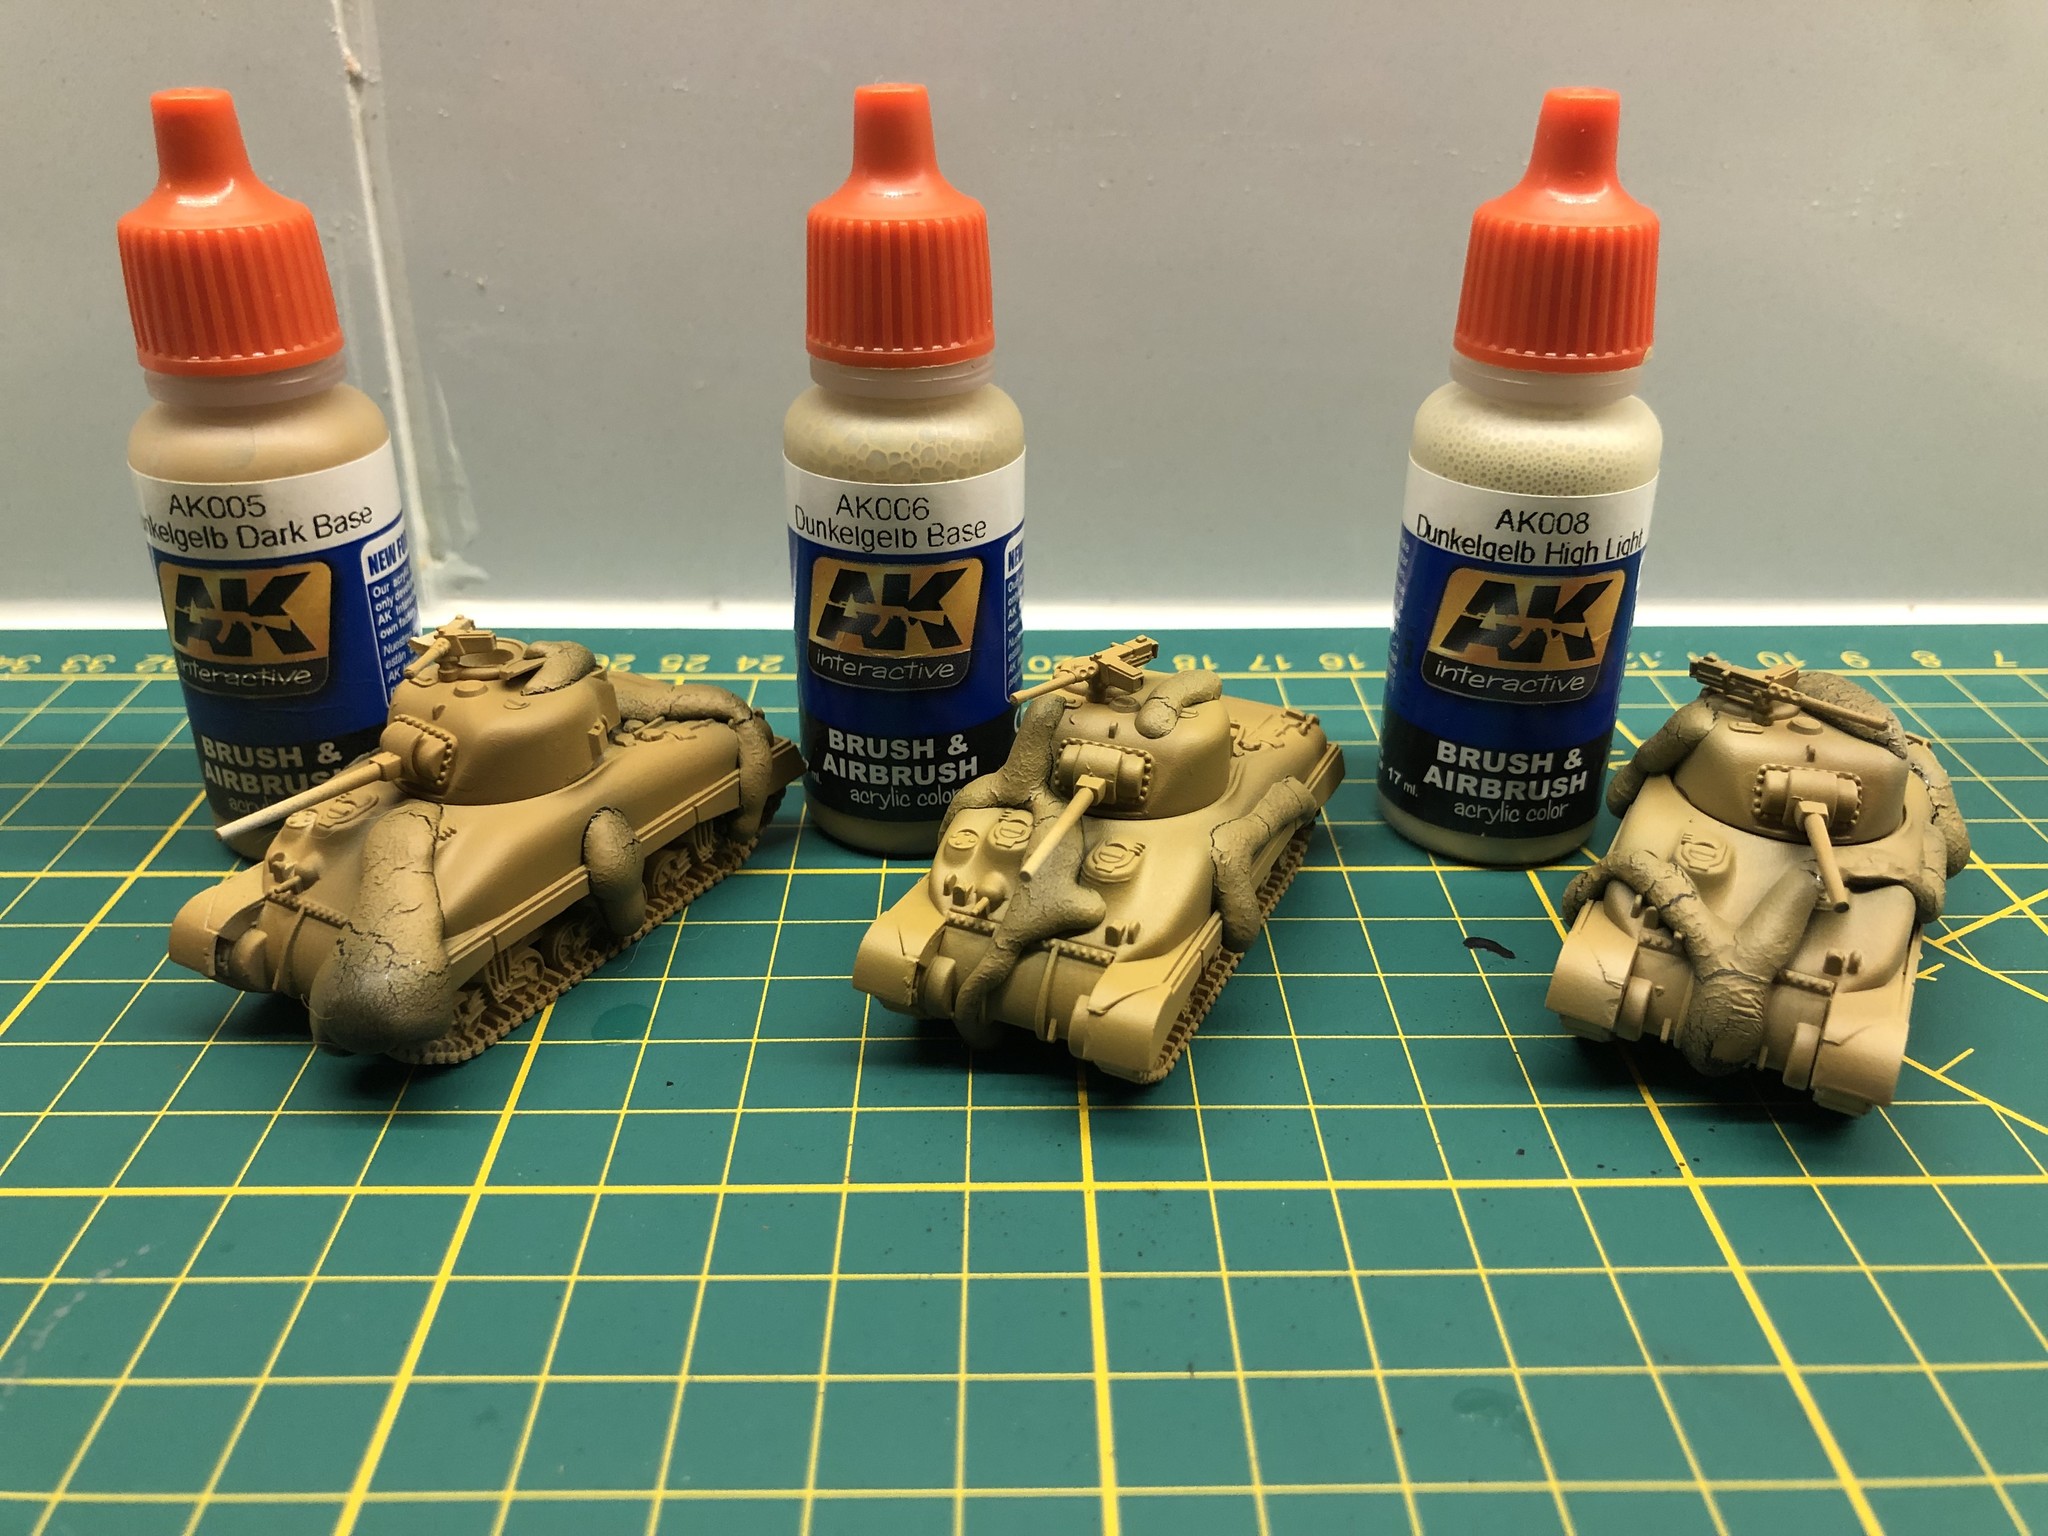
Time for the second colour, we’re spraying on Dunkelgelb Dark Base (AK005) from AK interactive.
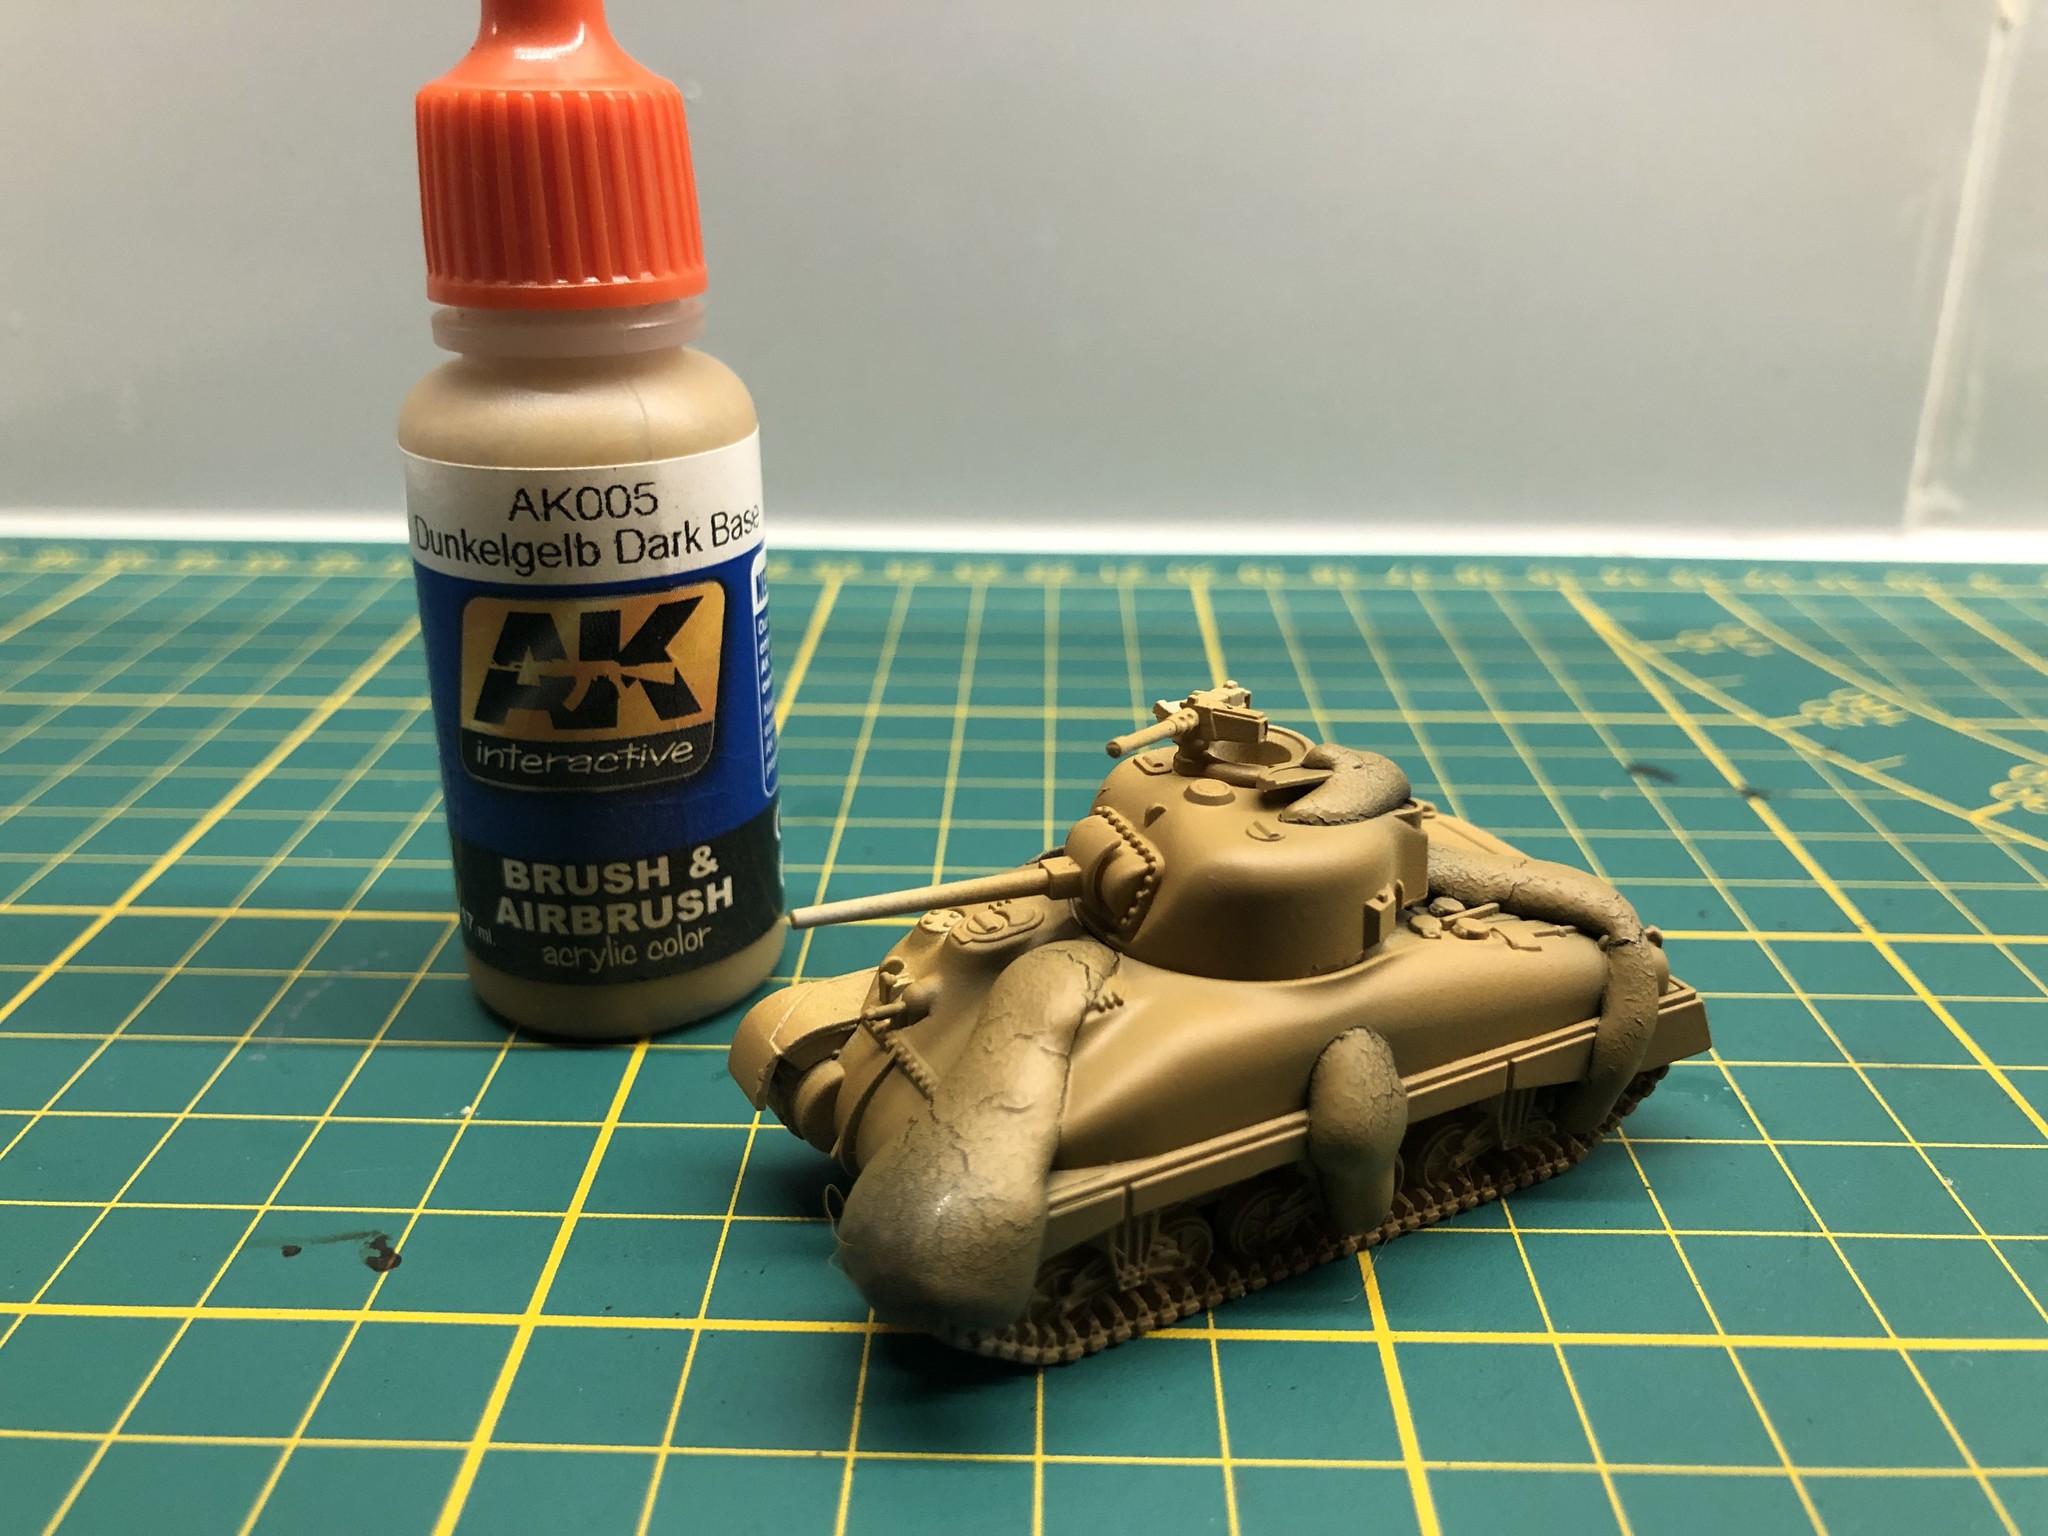
This is followed up by a highlight of Dunkelgelb Base (AK006), again, from AK.
Then another highlight to Dunkelgelb High Light (AK008), form AK.
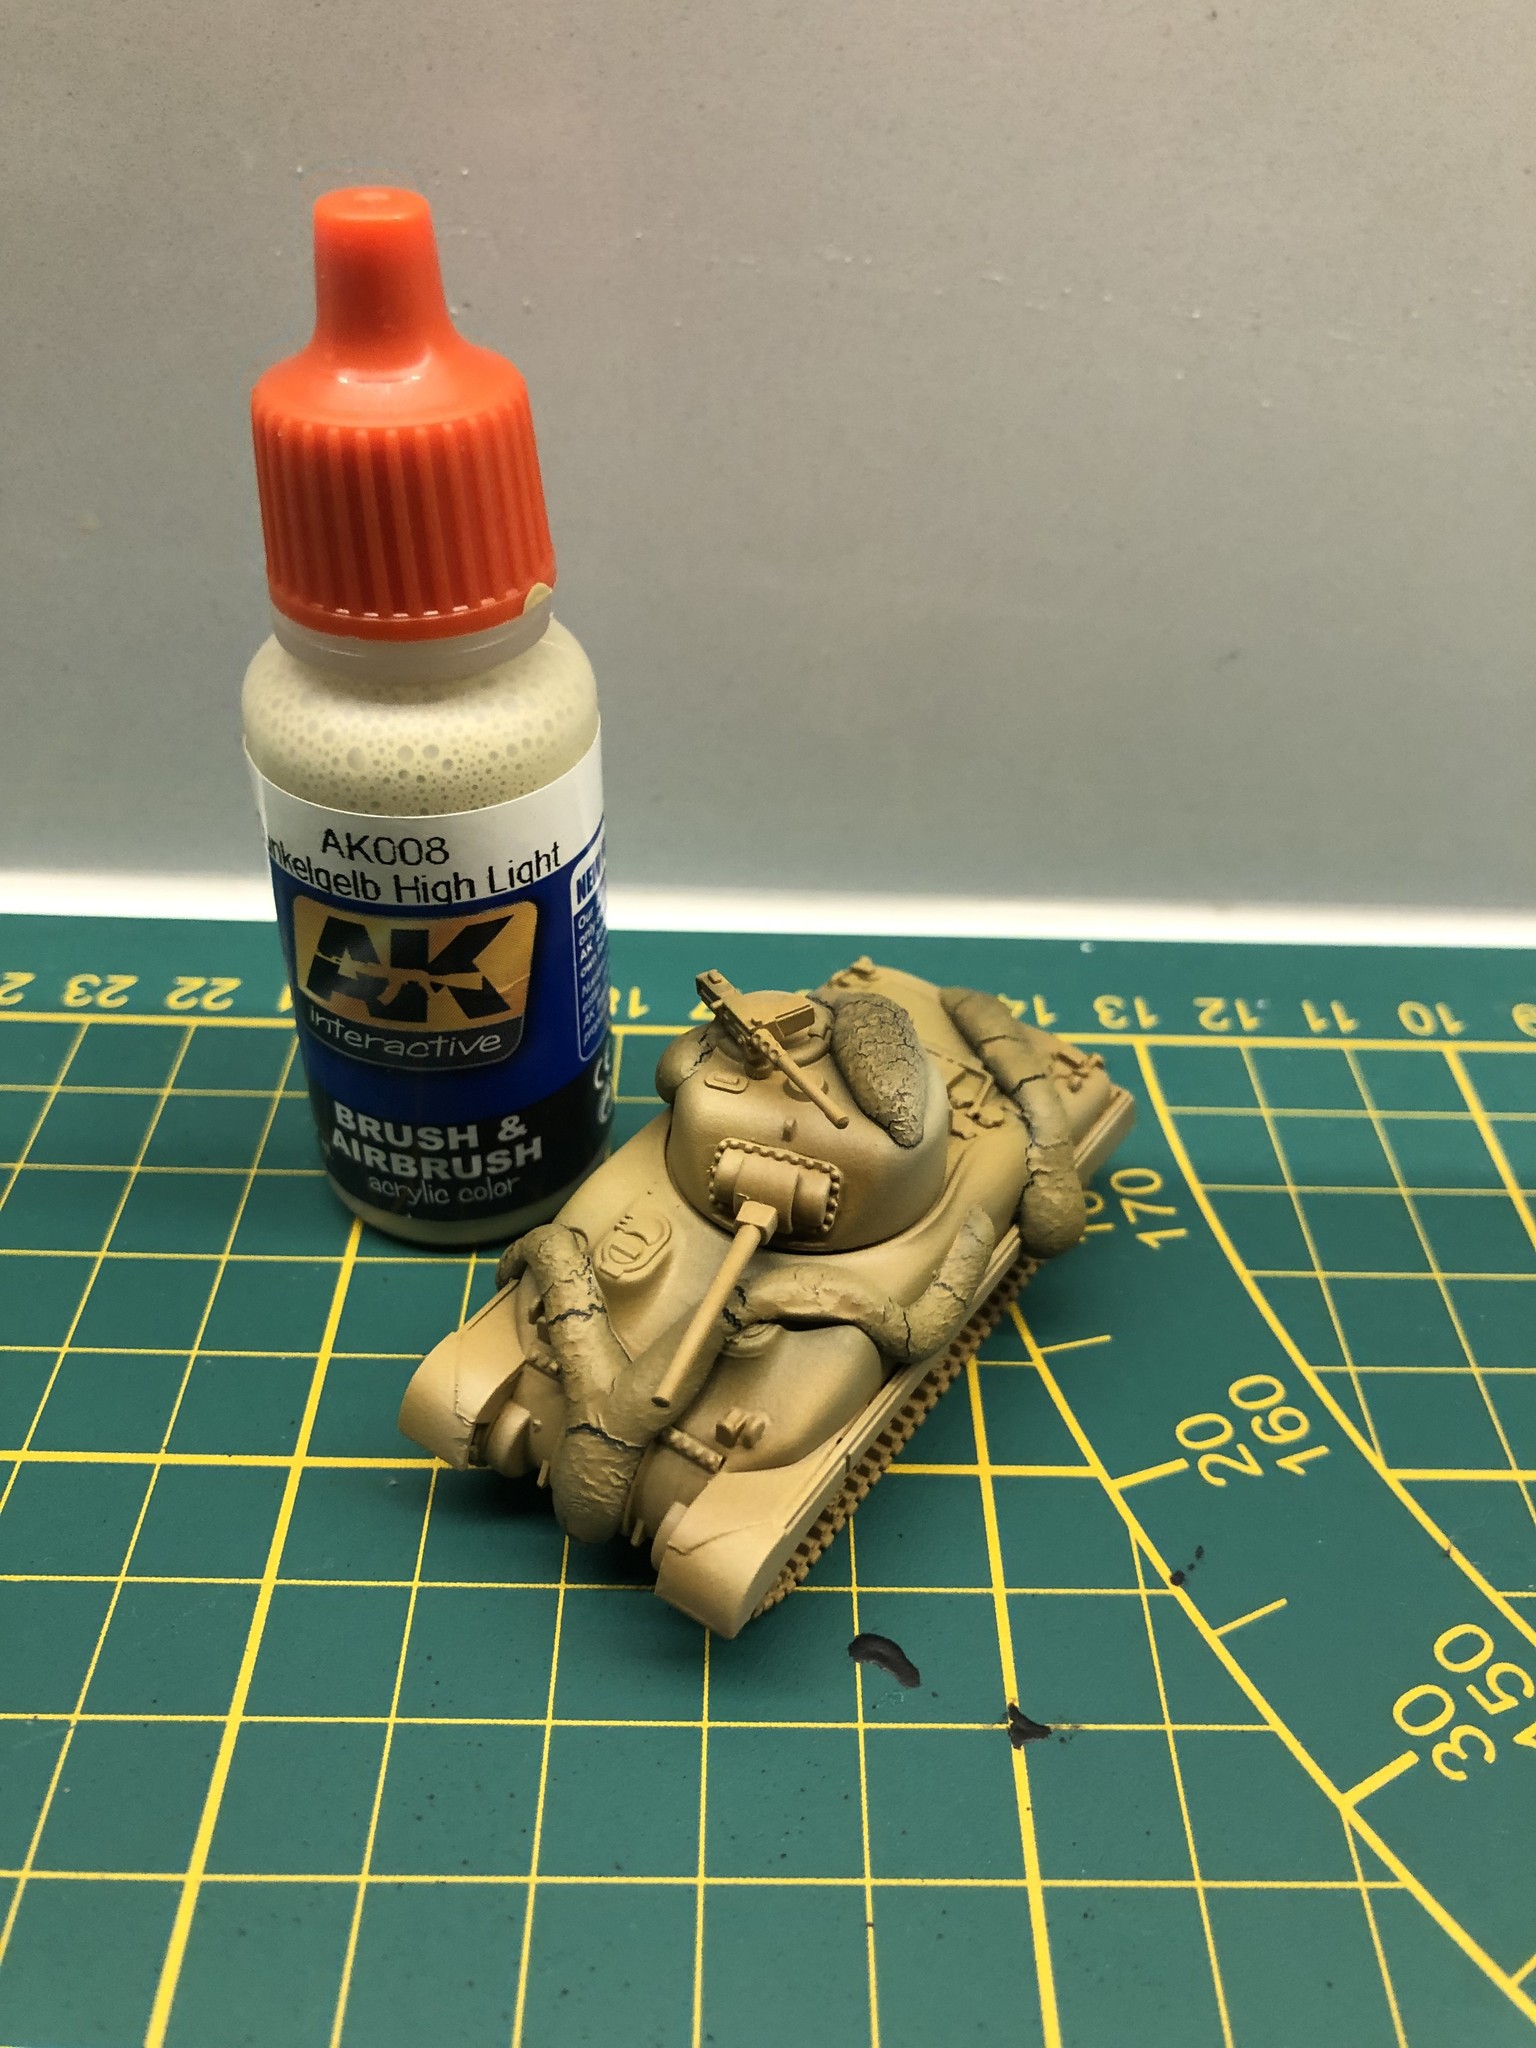
For a comparison, these are the three steps of Dunkelgelb so you can see how the colour changes.

And the big reveal as the putty is removed to reveal the camo…
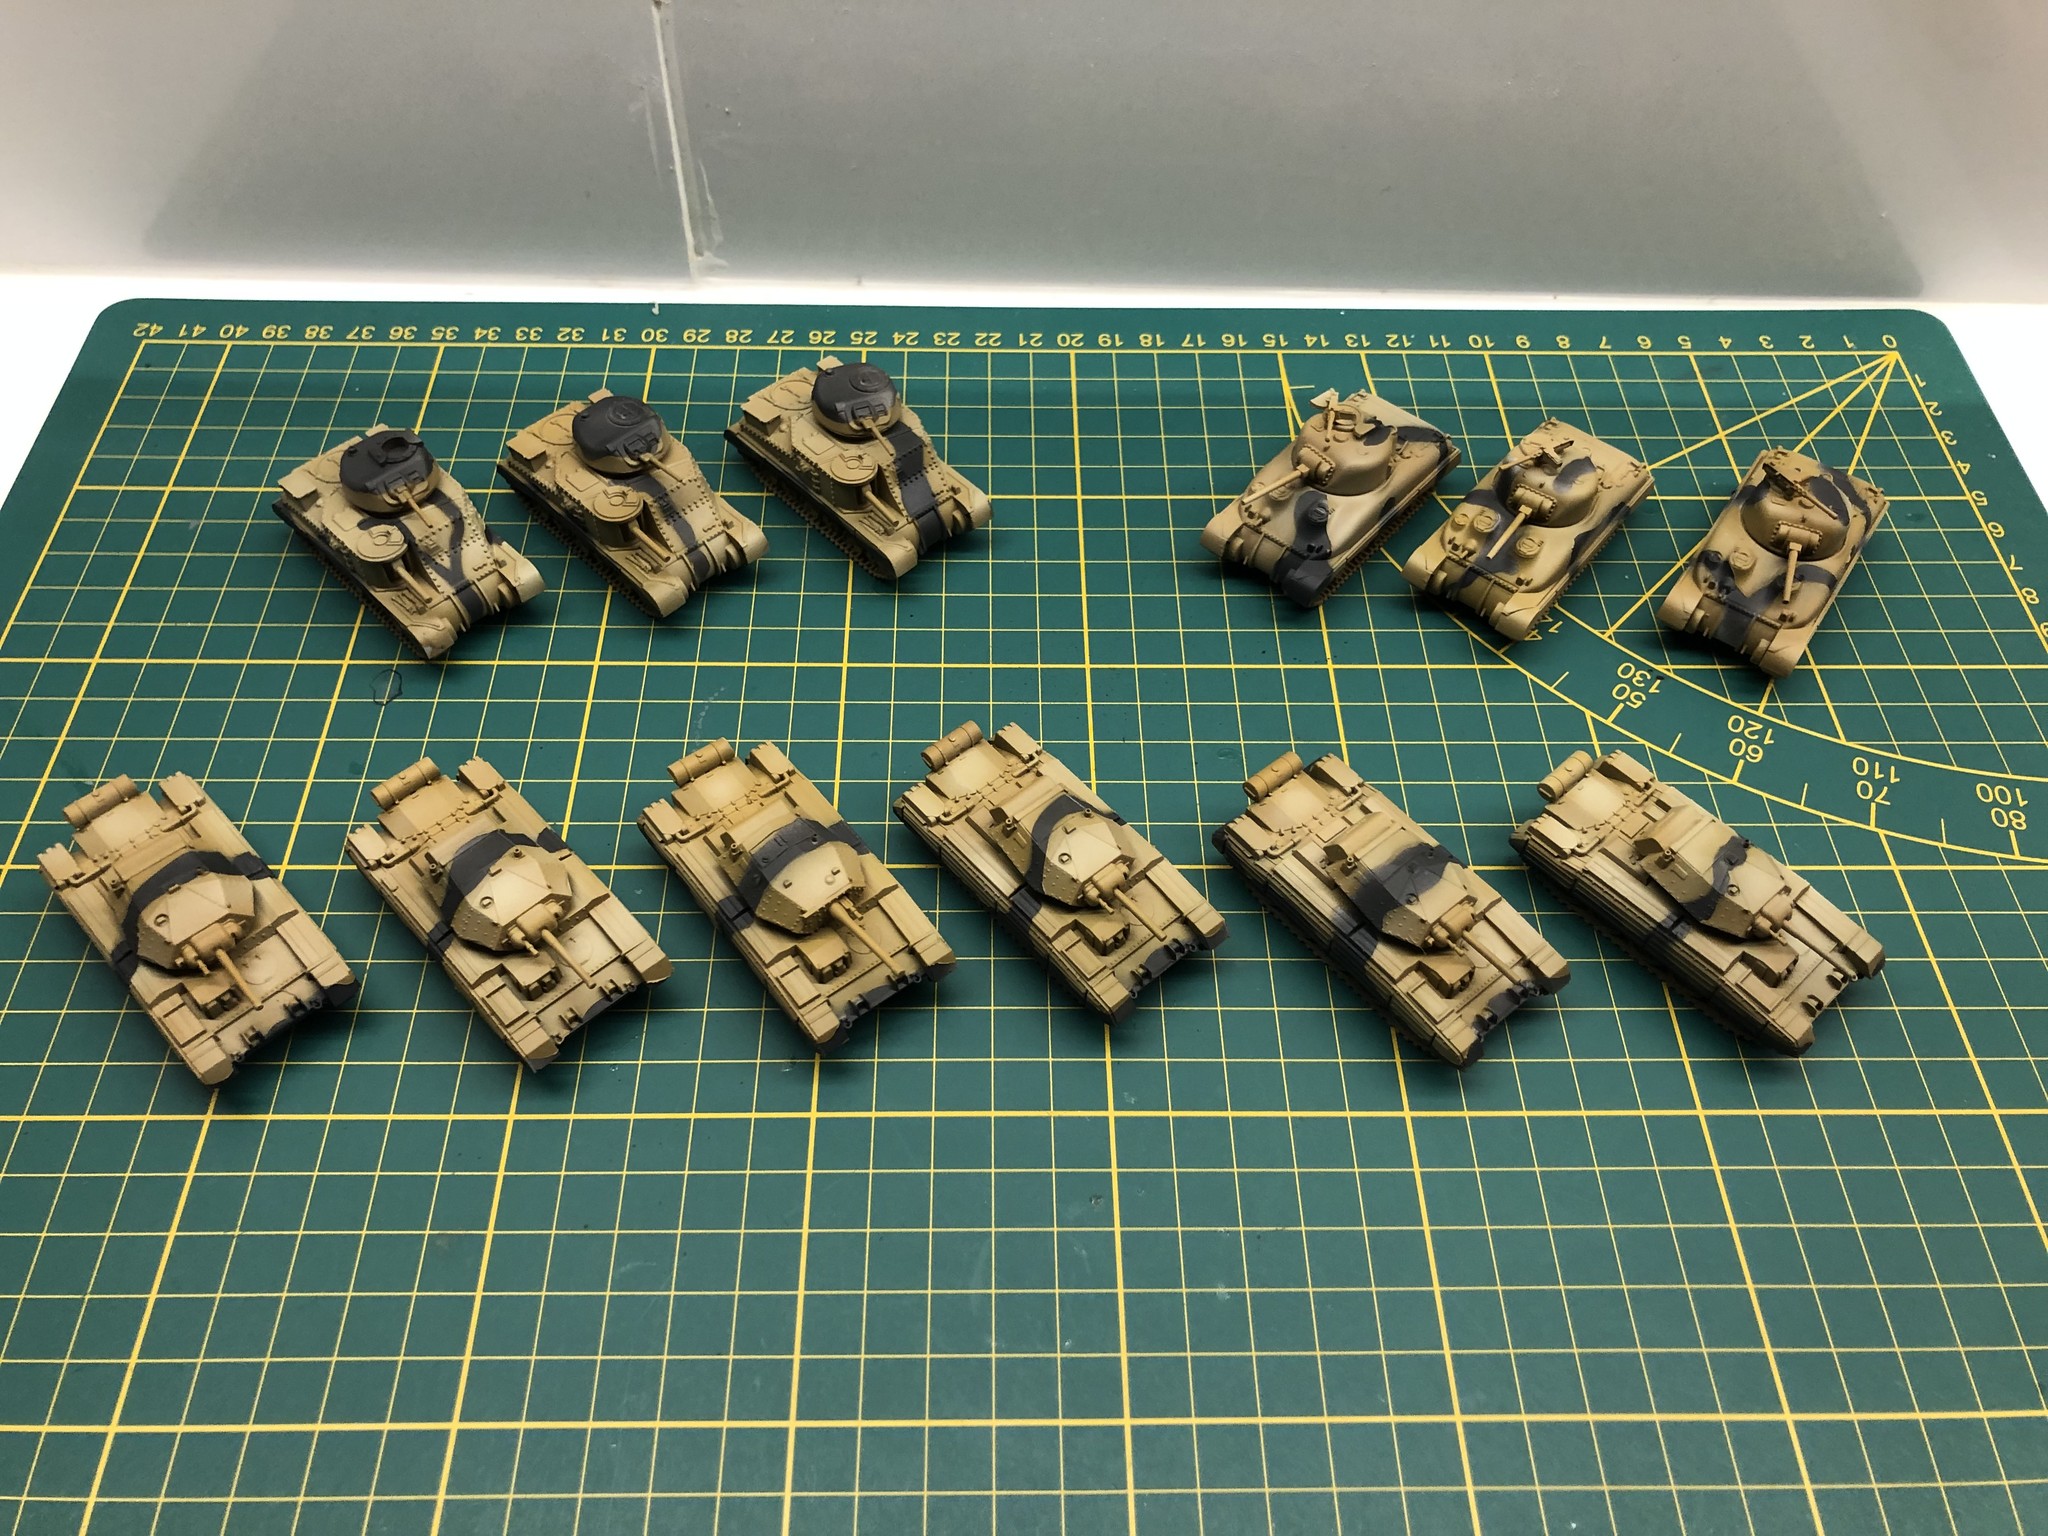
That’s the core of the camo completed, if you want, you can stop here, your tanks are ready to use!
Advanced steps
With the basics done, you might want to push things a little further. Bring out the details and make your armour look a little more like they’re fighting in the desert, not your dining room!
First step is an oil wash. This is where you cover your miniature in an oil-based enamel wash which adds shadow to the details of your tank. We used AK 066 for DAK miniatures. Here are two tanks with the wash applied:
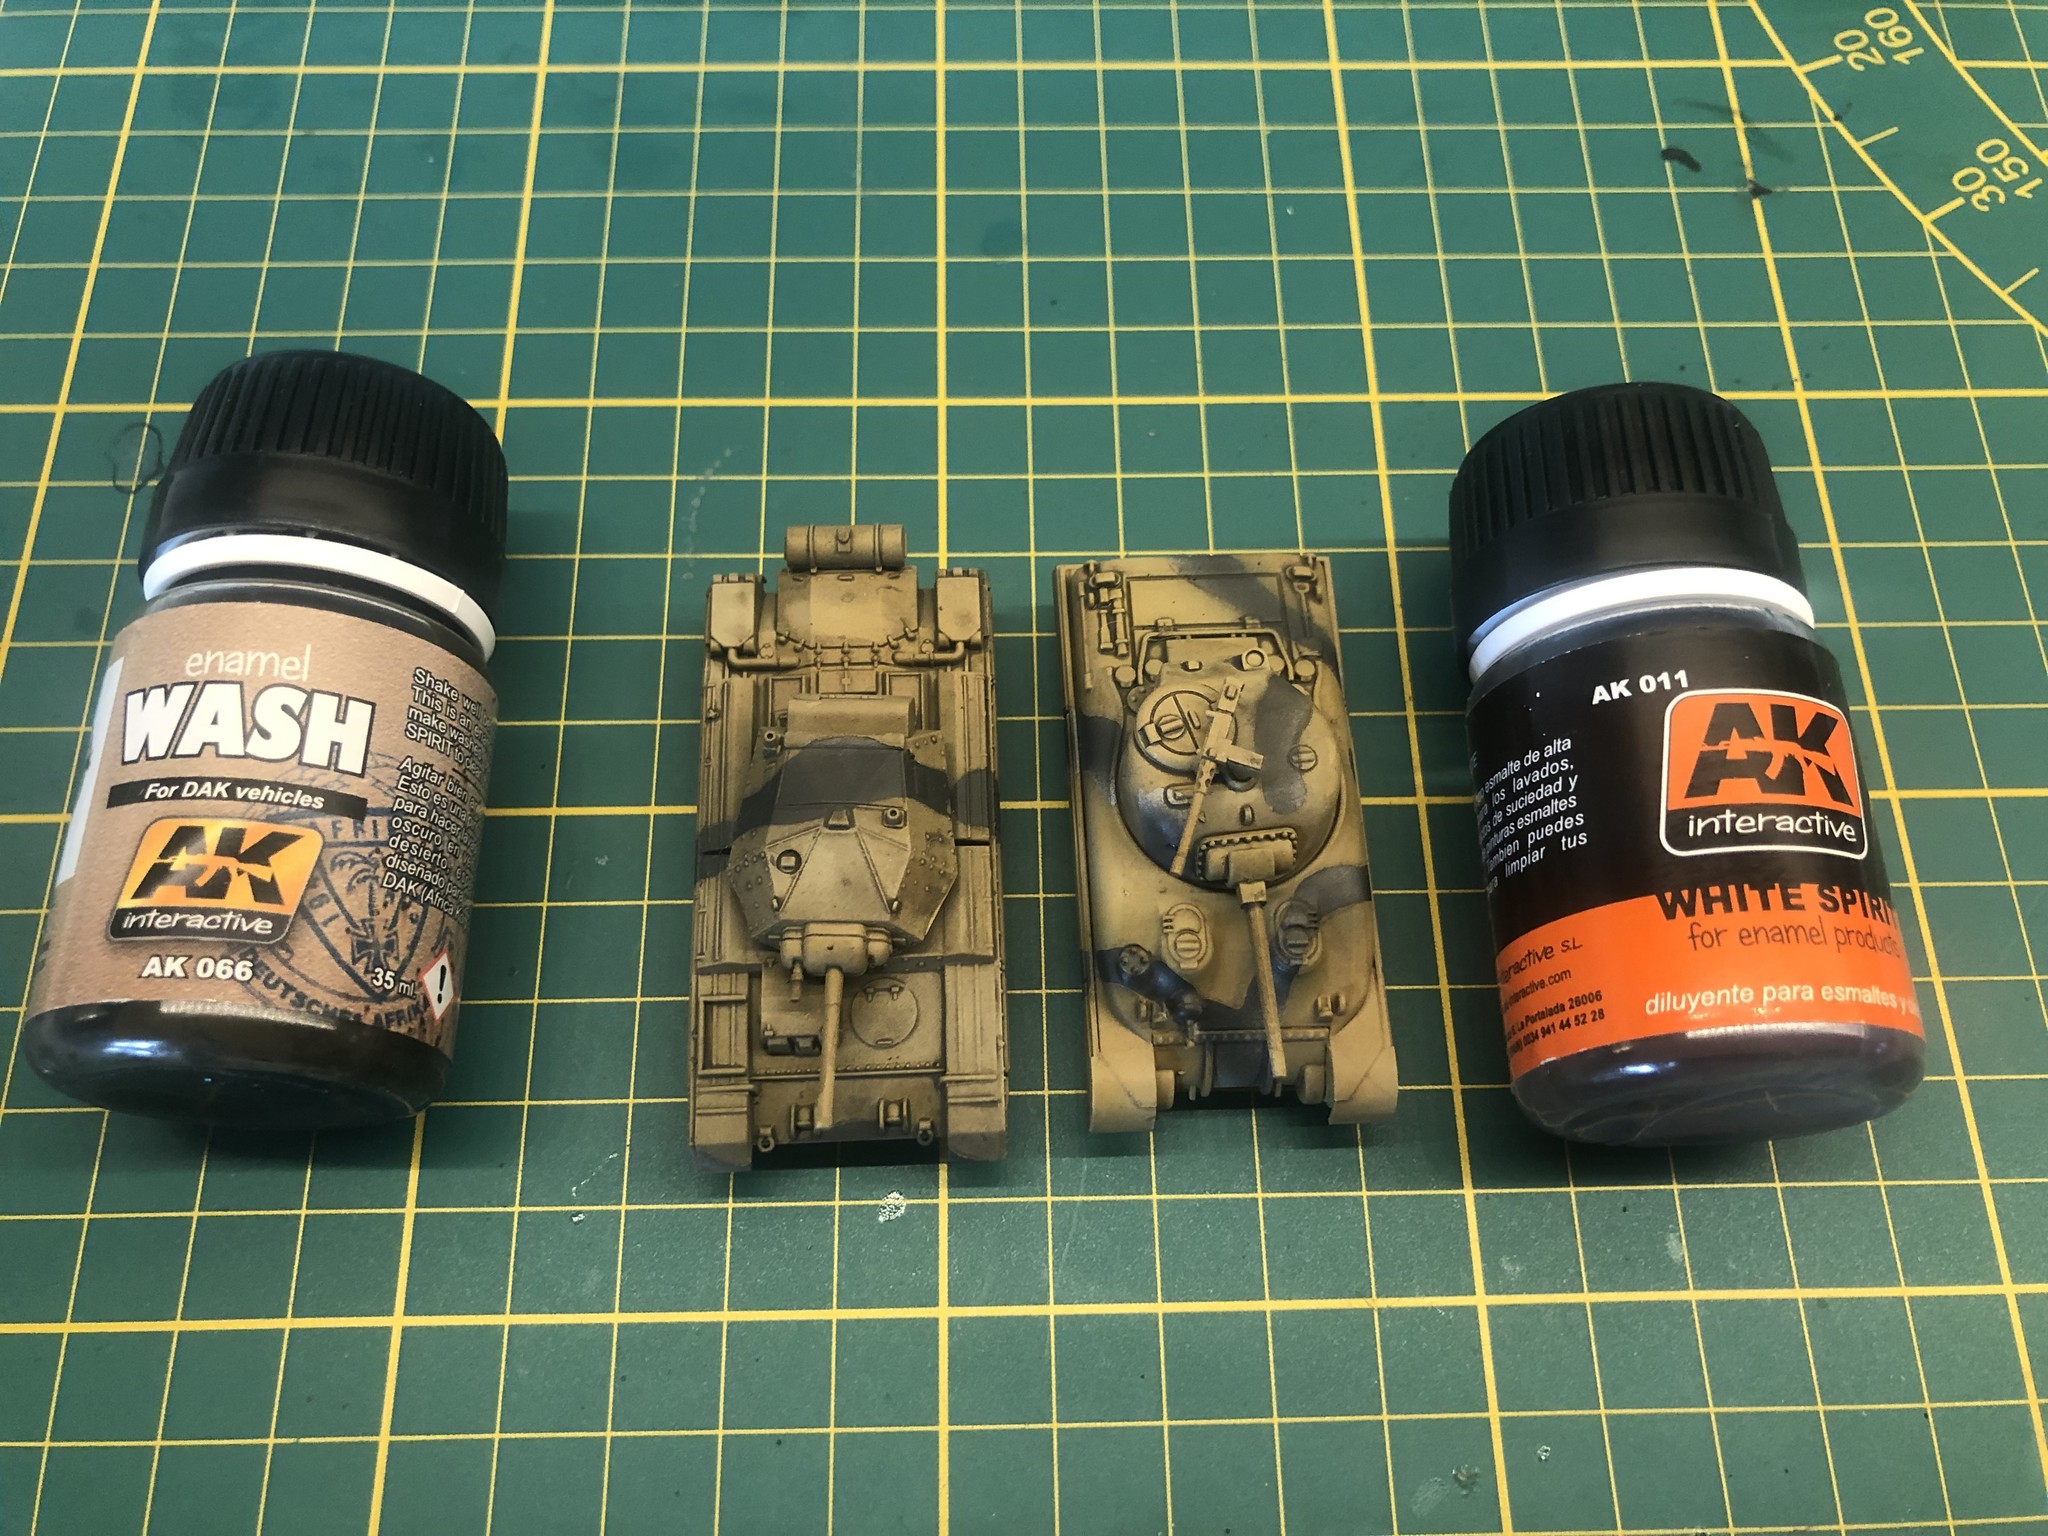
Once this has dried a bit, use a kitchen towel with some white spirit on to clean up the flat panels and areas where the wash doesn’t look right.
Leave this to dry at least overnight.
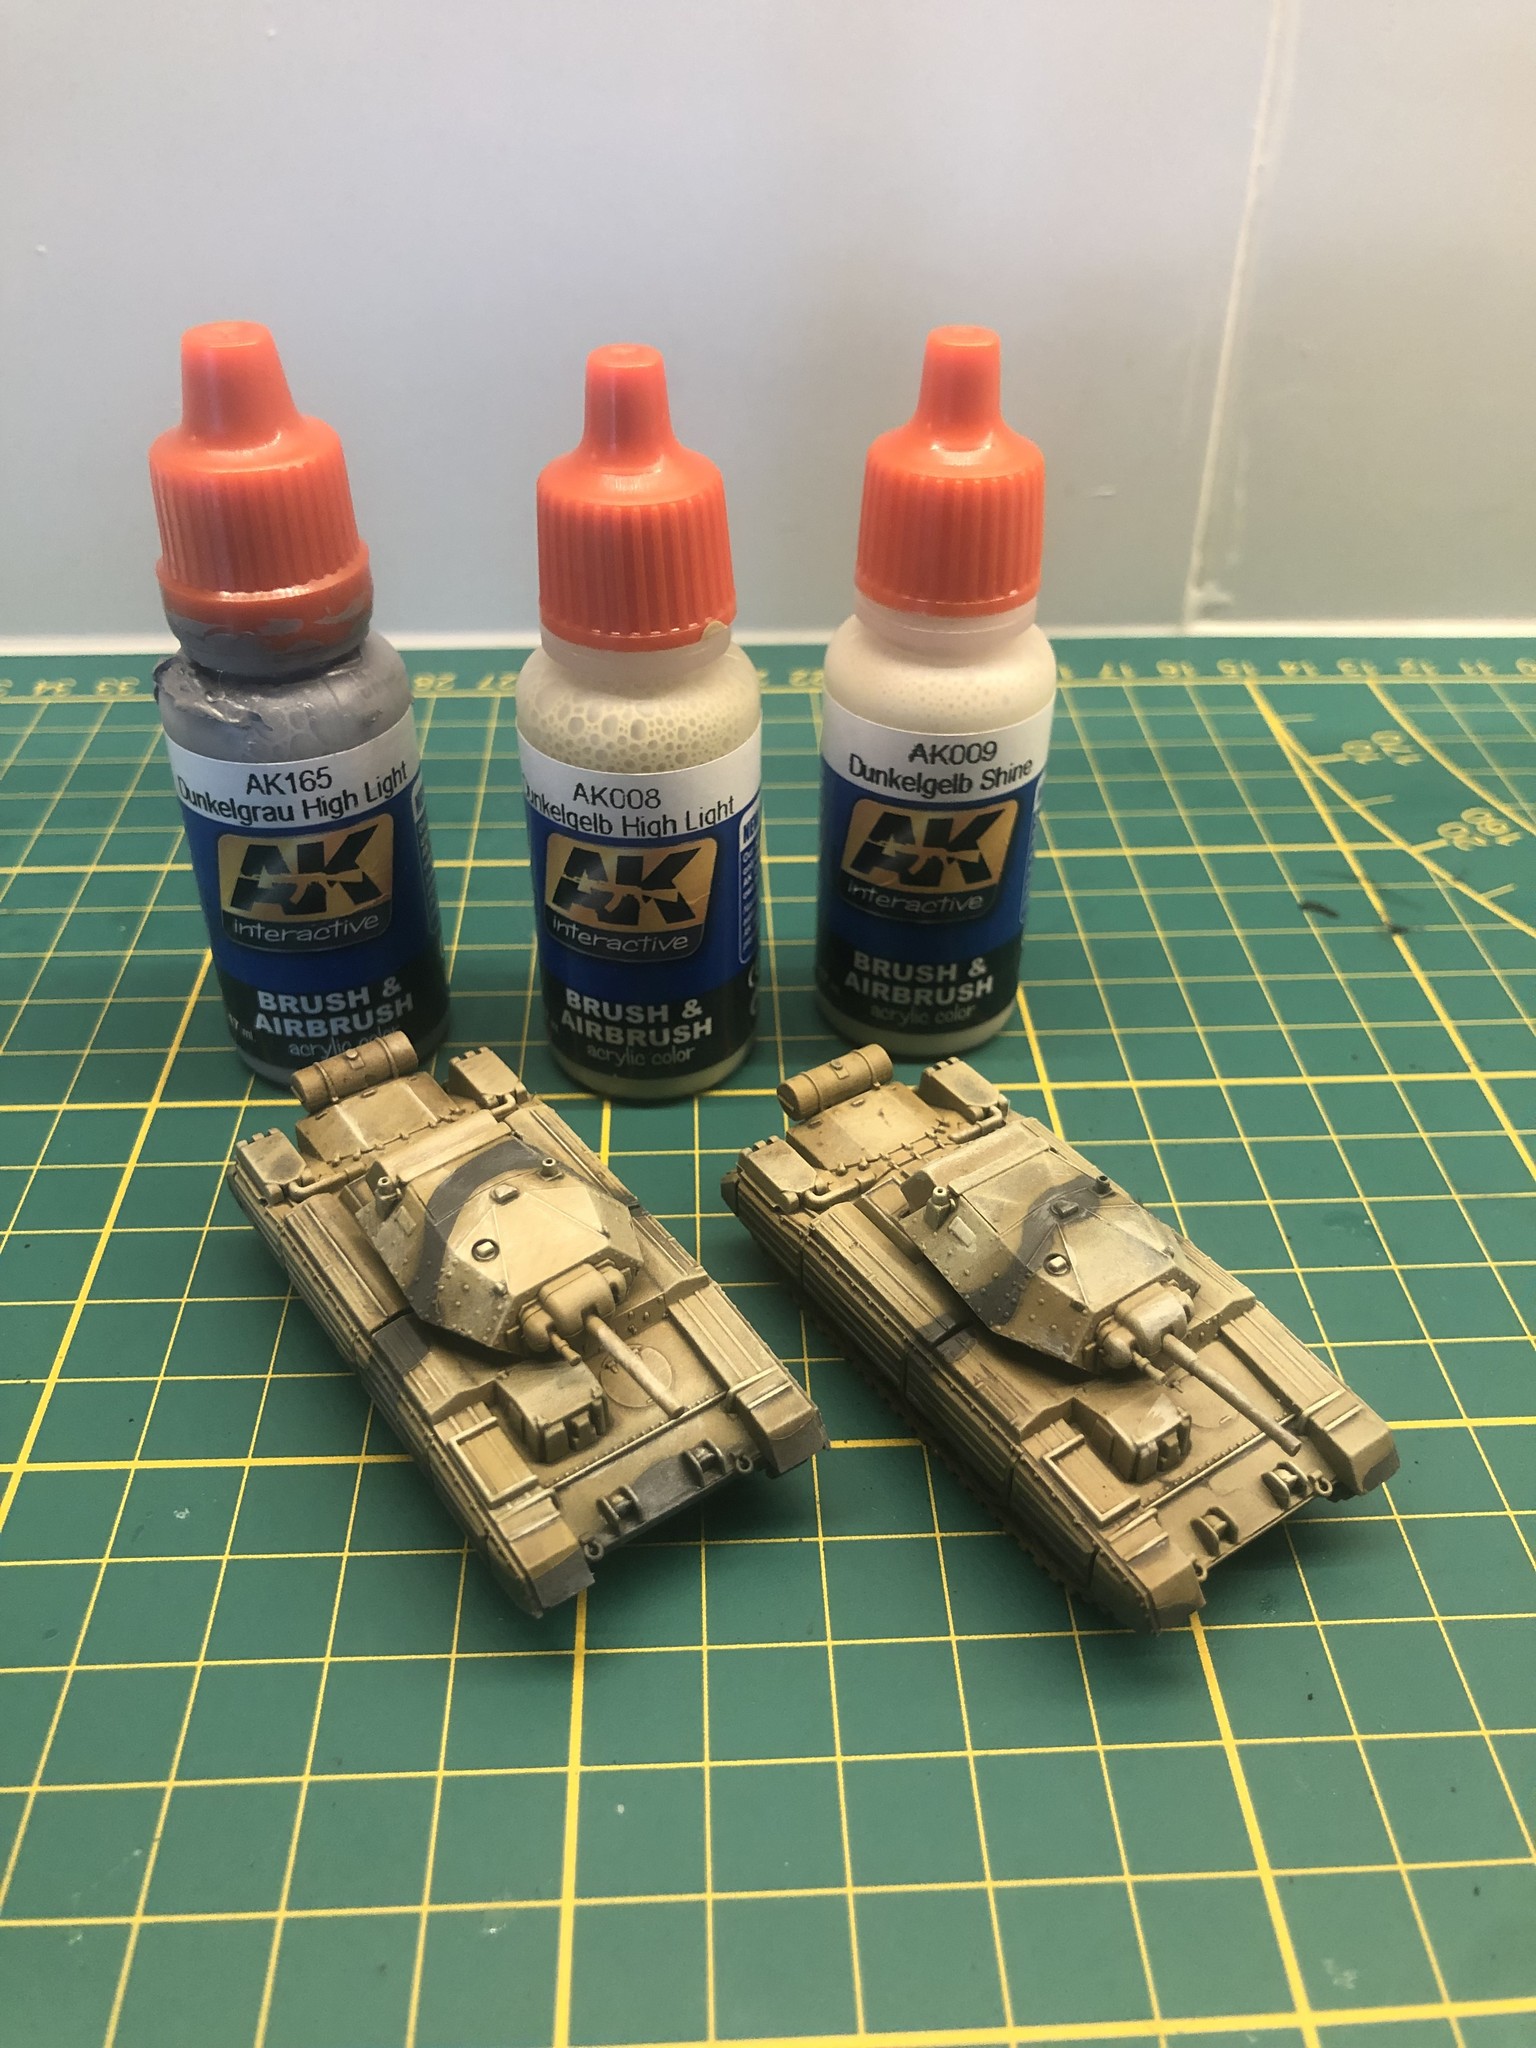
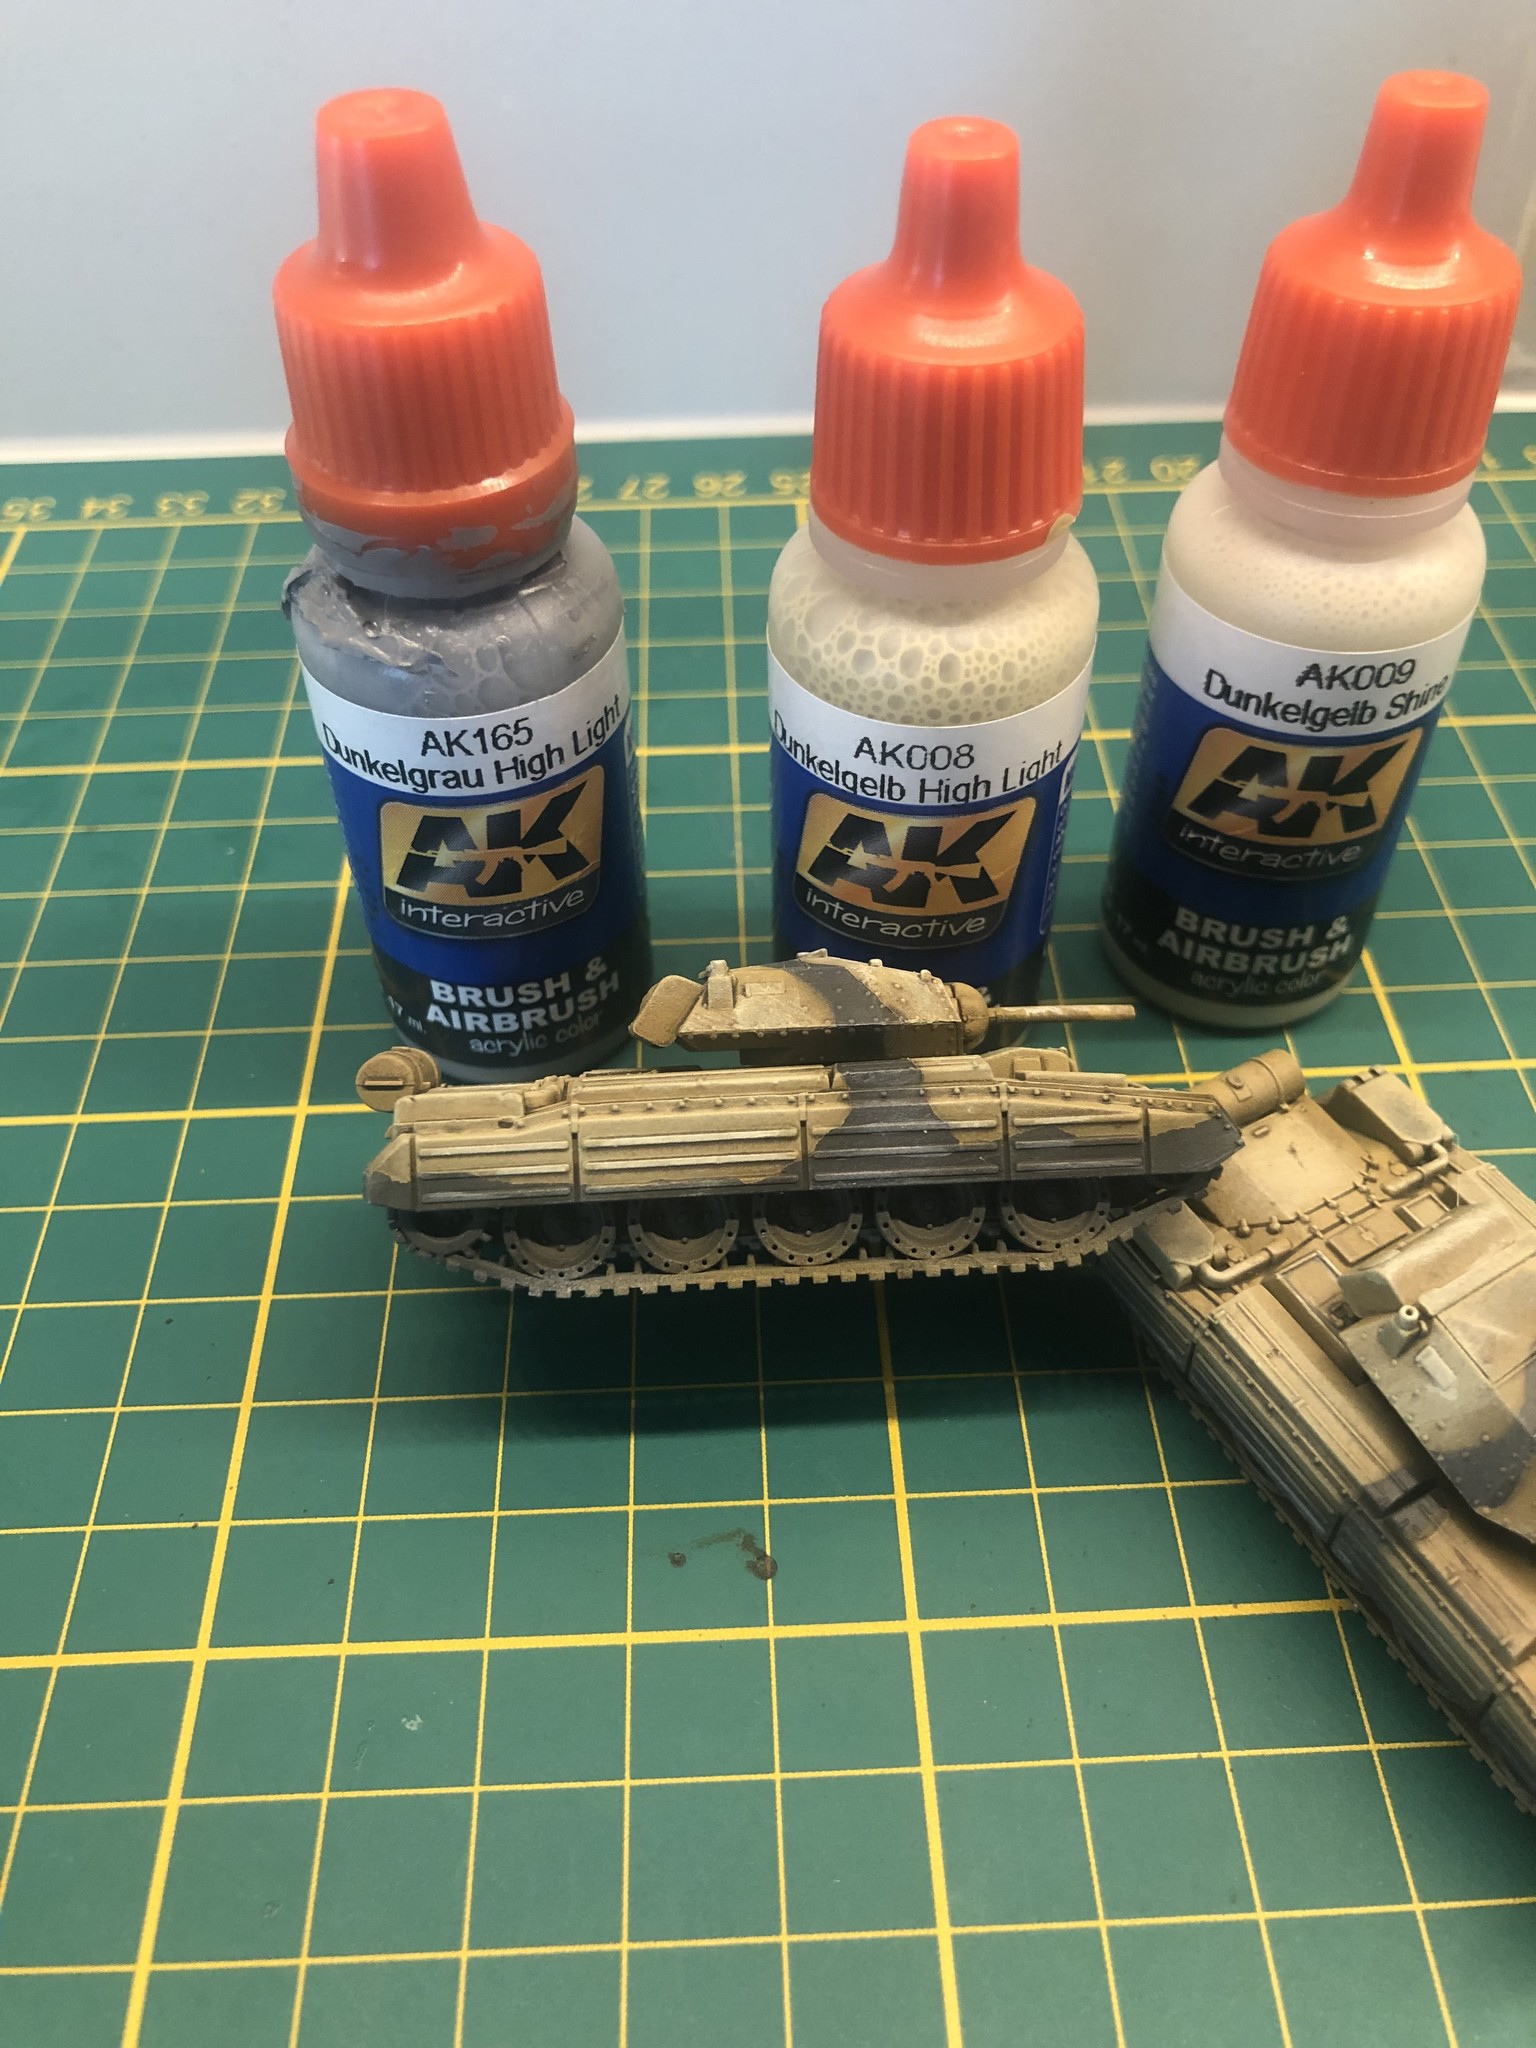
When it’s all dry, then you can apply a dry brush highlight over the tank using the different gradients of Dunkelgelb. This will give the high points of the tank more definition and increase the impact on the tabletop:
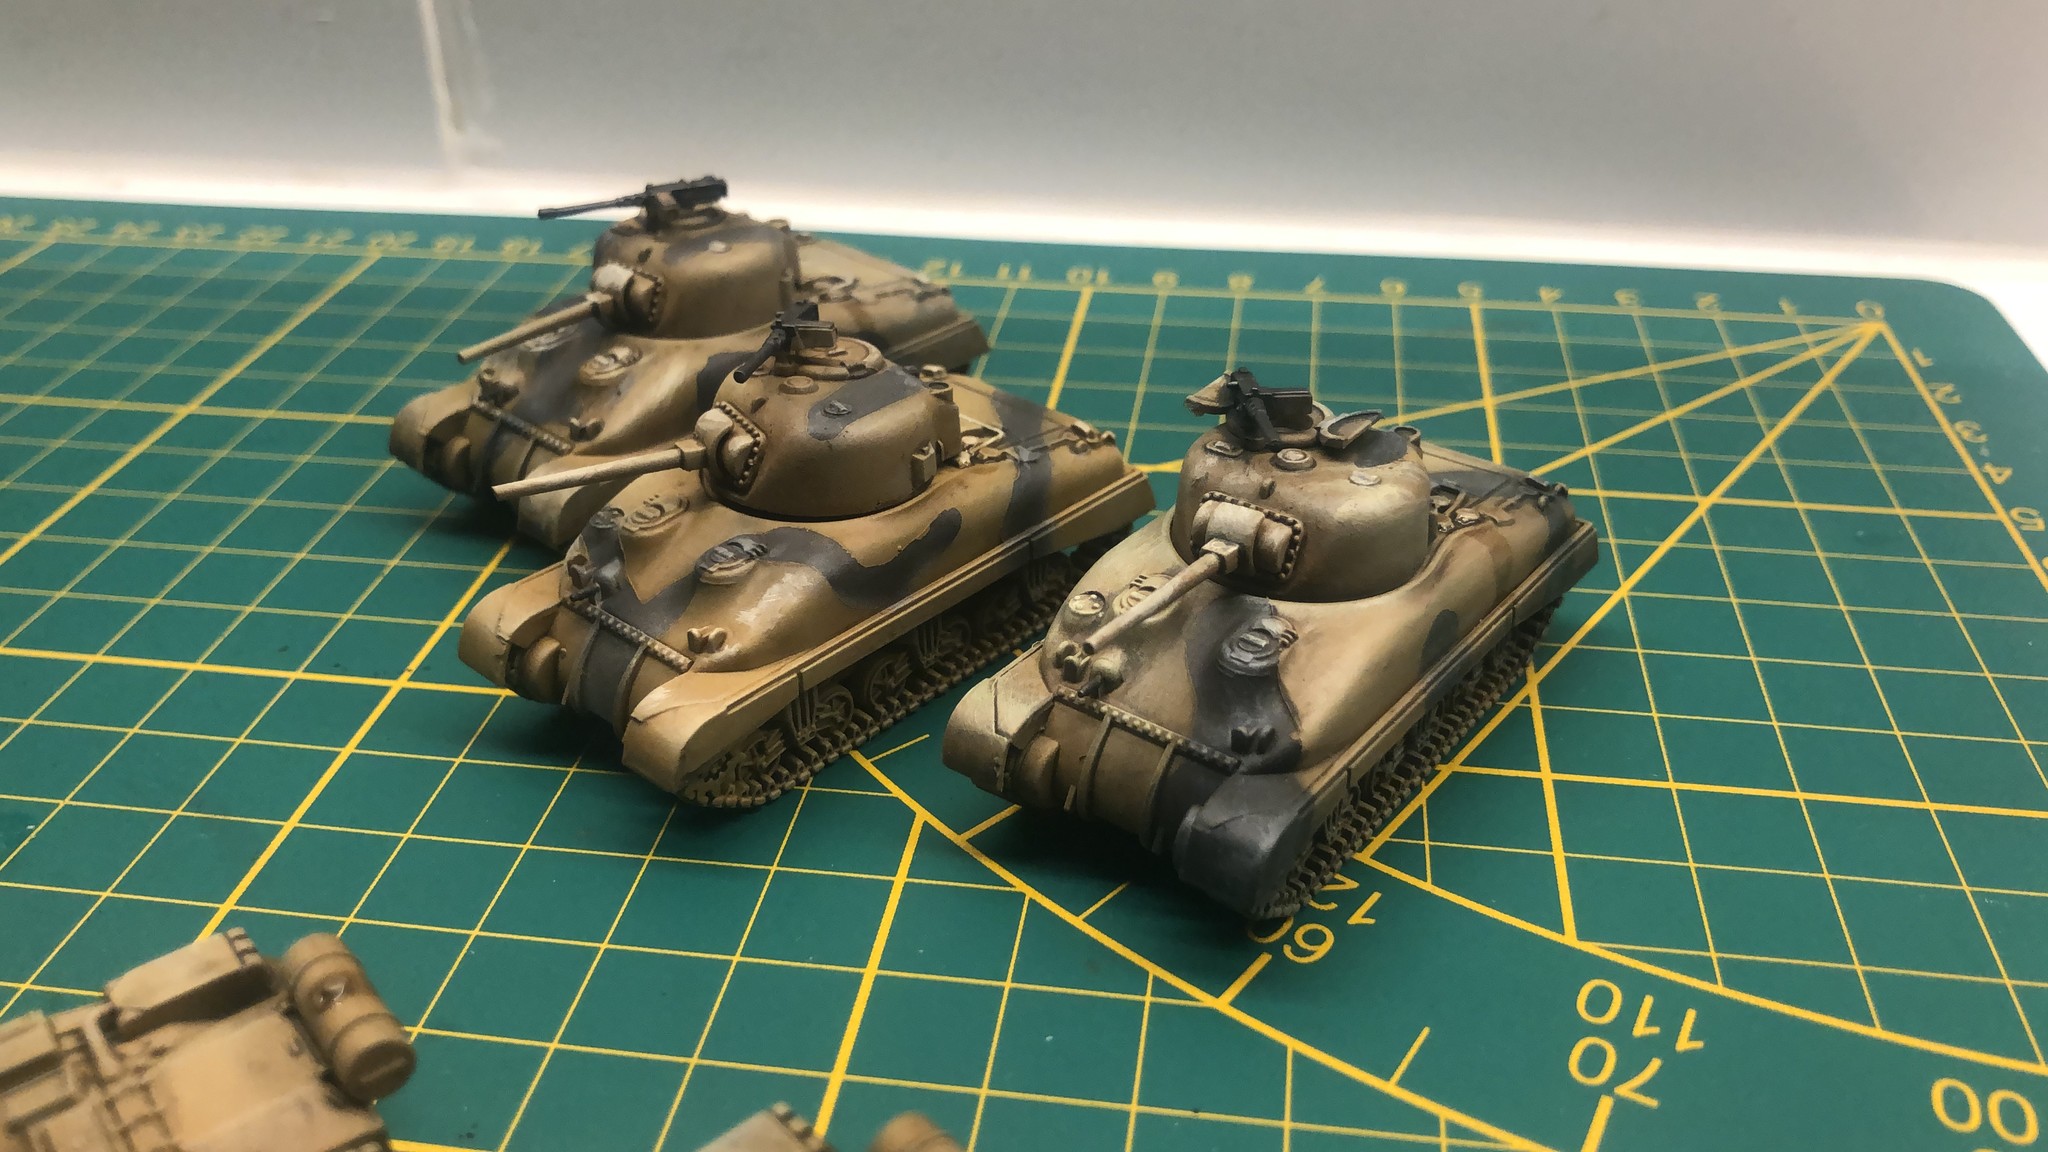
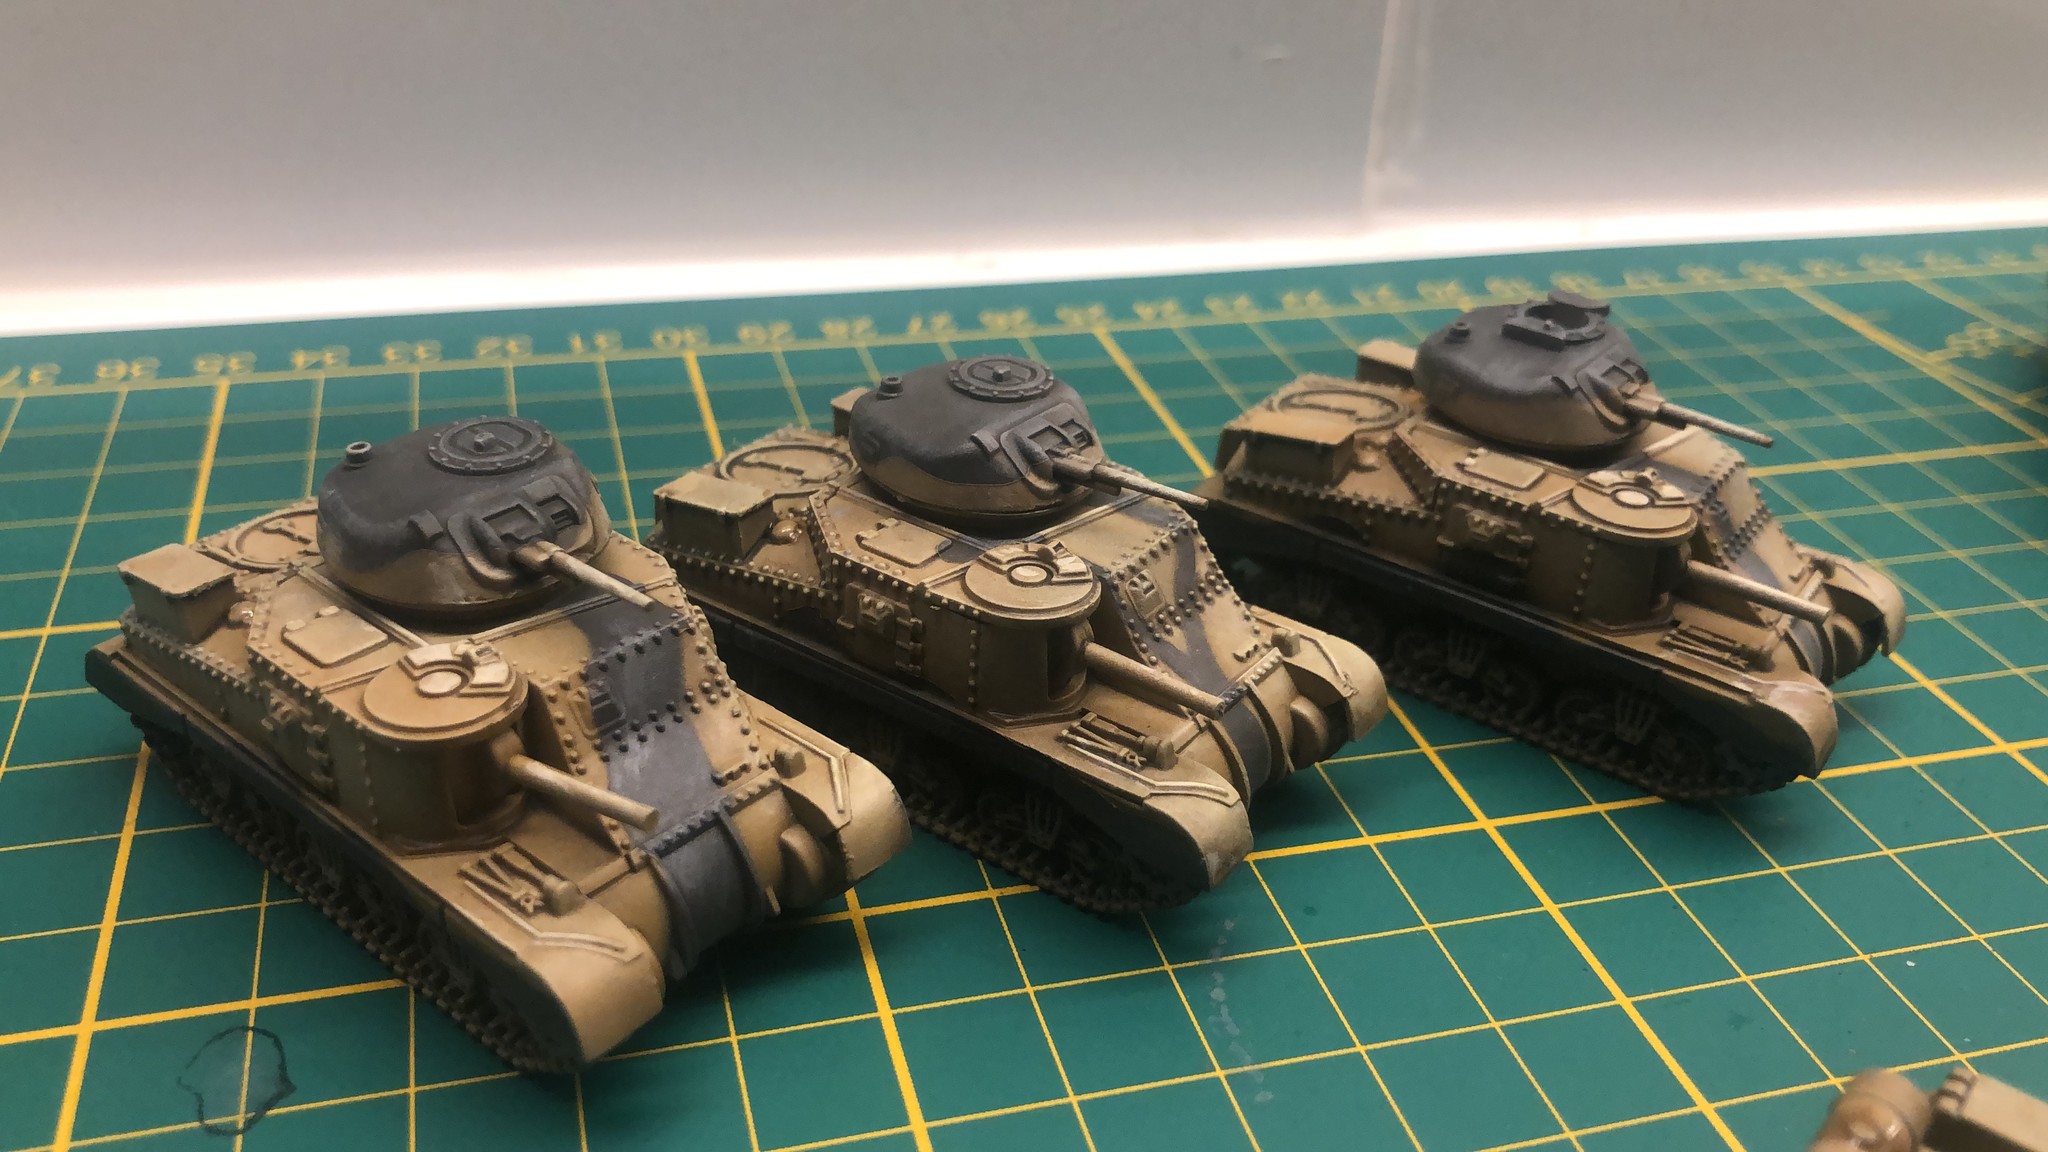
The final step is to paint your tracks, we recommend Vallejo track primer 304 from their Panzer Aces range, add in some brown to the wooden tools and you’re ready to apply your decals.
We hope you enjoyed our guide to painting the tank from the Tobruk starter set for Flames of War. If you want to see more painting guides for Flames of War, you can find them right here:
Reacties
Wees de eerste om te reageren...