
Cart
You have no items in your shopping cart
Painting the Panzer tanks from the Flames of War mid-war starter set Kasserine
How paint mid-war Panzers – FoW Kasserine
If you read our review of the new Flames of War, mid-war Kasserine starter box, then you’ll know just how great of a place it is to start with Flames of War.
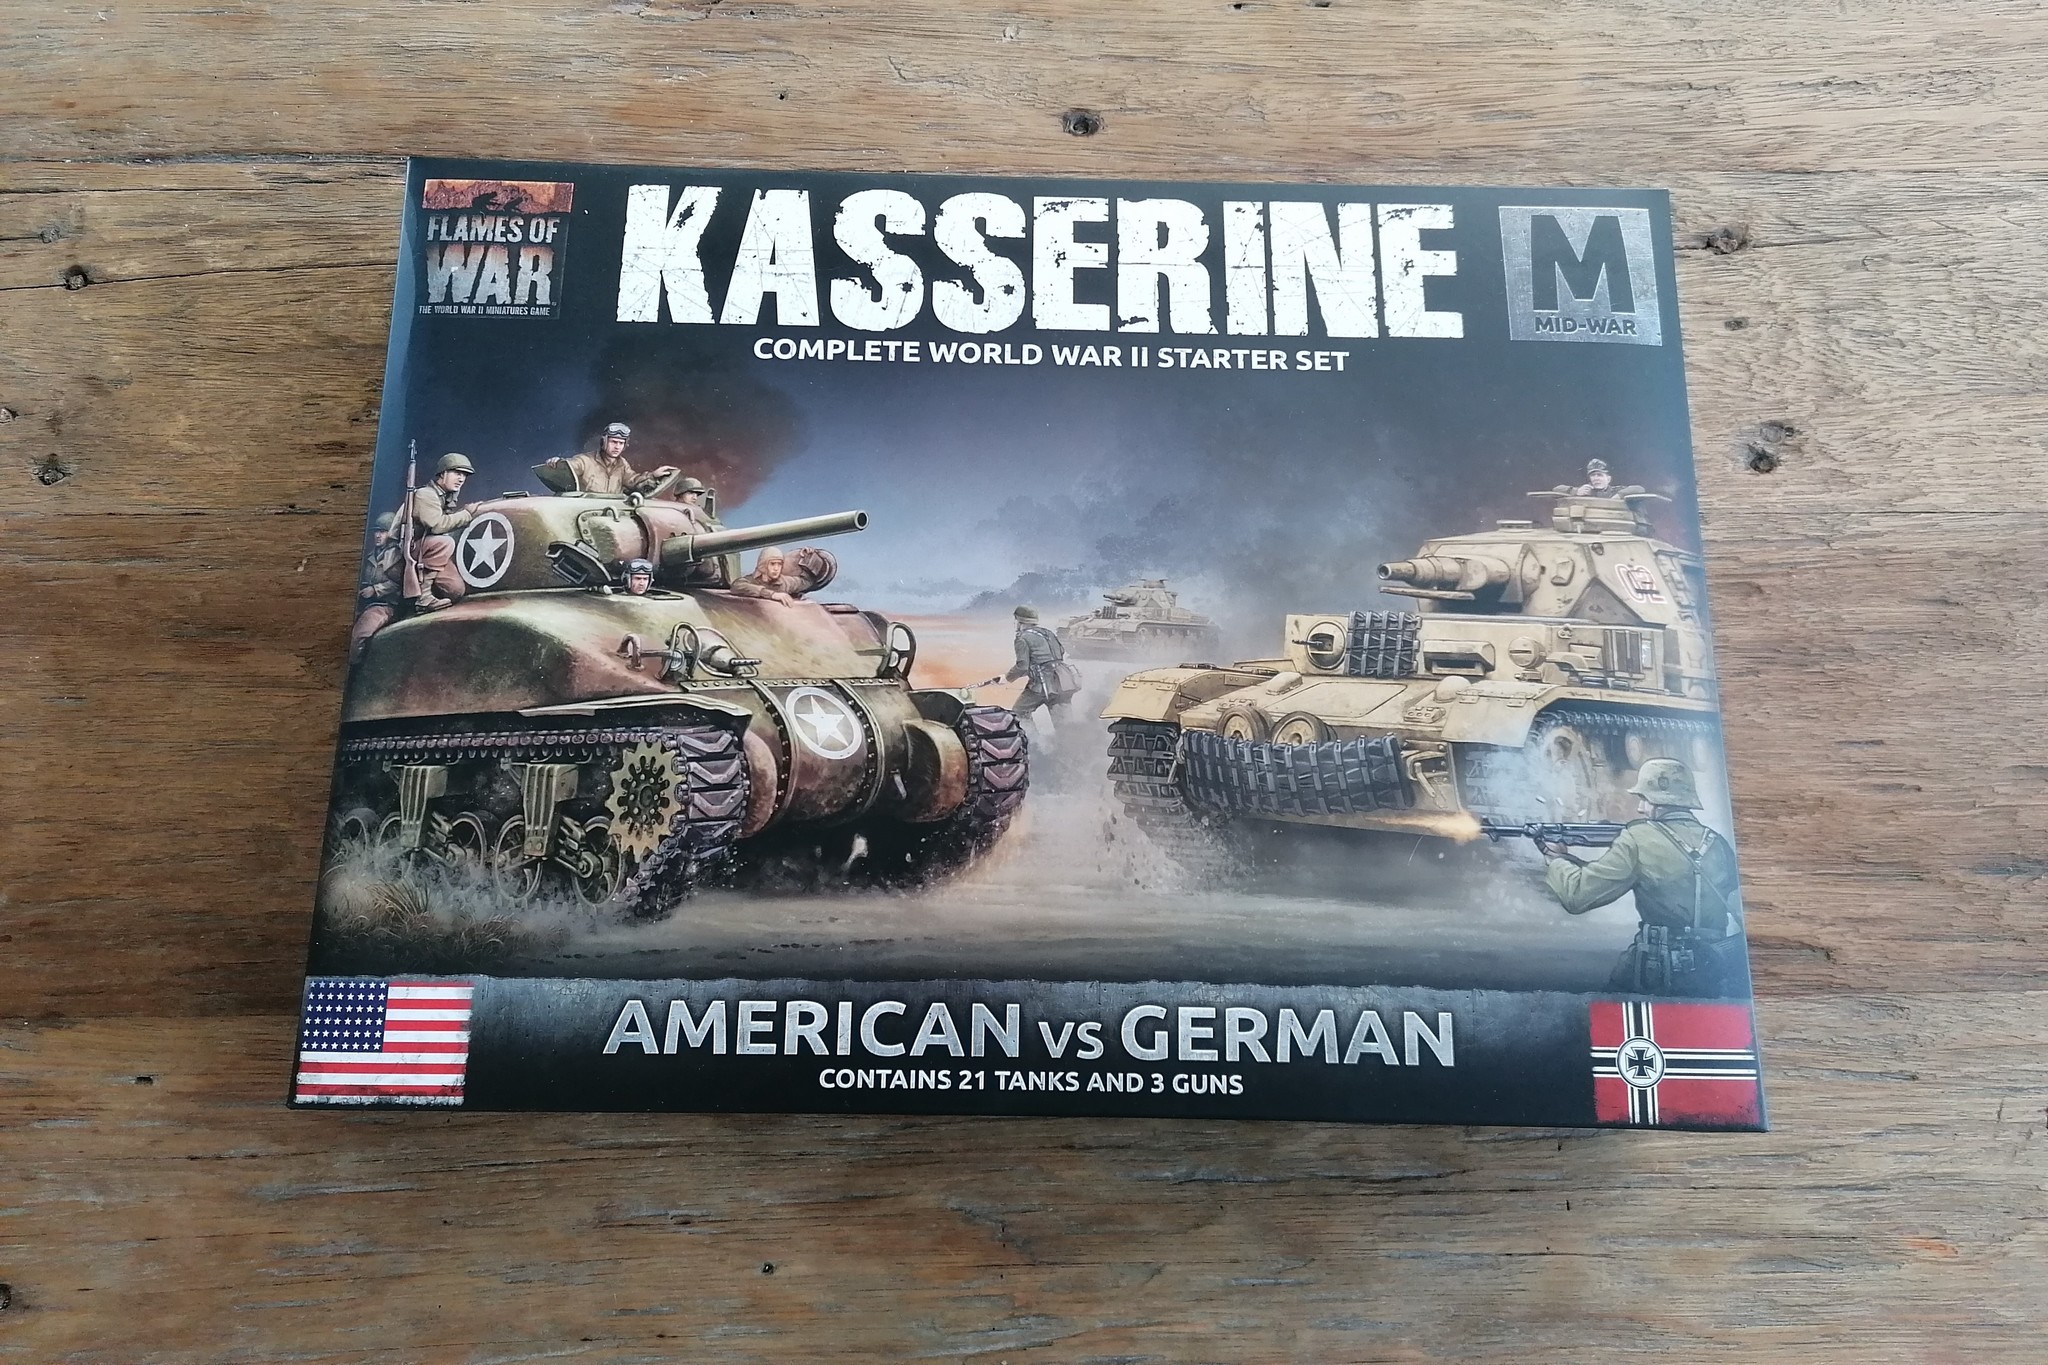
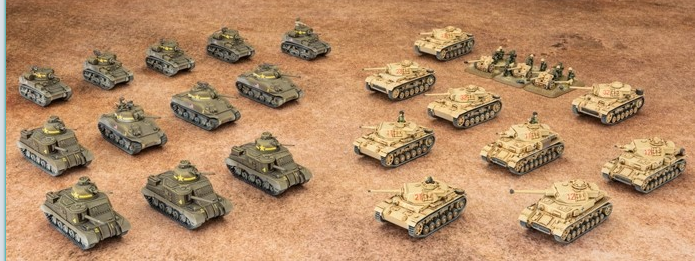
Set in the desert during the height of the North Africa campaign, Kasserine sees the German forces of the Afrika Korps and the American U.S II Corps face off in brutal combat.
As we discuss in our review, you can build the models and get playing. However, for those of you with brushes at the ready, here are our painting guides to the armies. These guides are beginner friendly, with optional and advanced steps clearly marked.
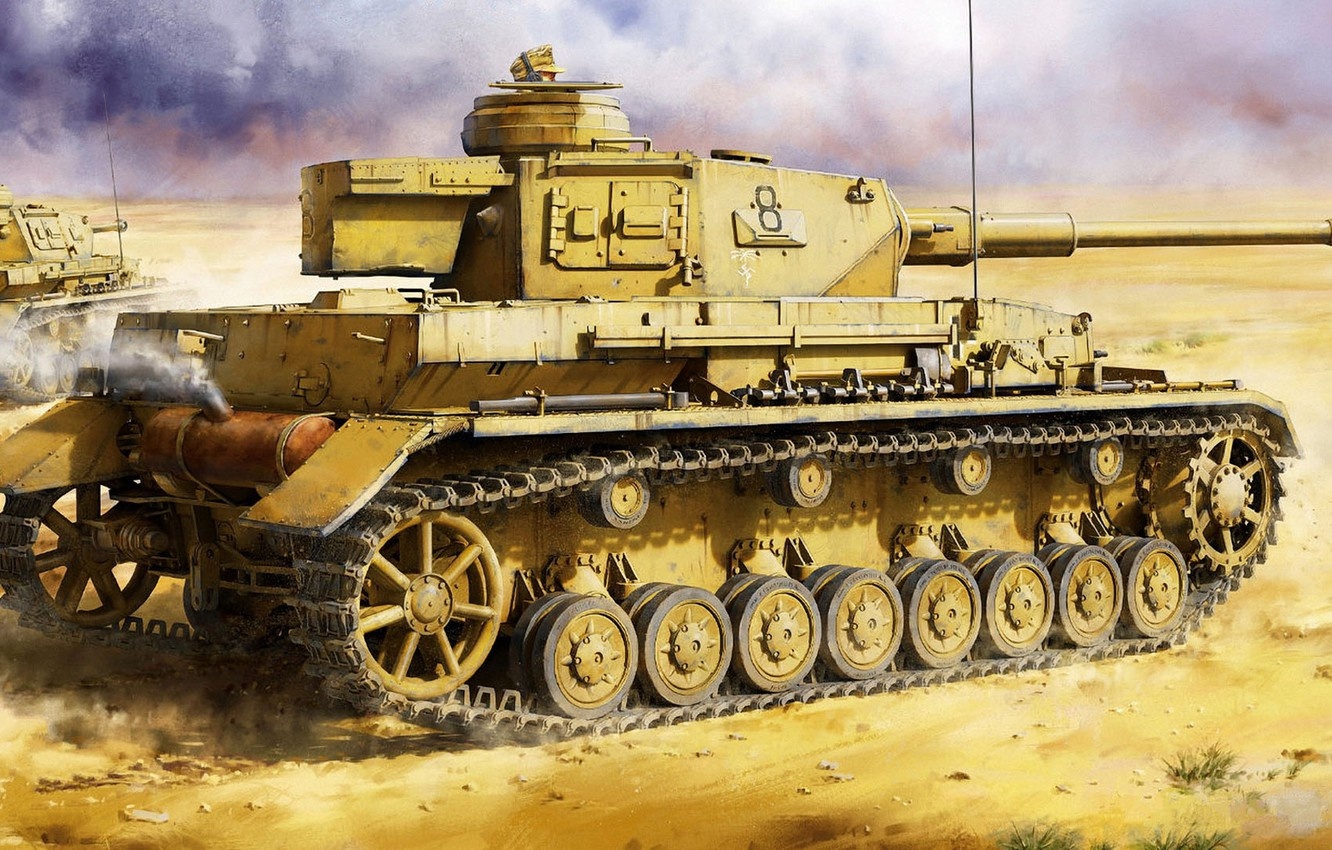
Today, we’re starting with the dreaded Panzers of the Afrika Korps…
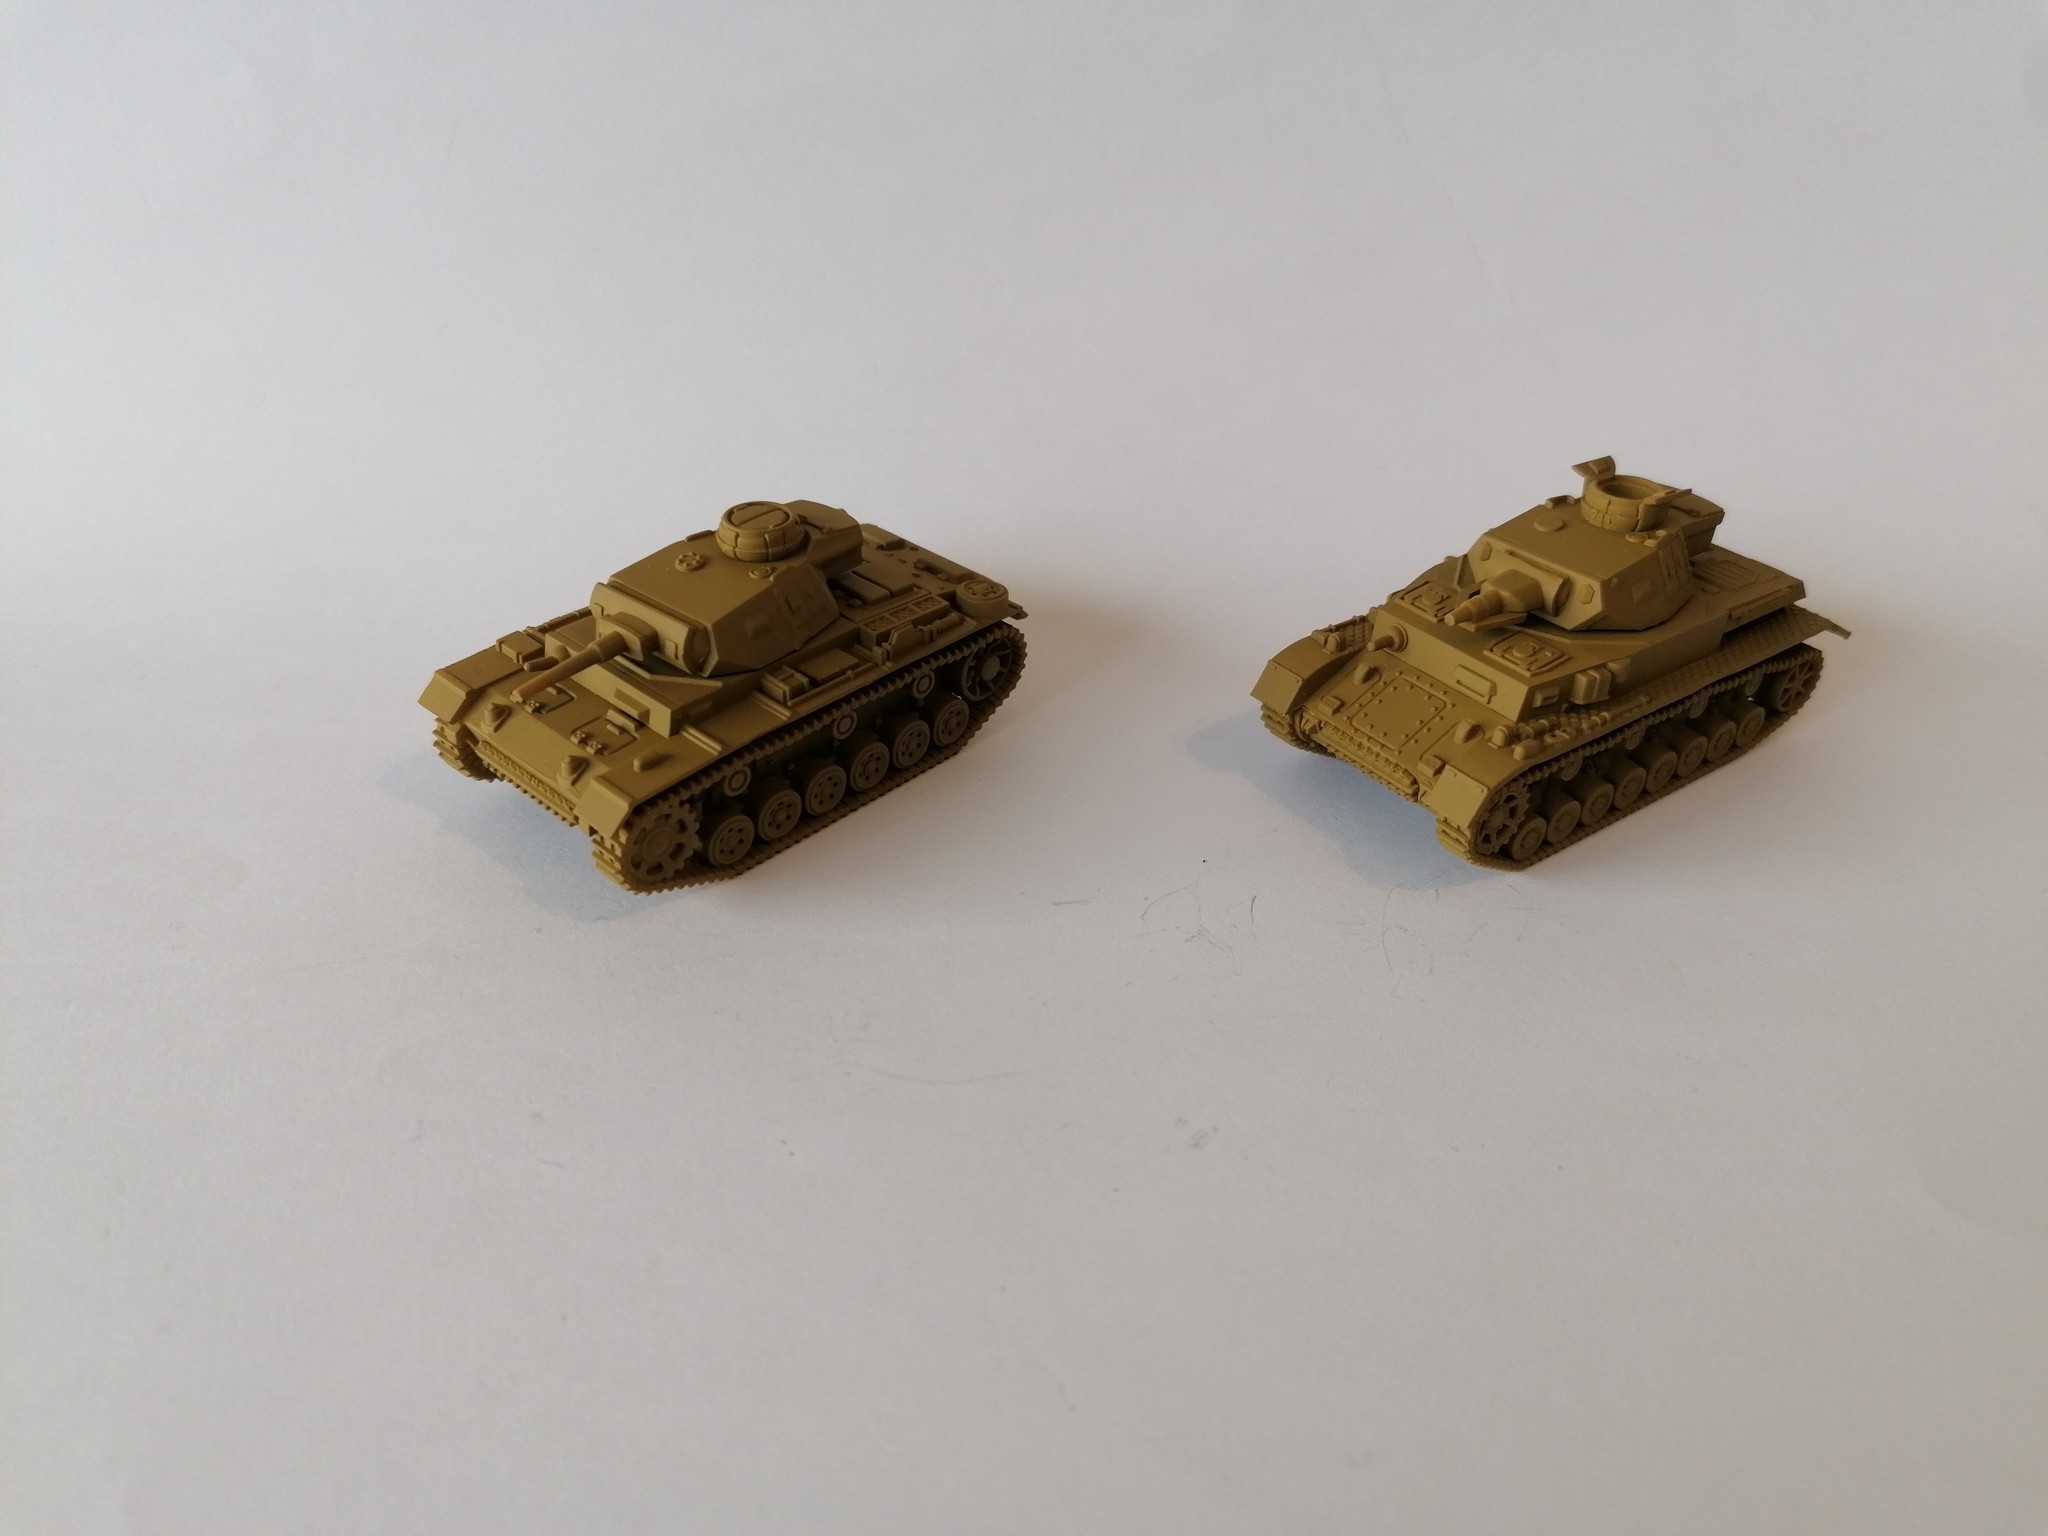
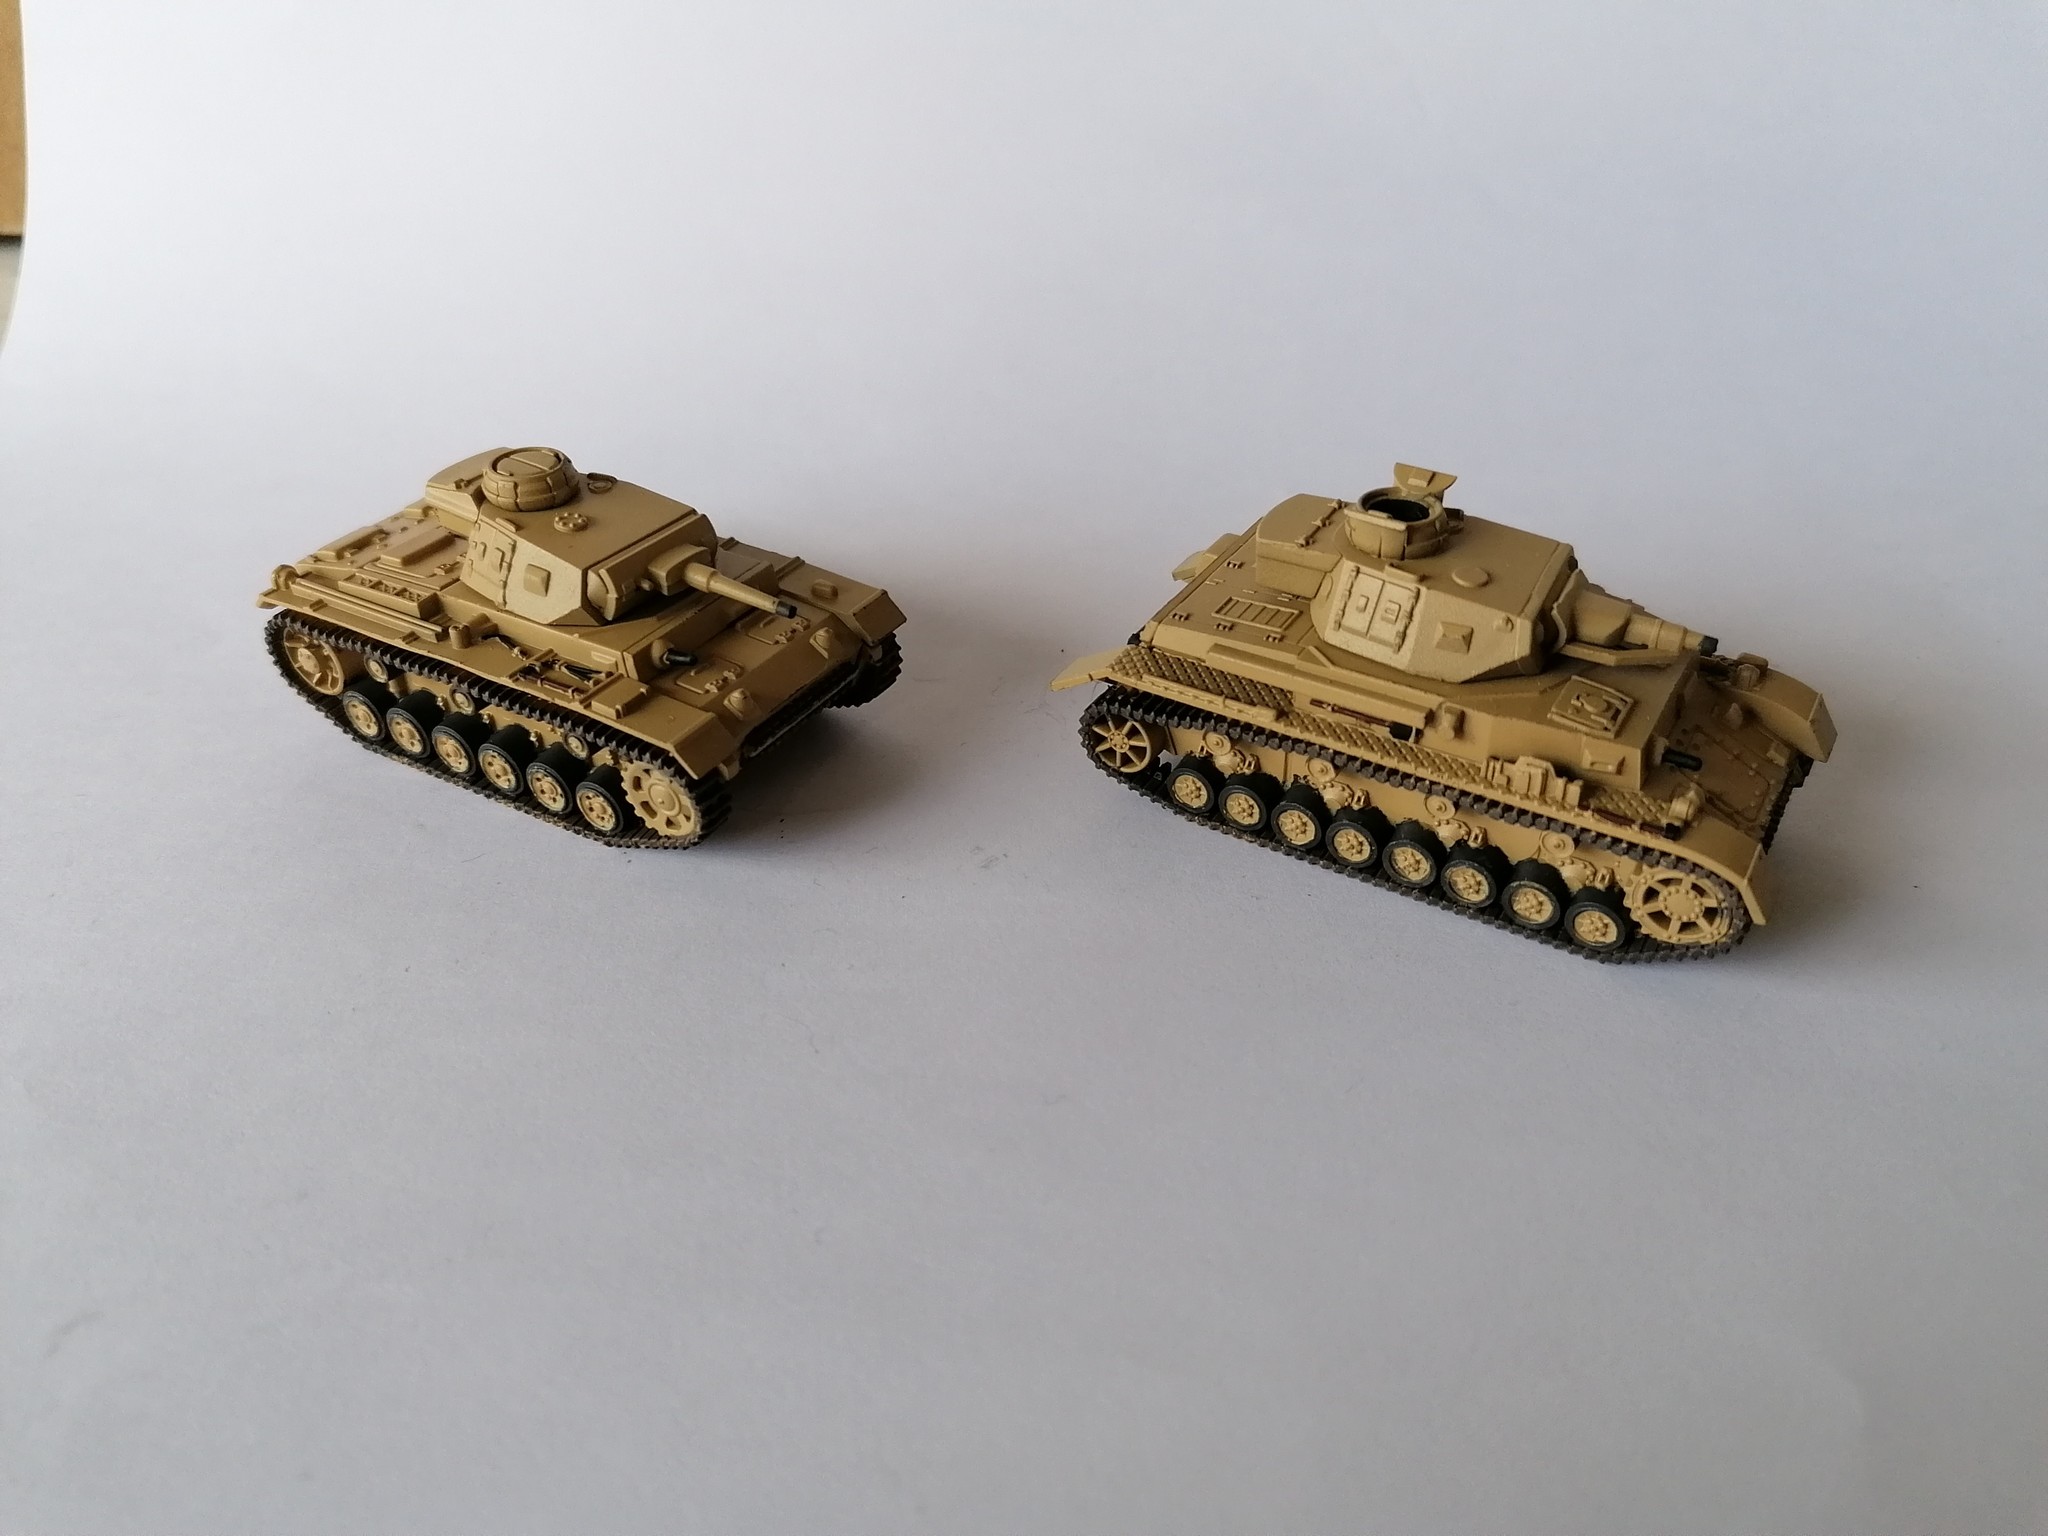
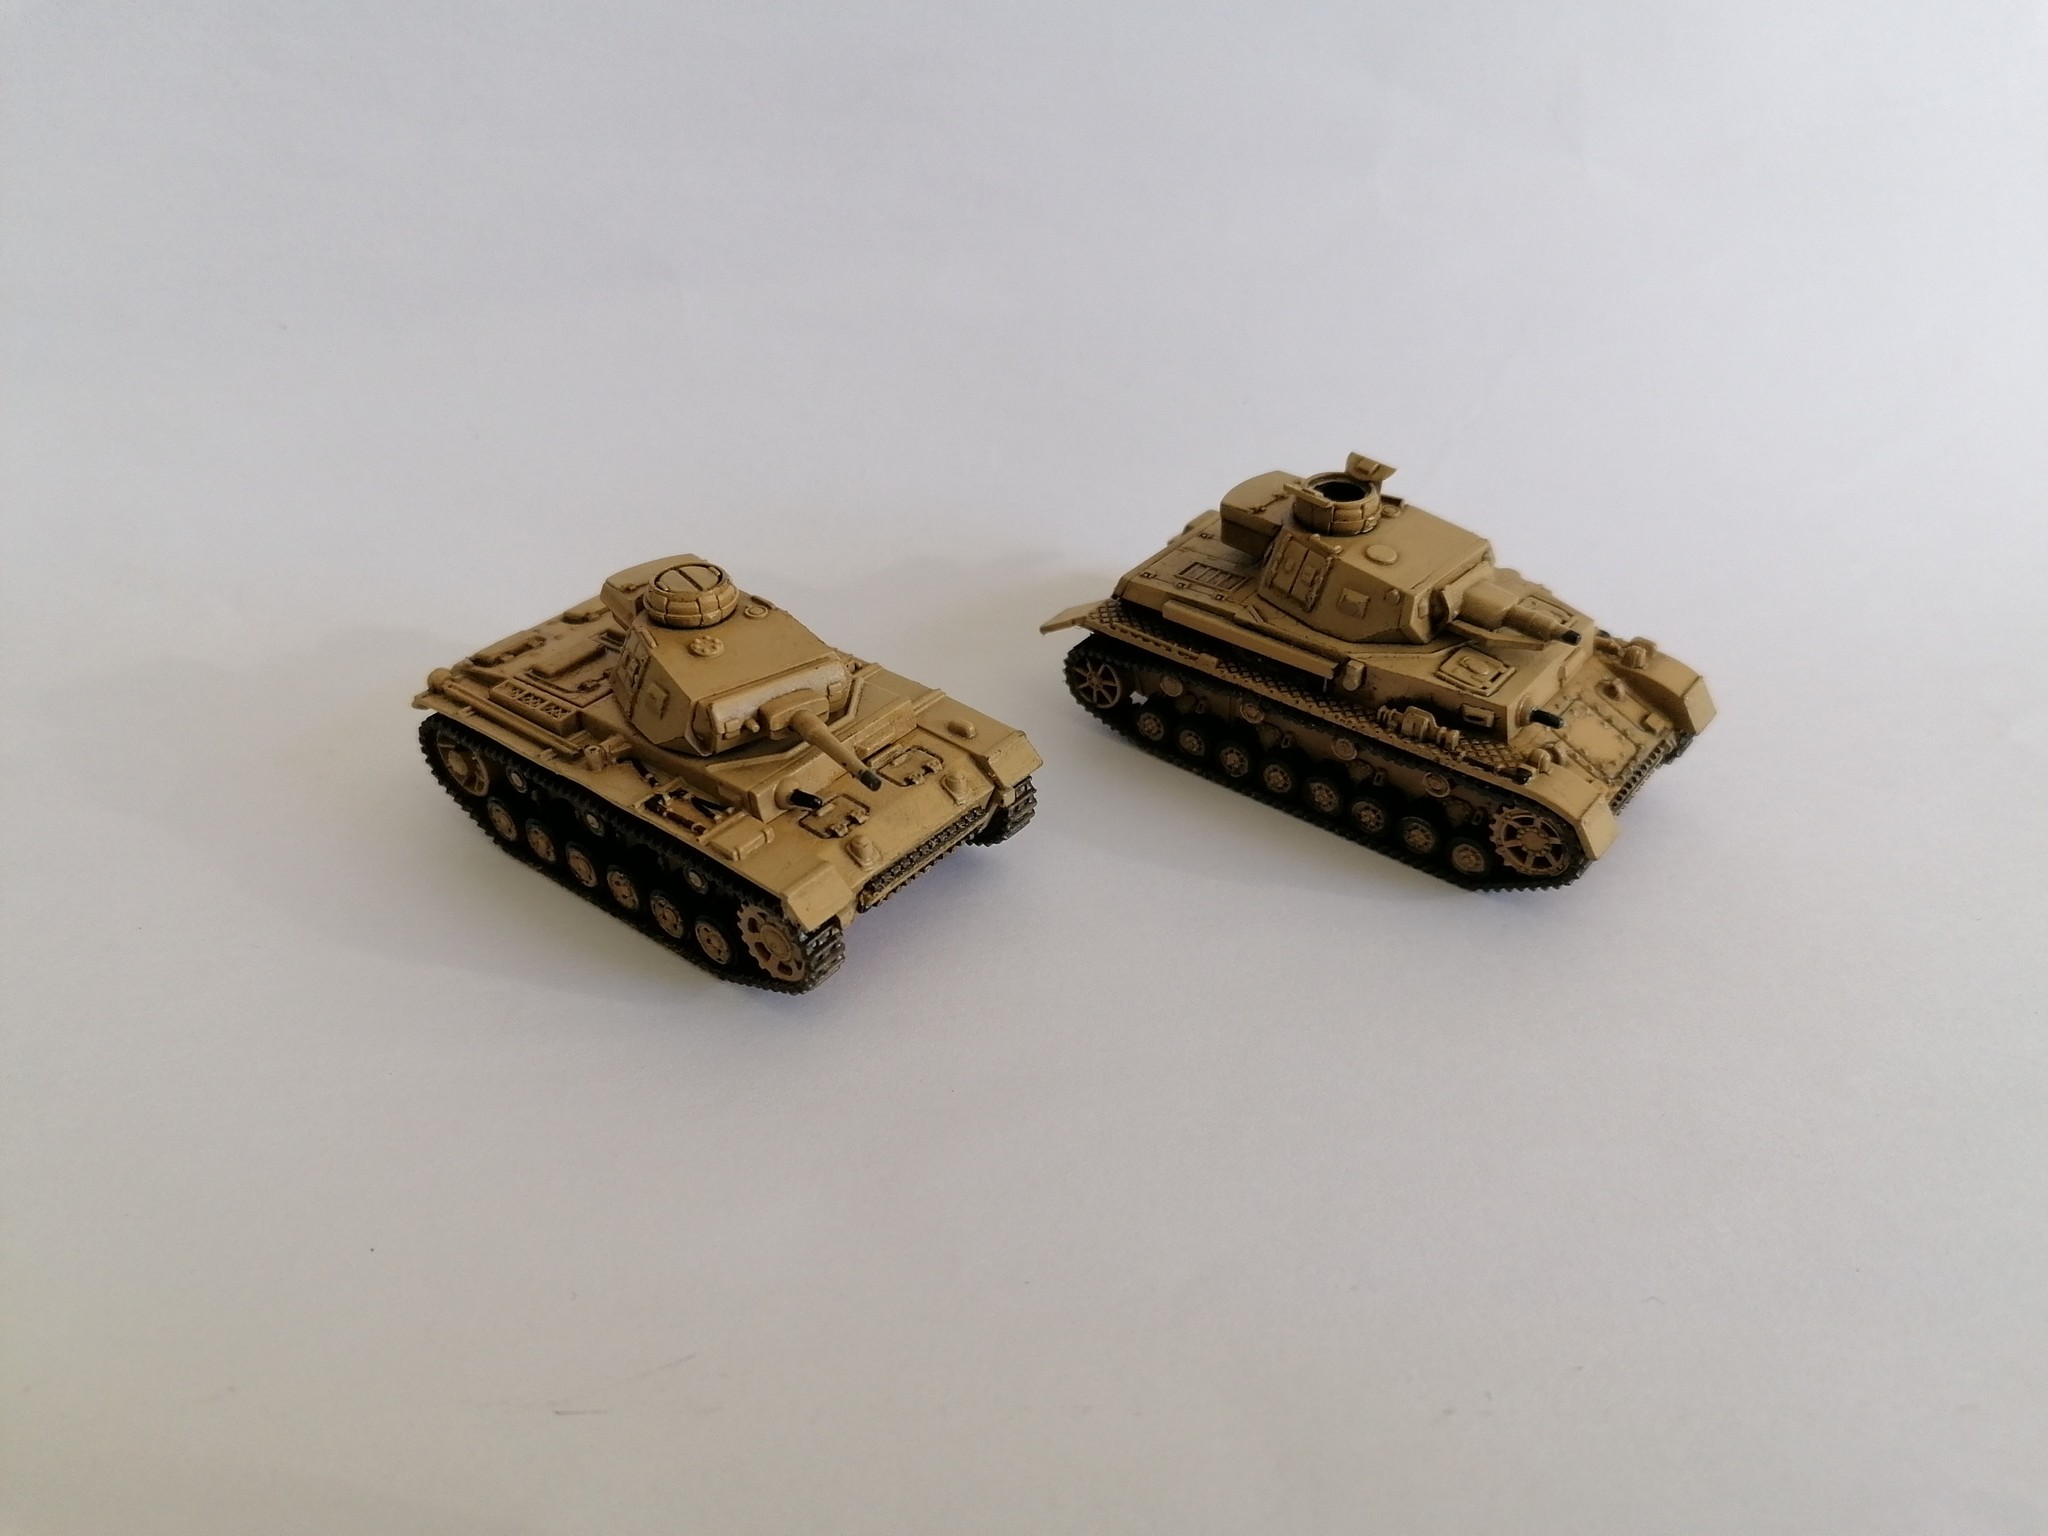
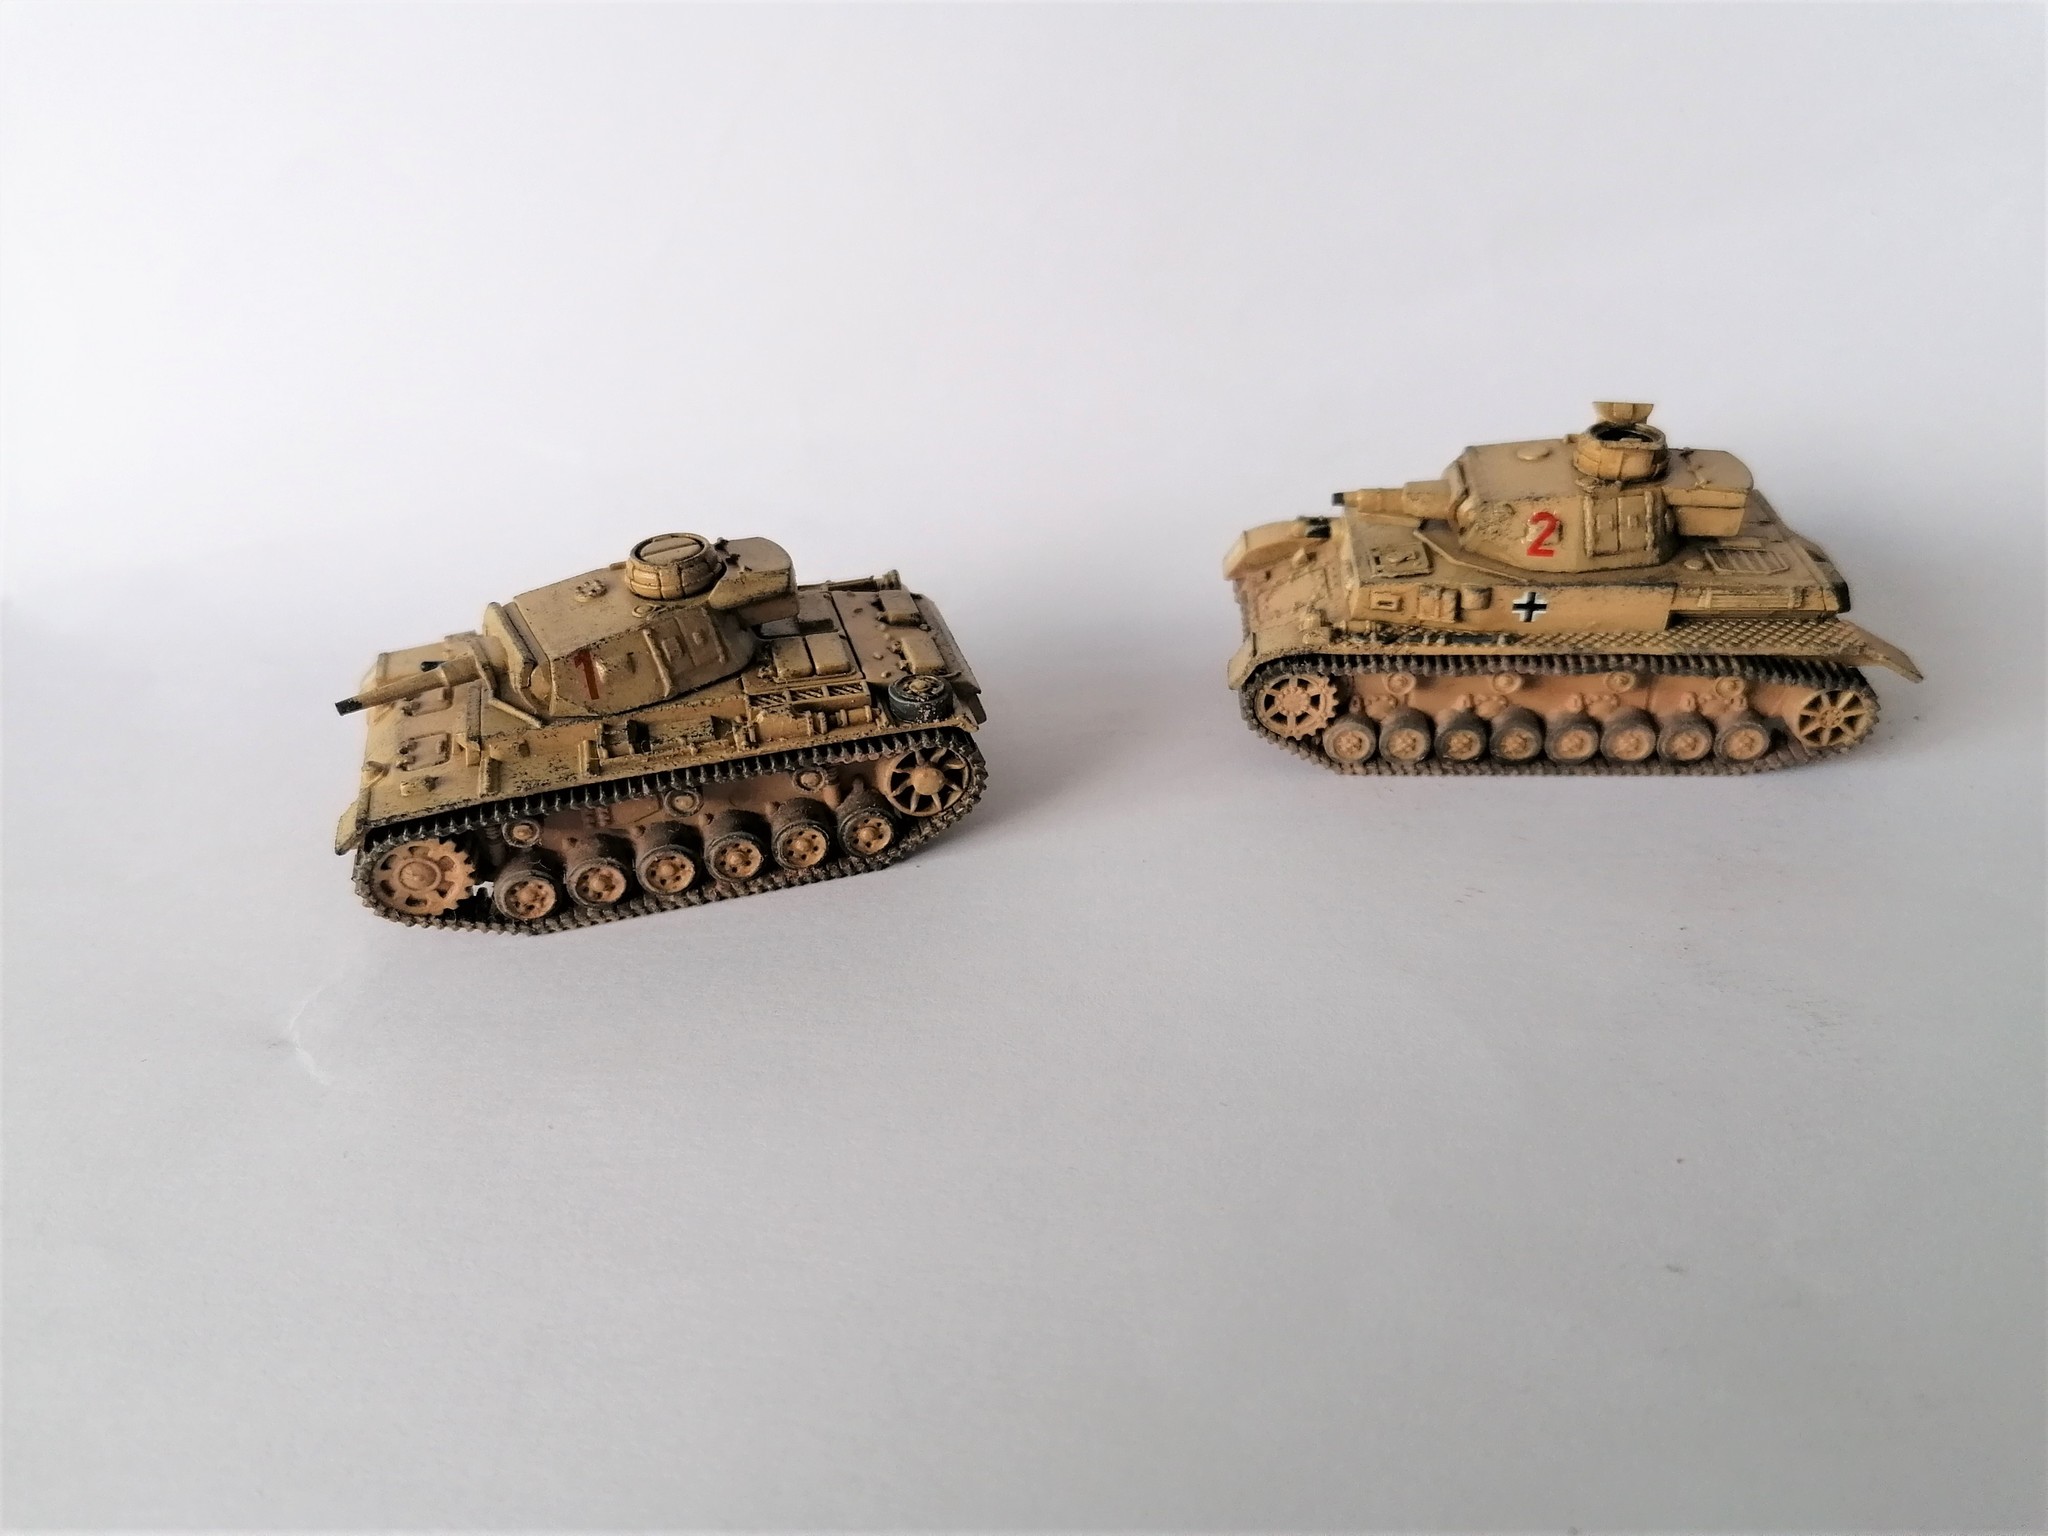
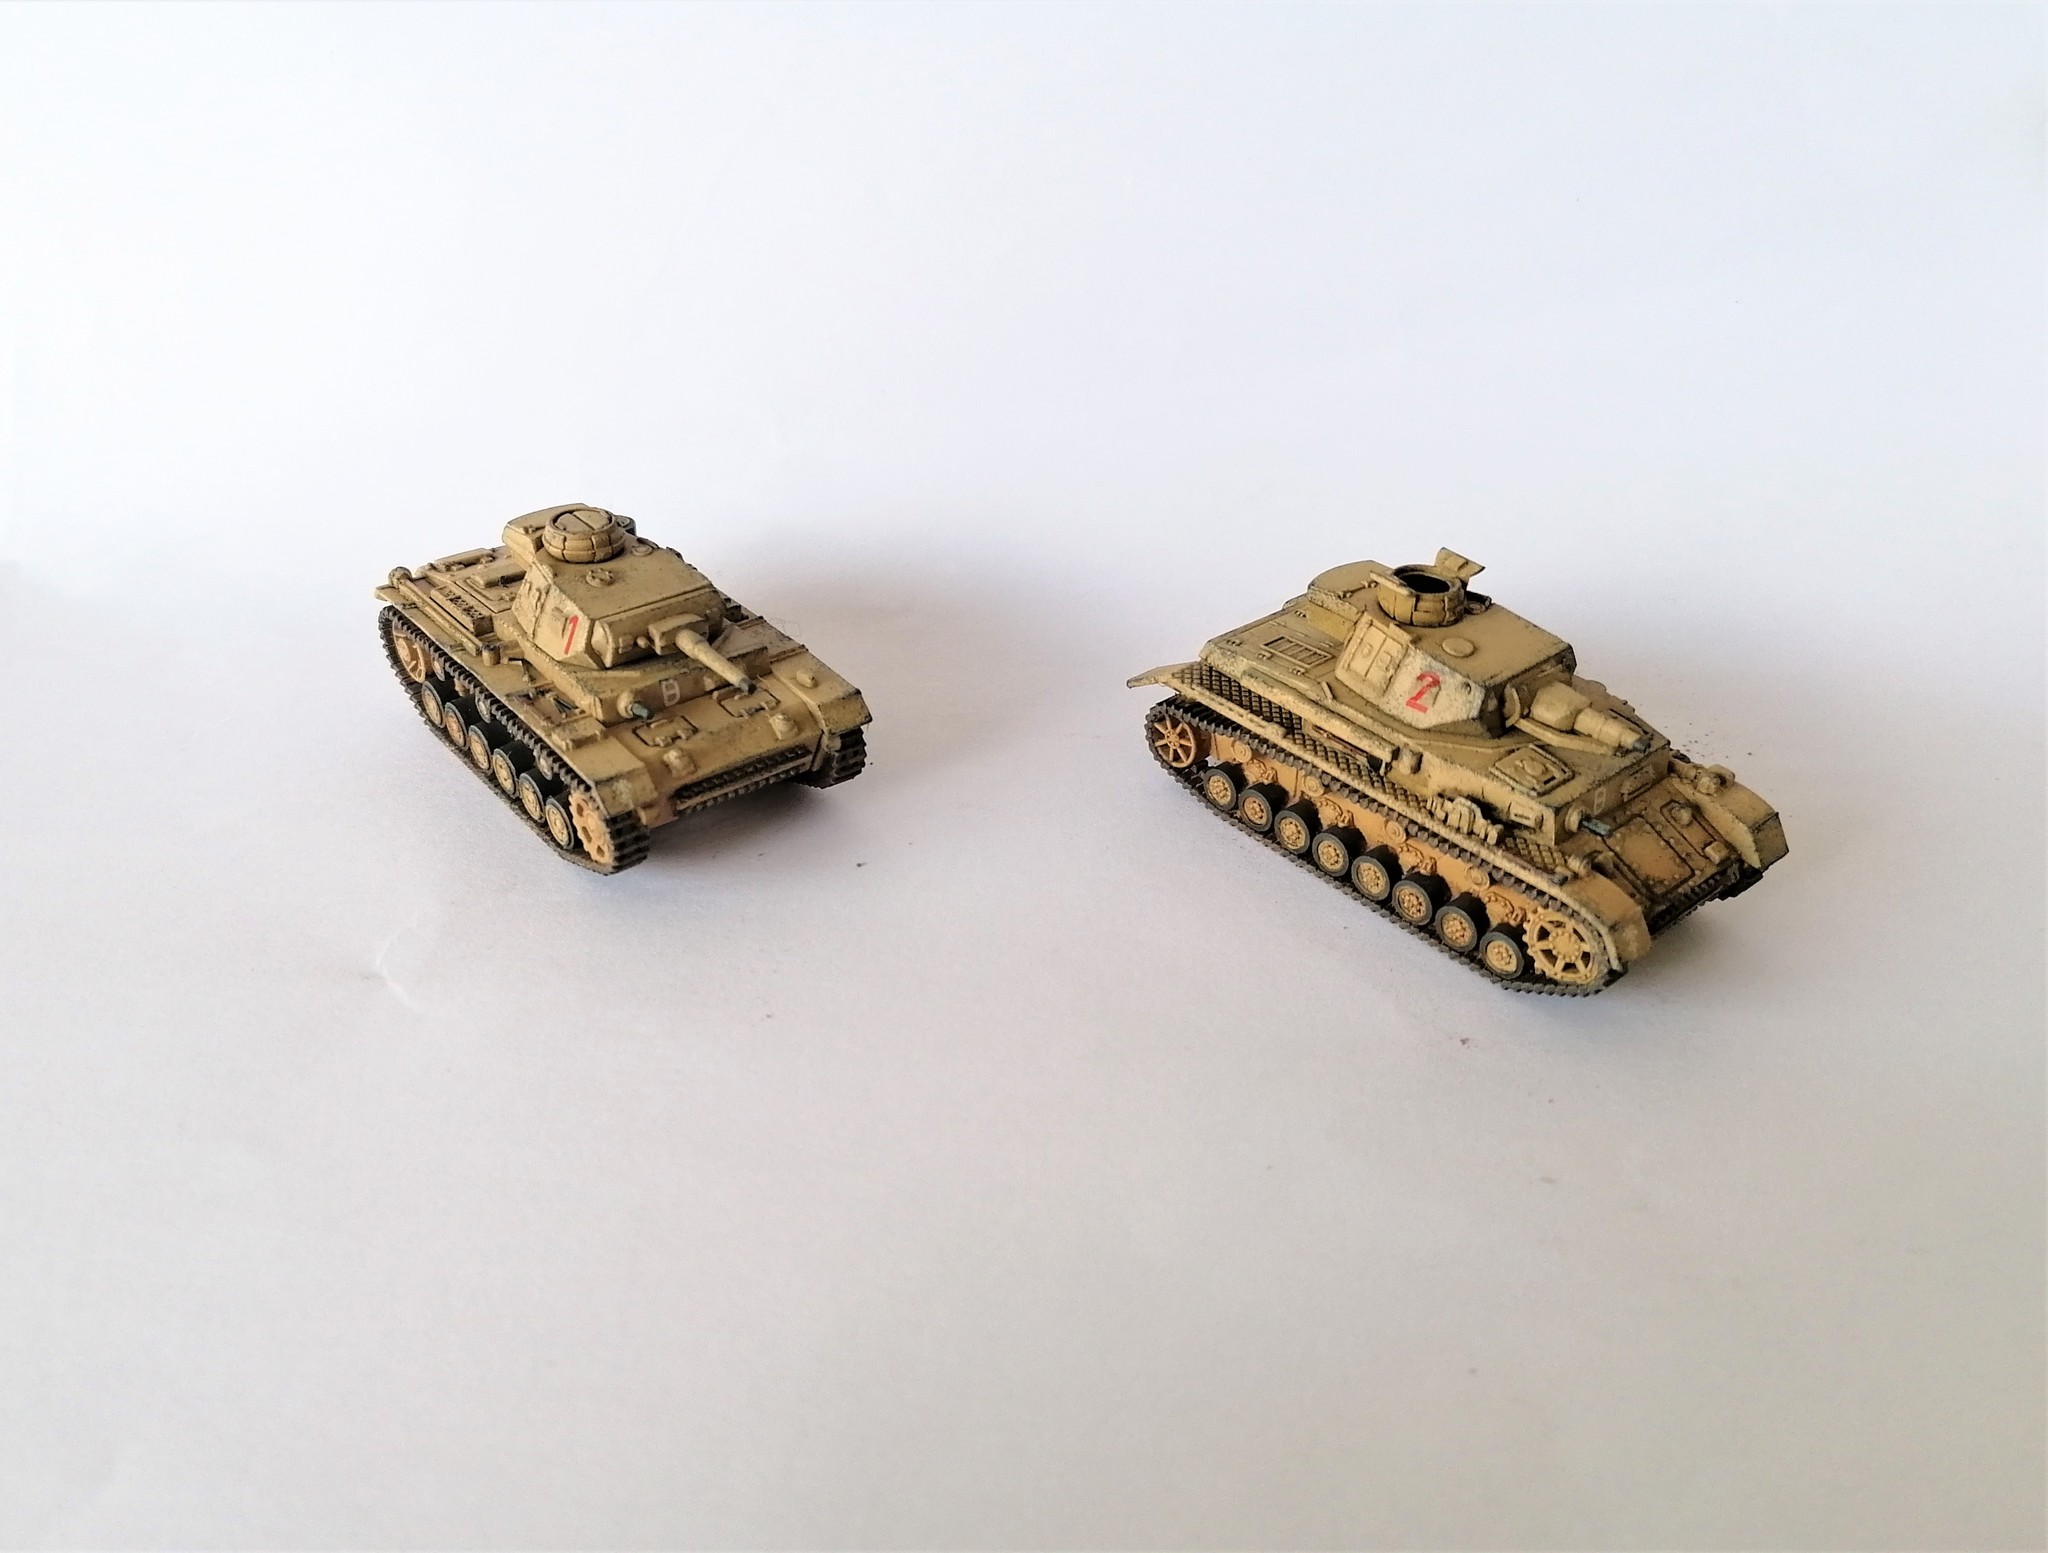
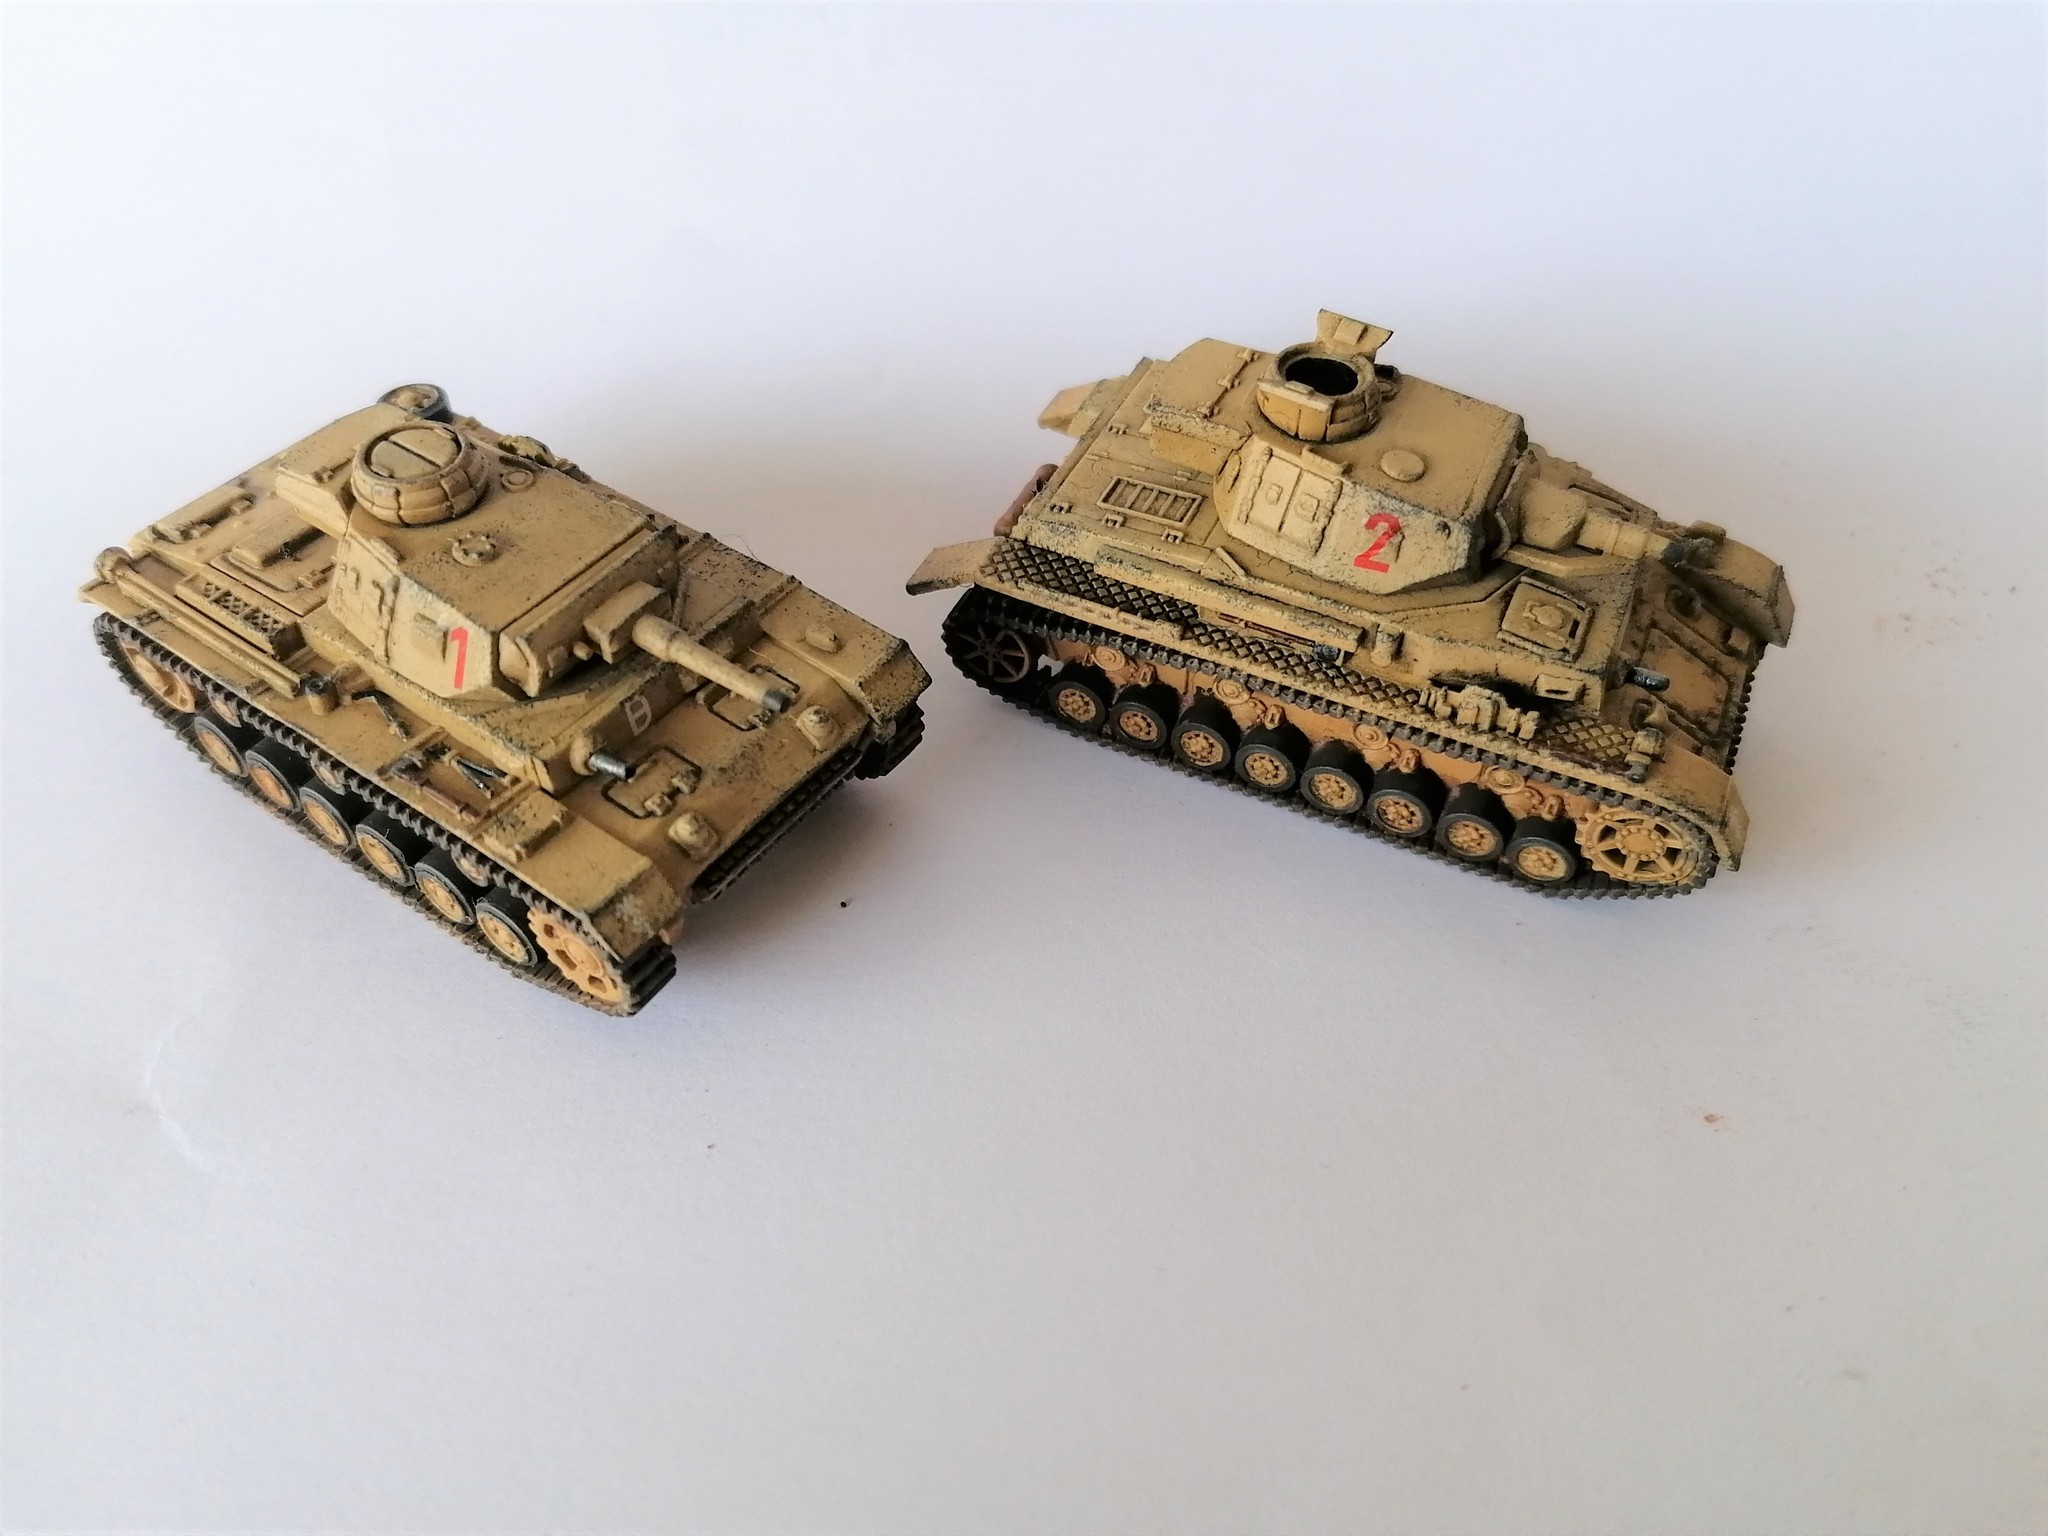
Afrika Korps Panzer III and Panzer IV
Let’s start with Rommel’s Afrika Korps. We’ve completed a guide for the two main tanks, the same methods can be applied to the 5cm guns in the Kasserine box as well.
What you’ll need:
Primer:
Vallejo Model Color Green Brown 70.879 (for airbrush) OR
Vallejo Dead Flesh Hobby Paint (spray can)
Colours:
Vallejo Model Color Iraqi Sand 70.819
Vallejo Model Color Buff 70.976
Vallejo Model Color Black 70.950
Vallejo Model Color Flat Brown 70.984
Vallejo Panzer Aces Track Primer 304
Vallejo Panzer Aces Dark Rubber 306
Vallejo Panzer Aces Light Rubber 305 (OPTIONAL, see below)
Vallejo Panzer Aces Light Rust 301 (OPTIONAL, see below)
Vallejo Panzer Aces Yellow Rust 303 (OPTIONAL, see below)
Varnishes, washes, and technical stuff!
Vallejo Matt Varnish (bottle if you have an airbrush, spray can if not)
Vallejo Gloss Varnish (bottle if you have an airbrush, spray can if not) (OPTIONAL, see below)
AK Panel liner Brown and Green (OPTIONAL, see below)
White spirit (OPTIONAL, see below)
Micro sol decal setting solution
Weathering powders (OPTIONAL, see below)
Getting started
You’ll need to have built your tanks to follow this guide, and we recommend giving them at least 24 hours for the glue to fully dry before proceeding. Note that you should paint the hull and turret of tanks separately, letting them dry apart so that the paint doesn’t stick them together.

Priming:
If you have access to an airbrush, use Model Color Green Brown from Vallejo to prime your tanks all over. Including on the tracks.
If you’re not using an airbrush, Vallejo Dead Flesh Hobby Paint is a close equivalent and is available in a spray can. If you’re new to using spray cans, hold it about 30cm from the miniature, start spraying away from the mini then draw the spray over in a quit quick burst. Do that a few times all over, leave it to dry and then see if it needs more. It’s better to apply to little and touch up later, than over apply and lose details.
If you are using a spray can, use it in a well-ventilated area, with suitable face covering and gloves. The spray will float and settle, so don’t use it anywhere where this would be a problem!
Main coat:
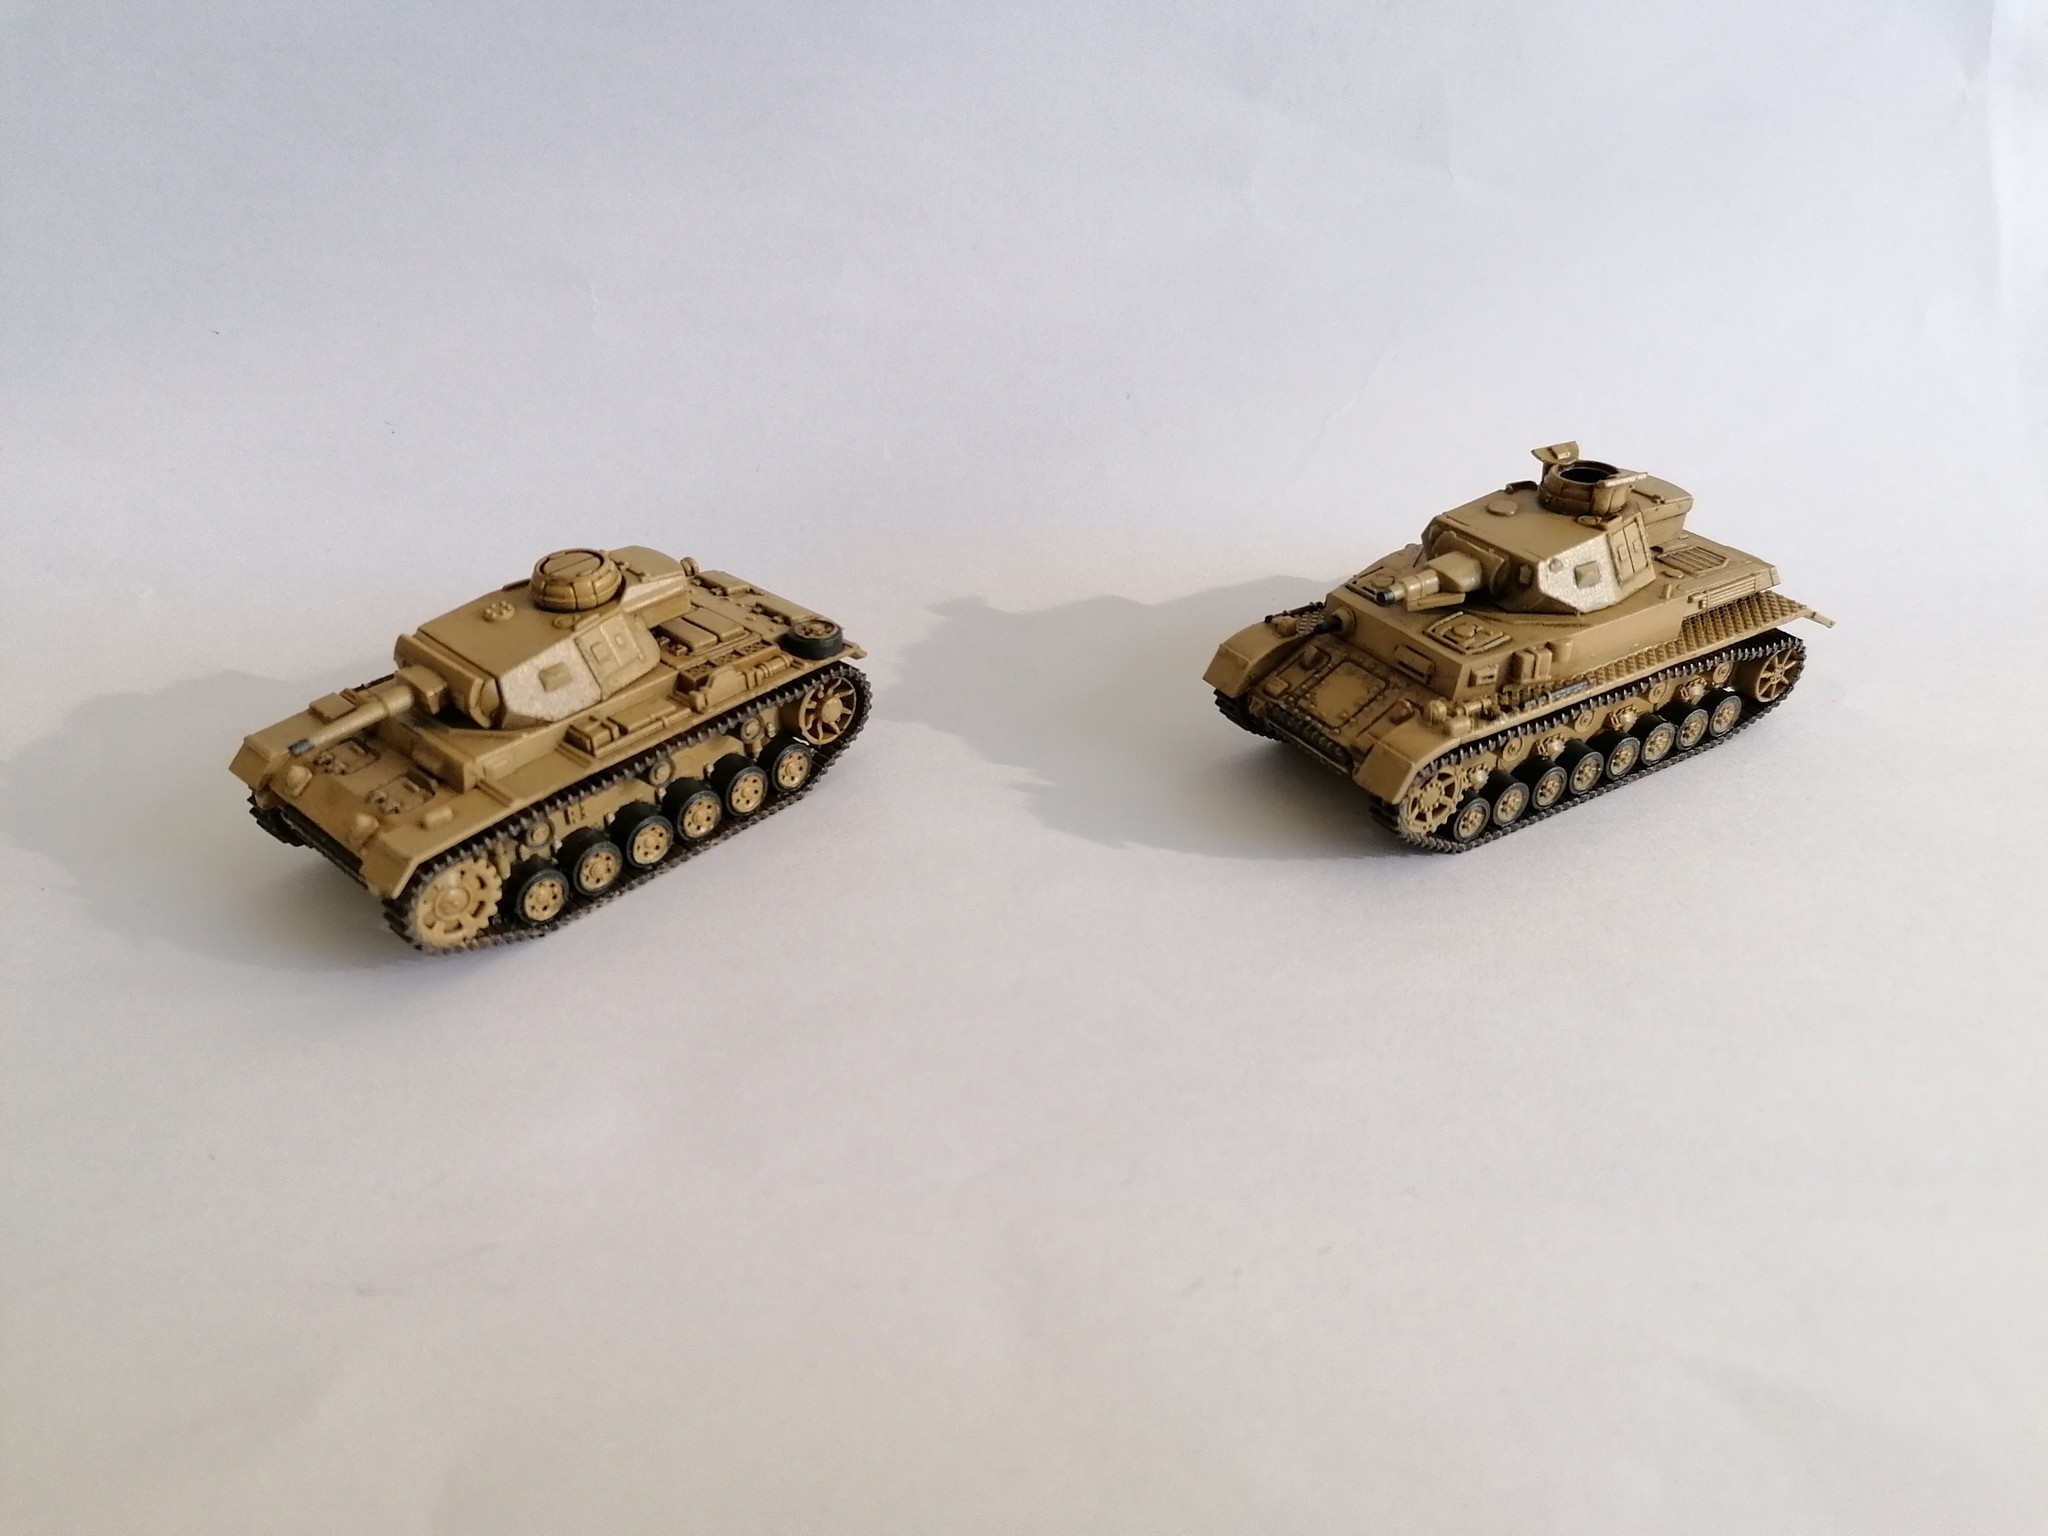
When your primer is dry, it’s time to apply Iraqi Sand as the main colour for your tanks. Ideally, spray this on with an airbrush or, if you’ve not got one, use several thin coats. If you apply one, quick heavy coat you’ll cover details on the tank.

Blocking in:
Next up, we’ll putting in the colours of areas which won’t be sand coloured. These are:
Tools, machine guns, exhaust on Panzer IV – Black
Tool handles – Flat Brown
Rubber on the outside of all tyres – Dark Rubber
Tracks – Track Primer


Gloss varnish (optional step):
A method for making the details on tanks pop is called a pin wash. That’s where we put an oil-based wash over the tank, and it moves into the recesses to give definition to each detail.
To make this work, the tank needs to be thoroughly gloss-varnished so that the wash moves over the tank correctly.
Whether you’re using a spray can or airbrush, we recommend two good coats of varnish, then leaving them to dry at least overnight before applying the wash.
Pin wash (optional step):
With the varnish dry, an oil-based pin wash is applied to specific areas of each tank. Key points include hatch recesses, corners, and panel edges. This gives each more contrast and impact.
The oil wash is left to dry for a few minutes, before any wash which has over run or is too strong is cleaned up with a cloth dipped in a little white spirit.

This should then be left to dry completely overnight before moving on to the next step.
Satin varnish:
Applying decals to a miniature is a great way of giving them life and character. But getting decals to apply well, then to blend into the miniature as if painted on can be a challenge.
The first step is to create a good, clean surface for the decal to apply to, we do this by applying a satin varnish to the whole miniature. Note, you can just apply it to the area where you plan to apply the decal, but this can lead to a different finish on different areas, so we recommend covering the whole miniature.
This step can be done with spray can or airbrush.
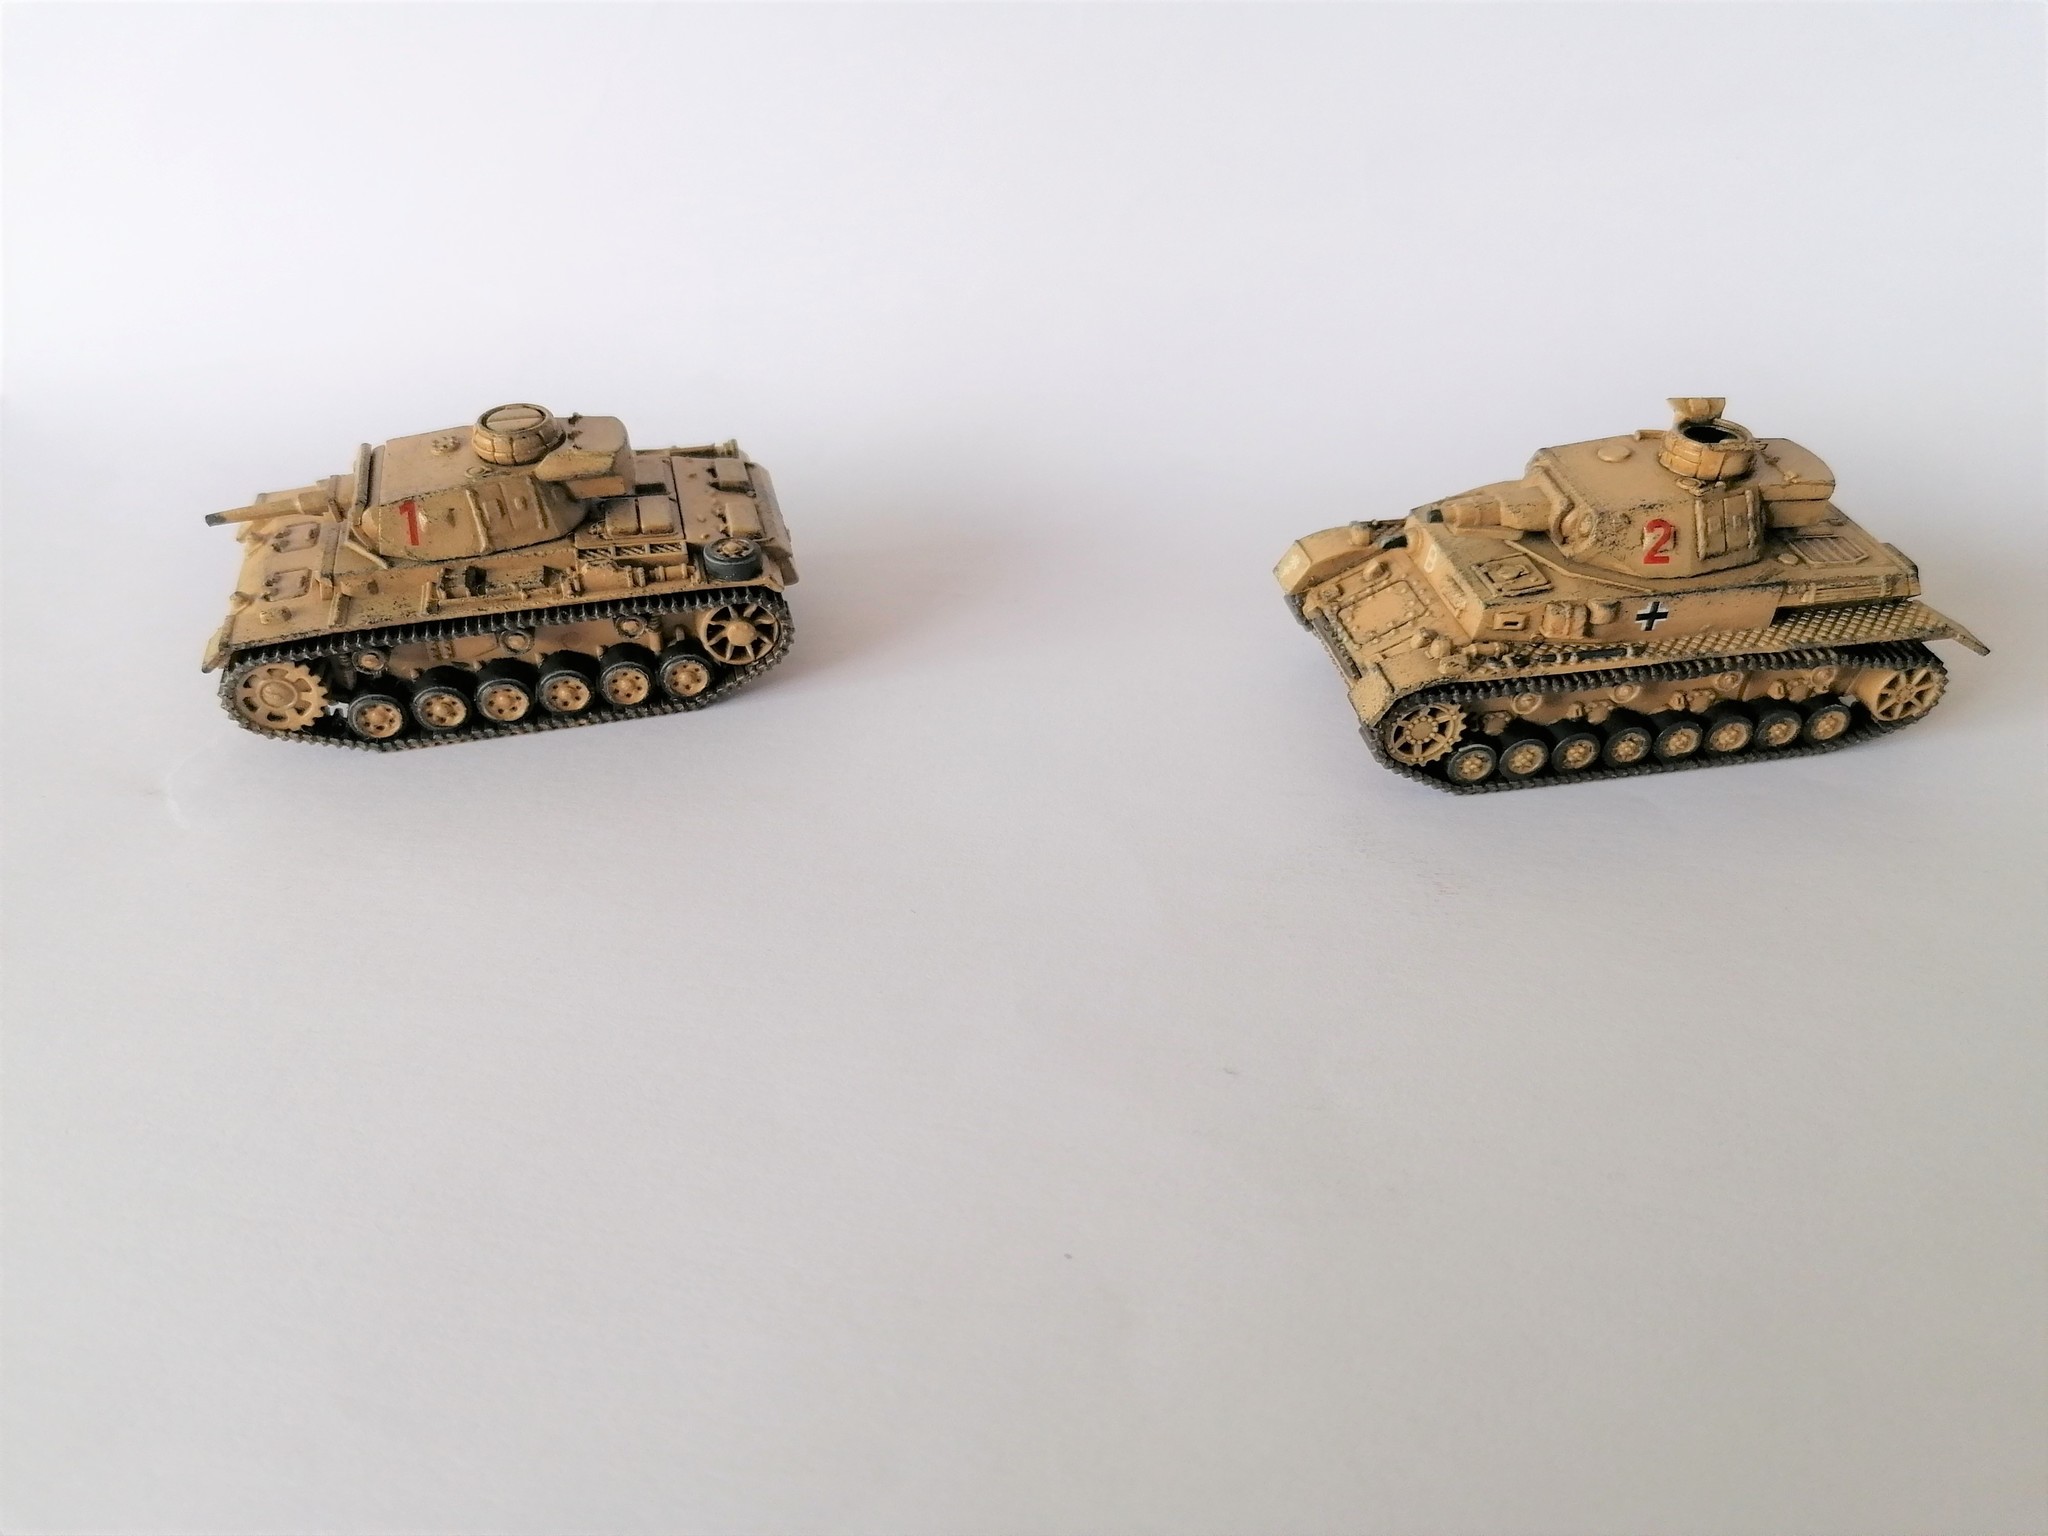
Decals:
The Kasserine box doesn’t come with decals, but these can be sourced from your favourite wargame supplier… here.
Once you have the decals, and have researched which you wish to apply where, follow the manufacturer’s guidance on correct application. However, we would also recommend using a setting and softening solution, such as Micro Sol, to get the best results. This type of product softens the decal so that it follows the surface of the miniature more accurately giving a more realistic and professional finish.
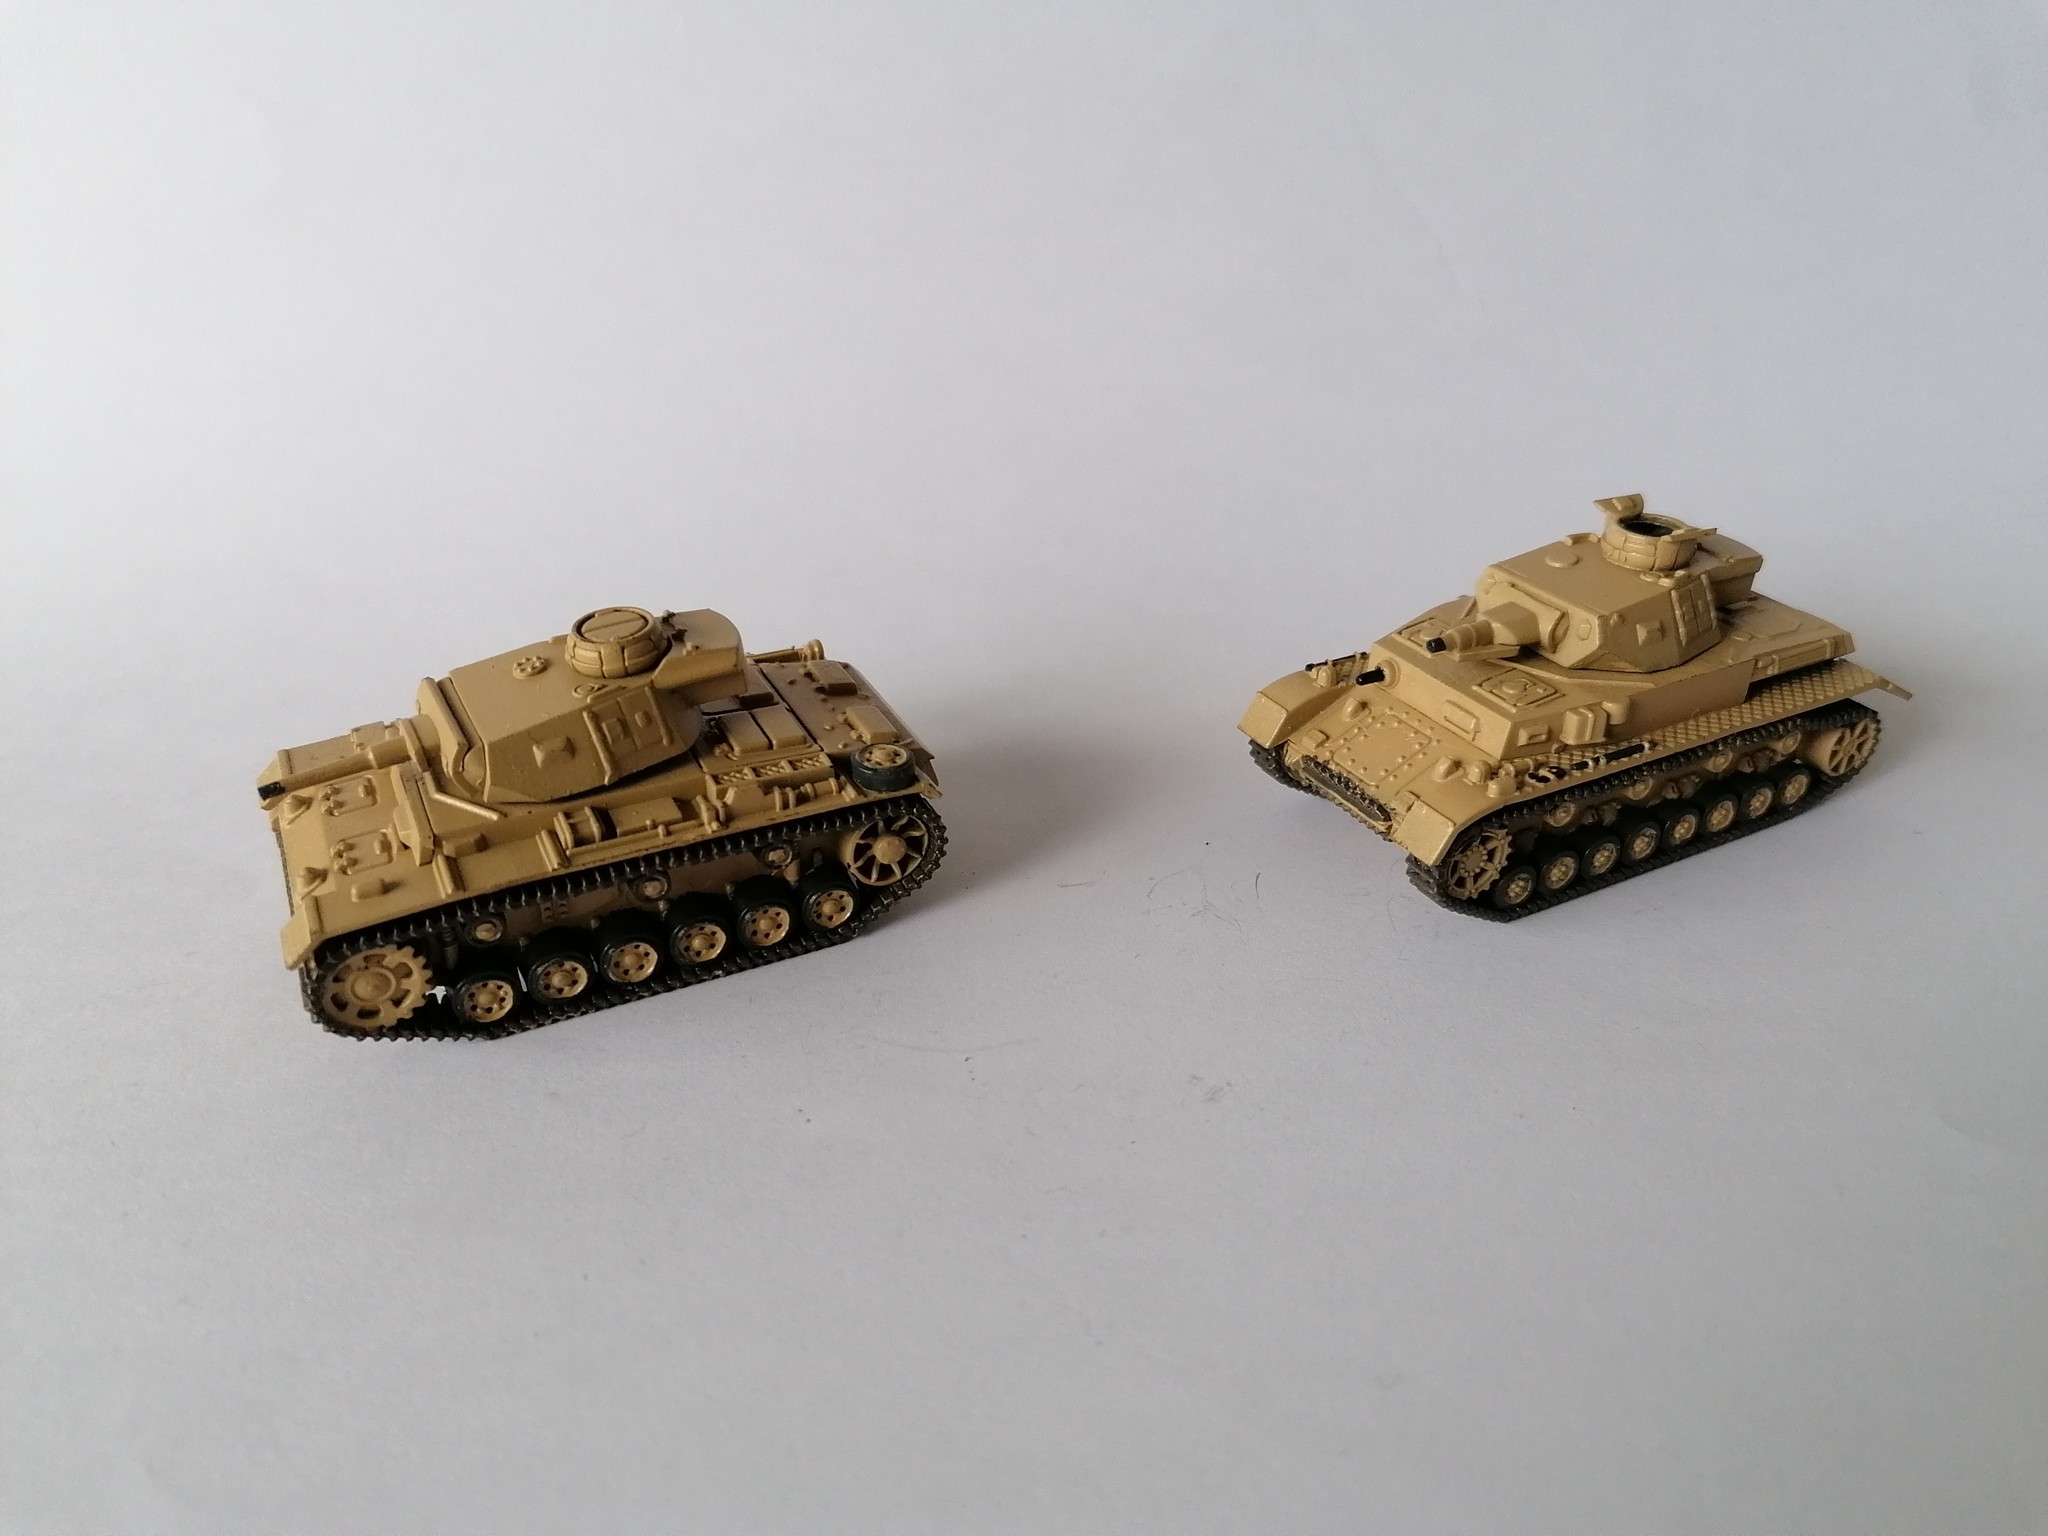
Highlights, details and weathering:
Once the decals are in place it’s time to apply highlights and details.
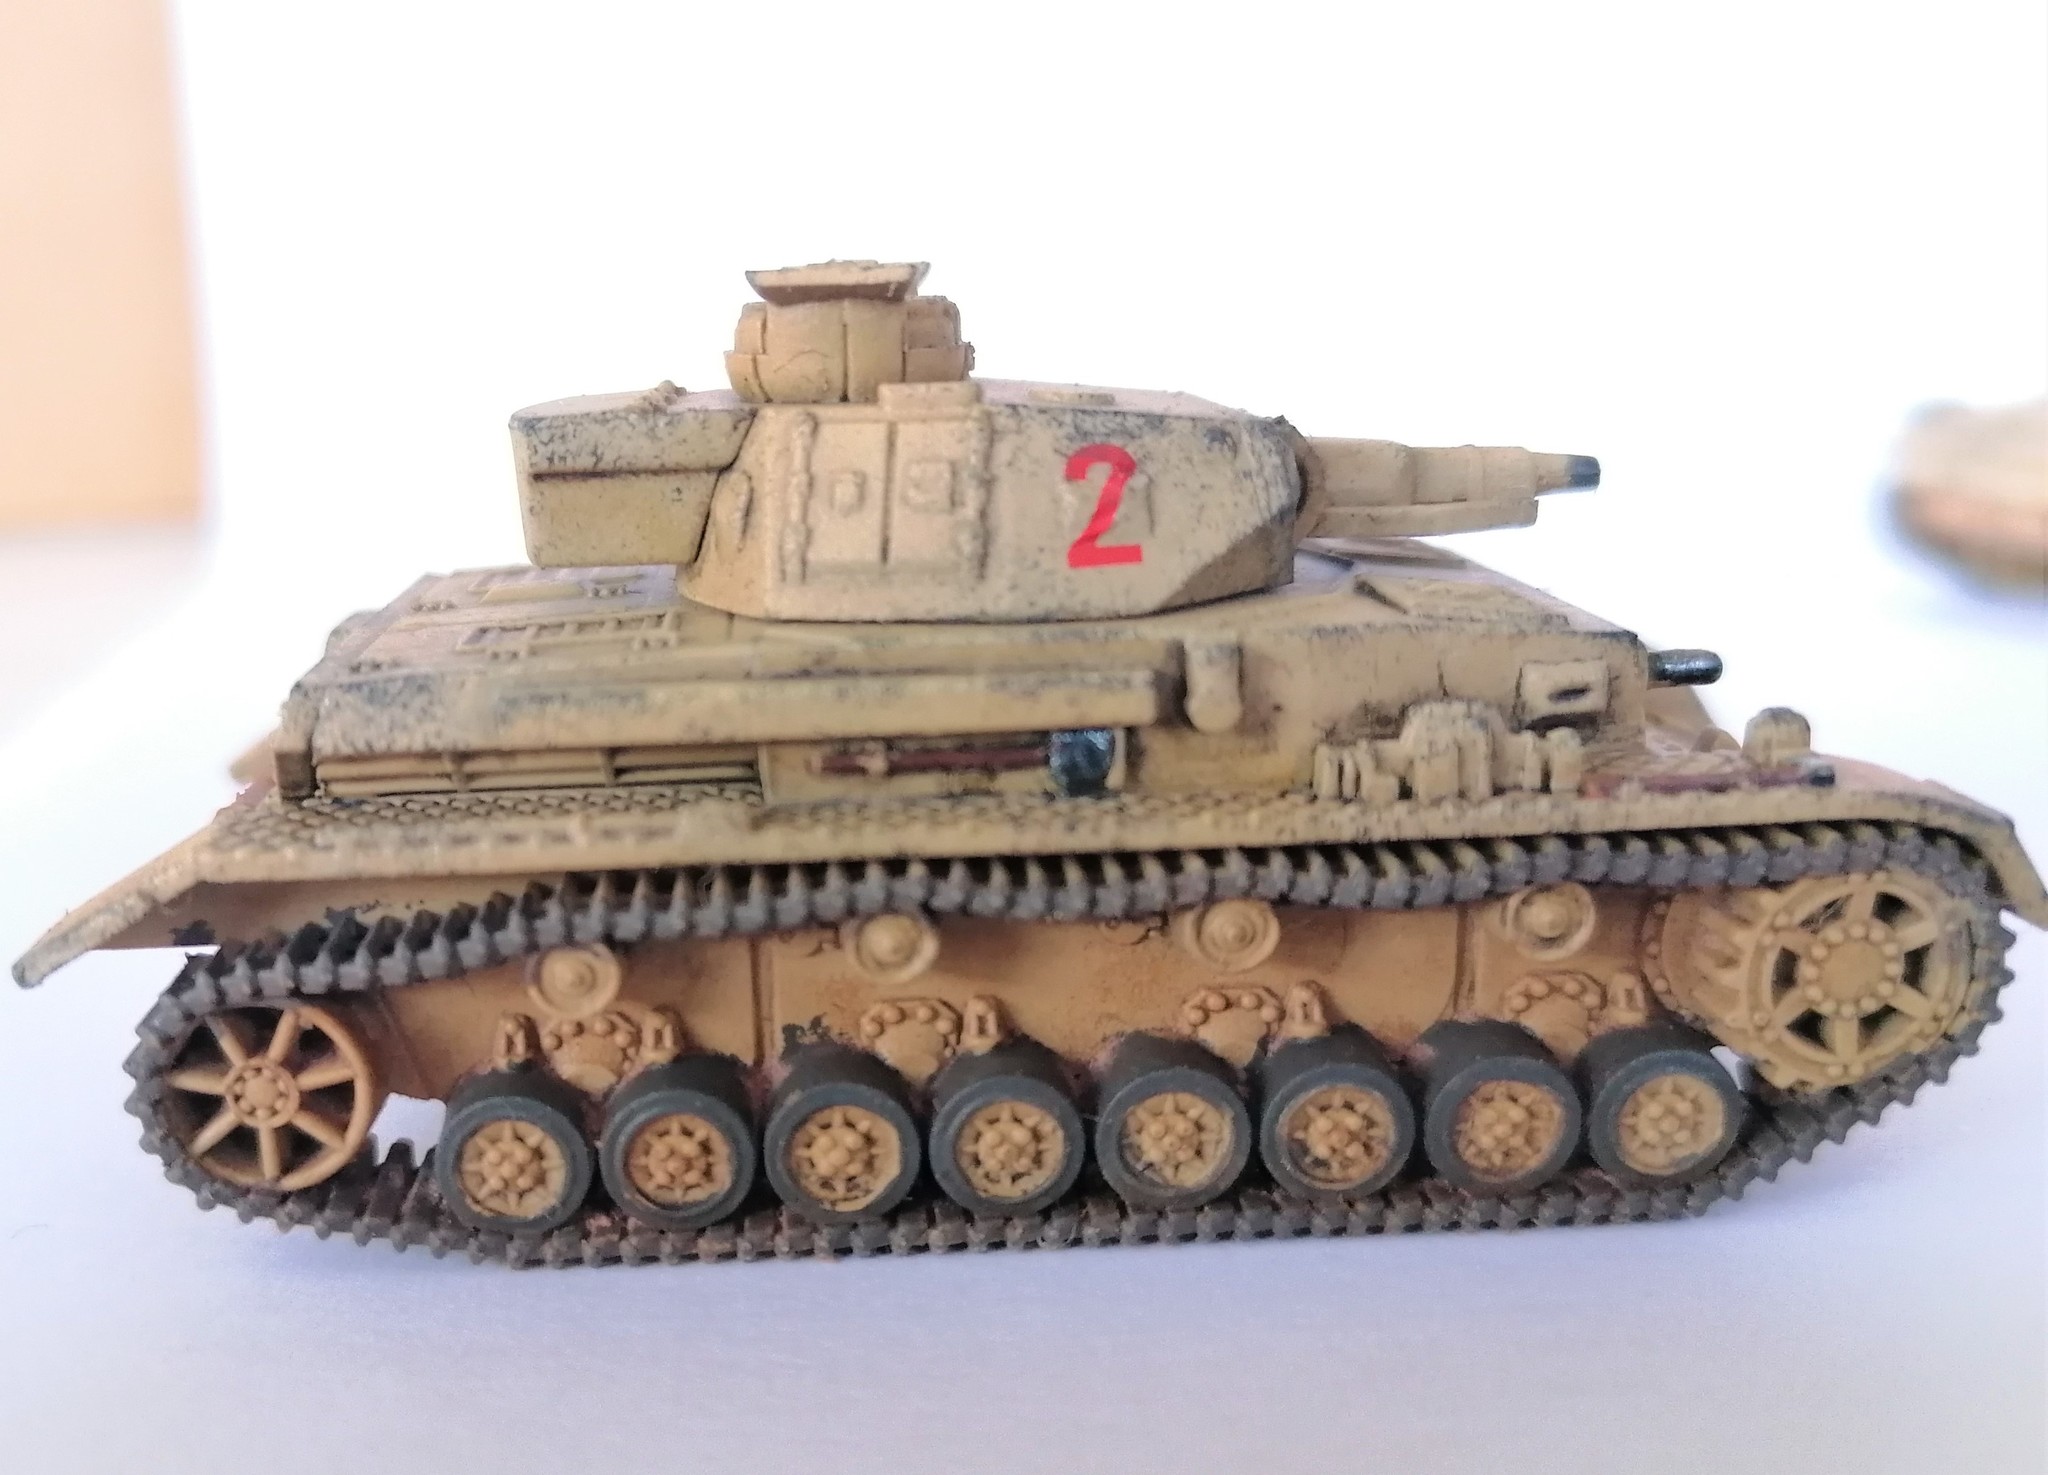
The main highlight is a drybrush or edge highlight with Vallejo Buff. This gives more contrast and detail to the edge of each panel and surface.
Next, the wood and tools get a new layer of their base coat to freshen them up and give them more impact.
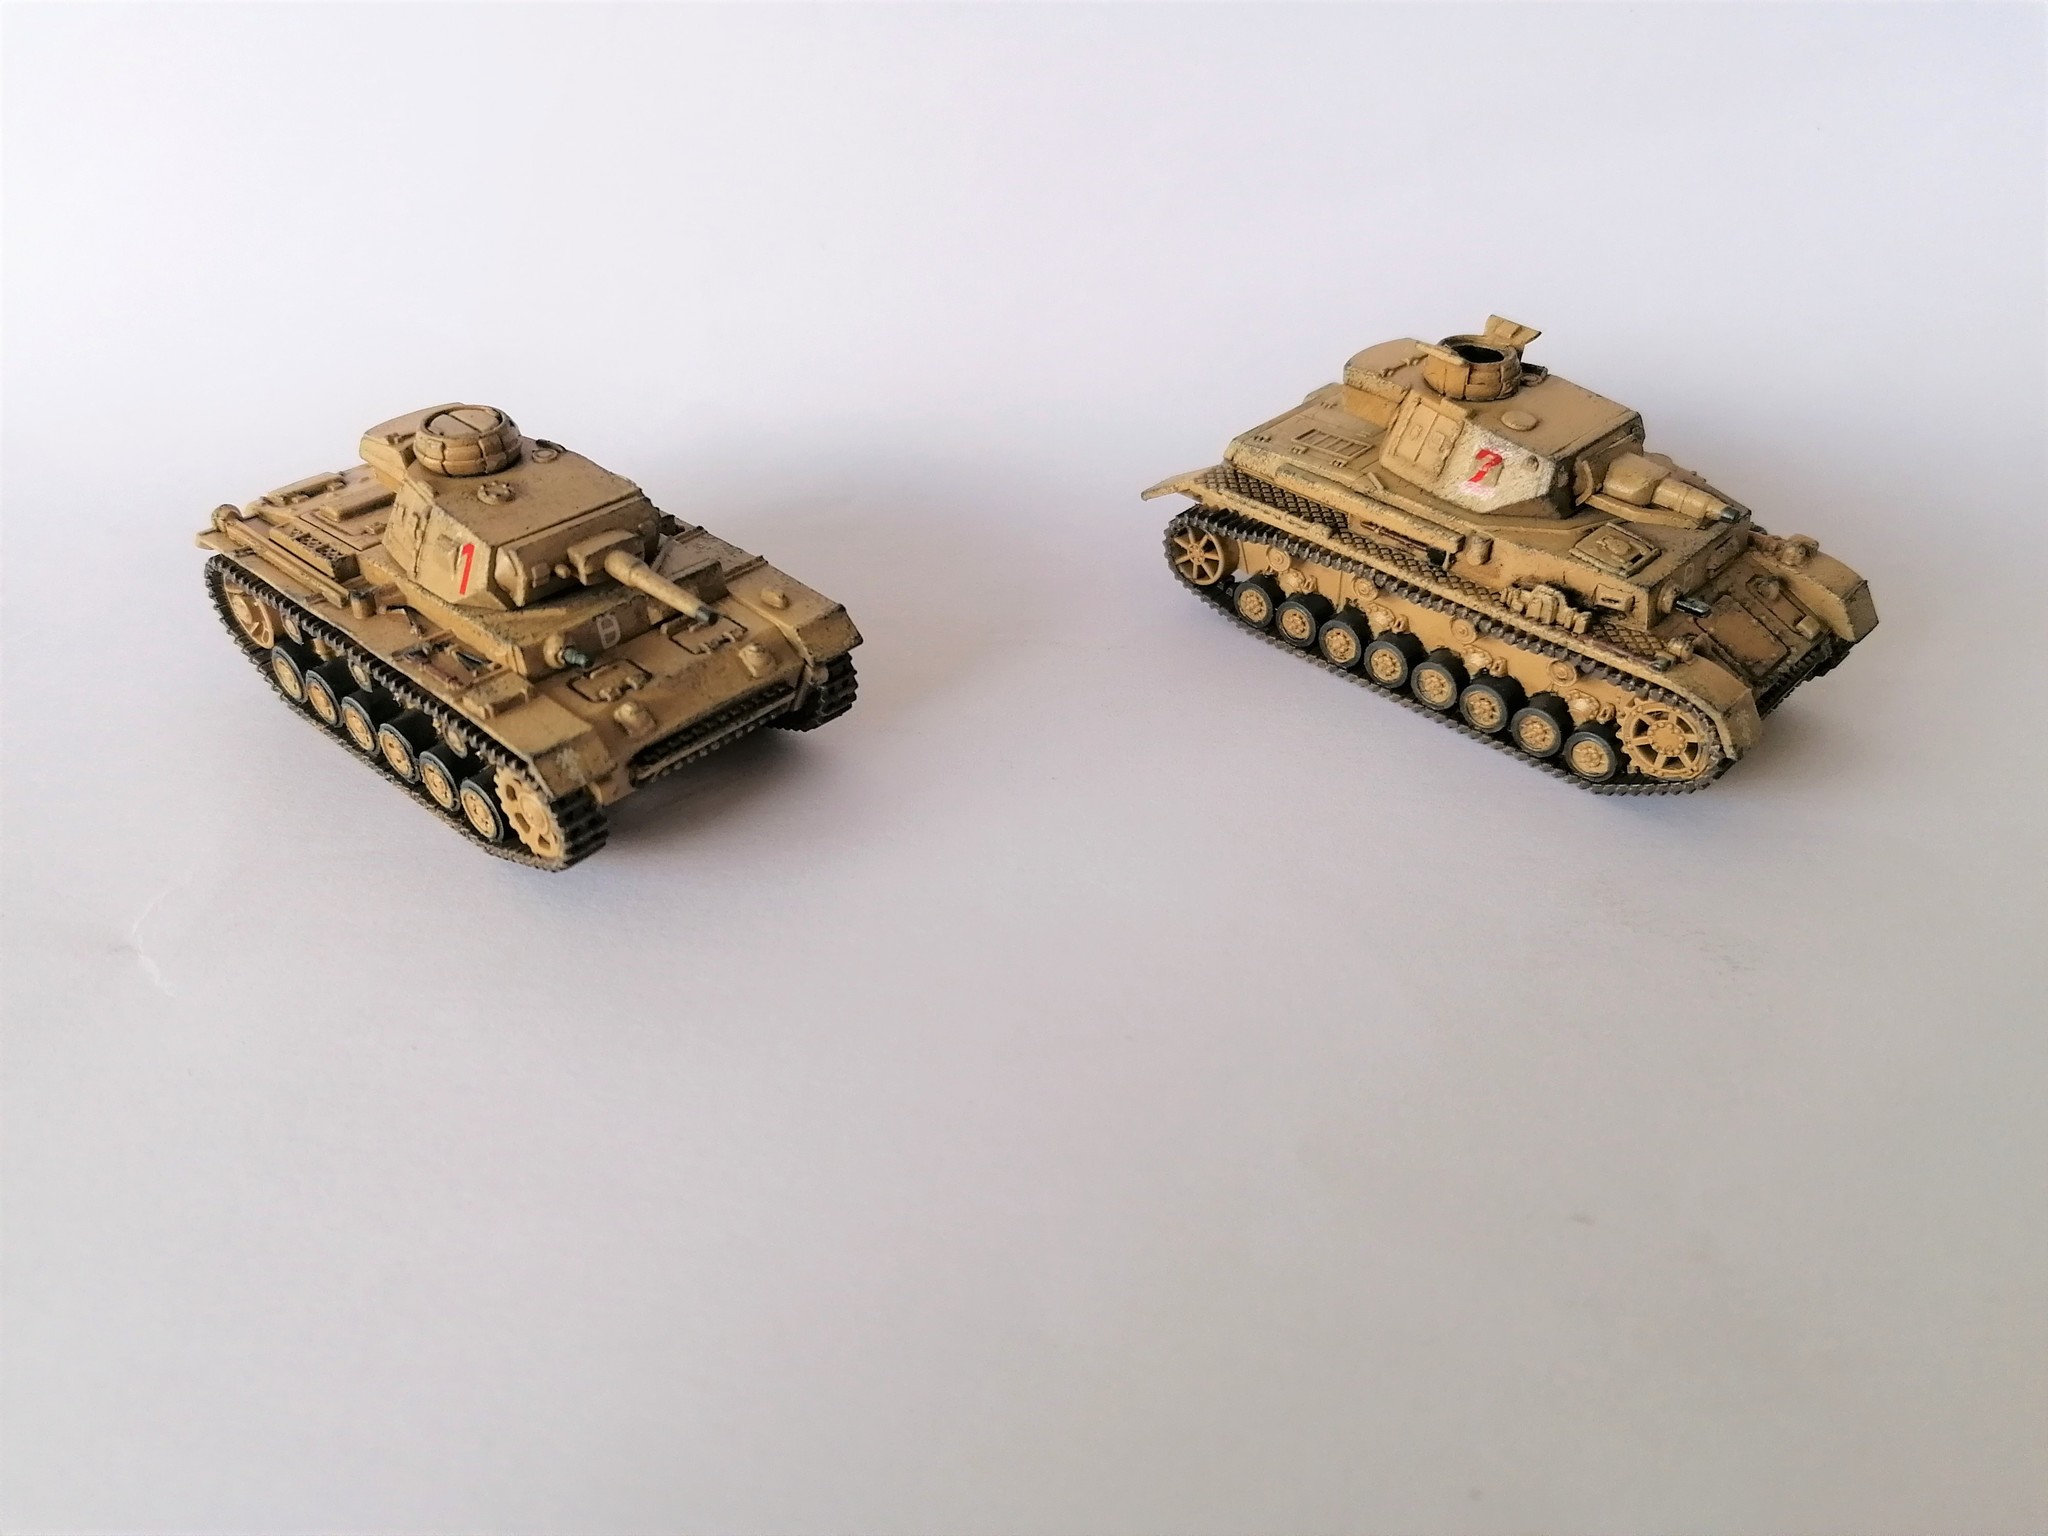
Finally, the core weathering is completed using Vallejo Black Grey and applying it, with care, to the edges of the tank and on some surfaces where hard wear would occur. This simulates paint chipping off and damage occurring over time.
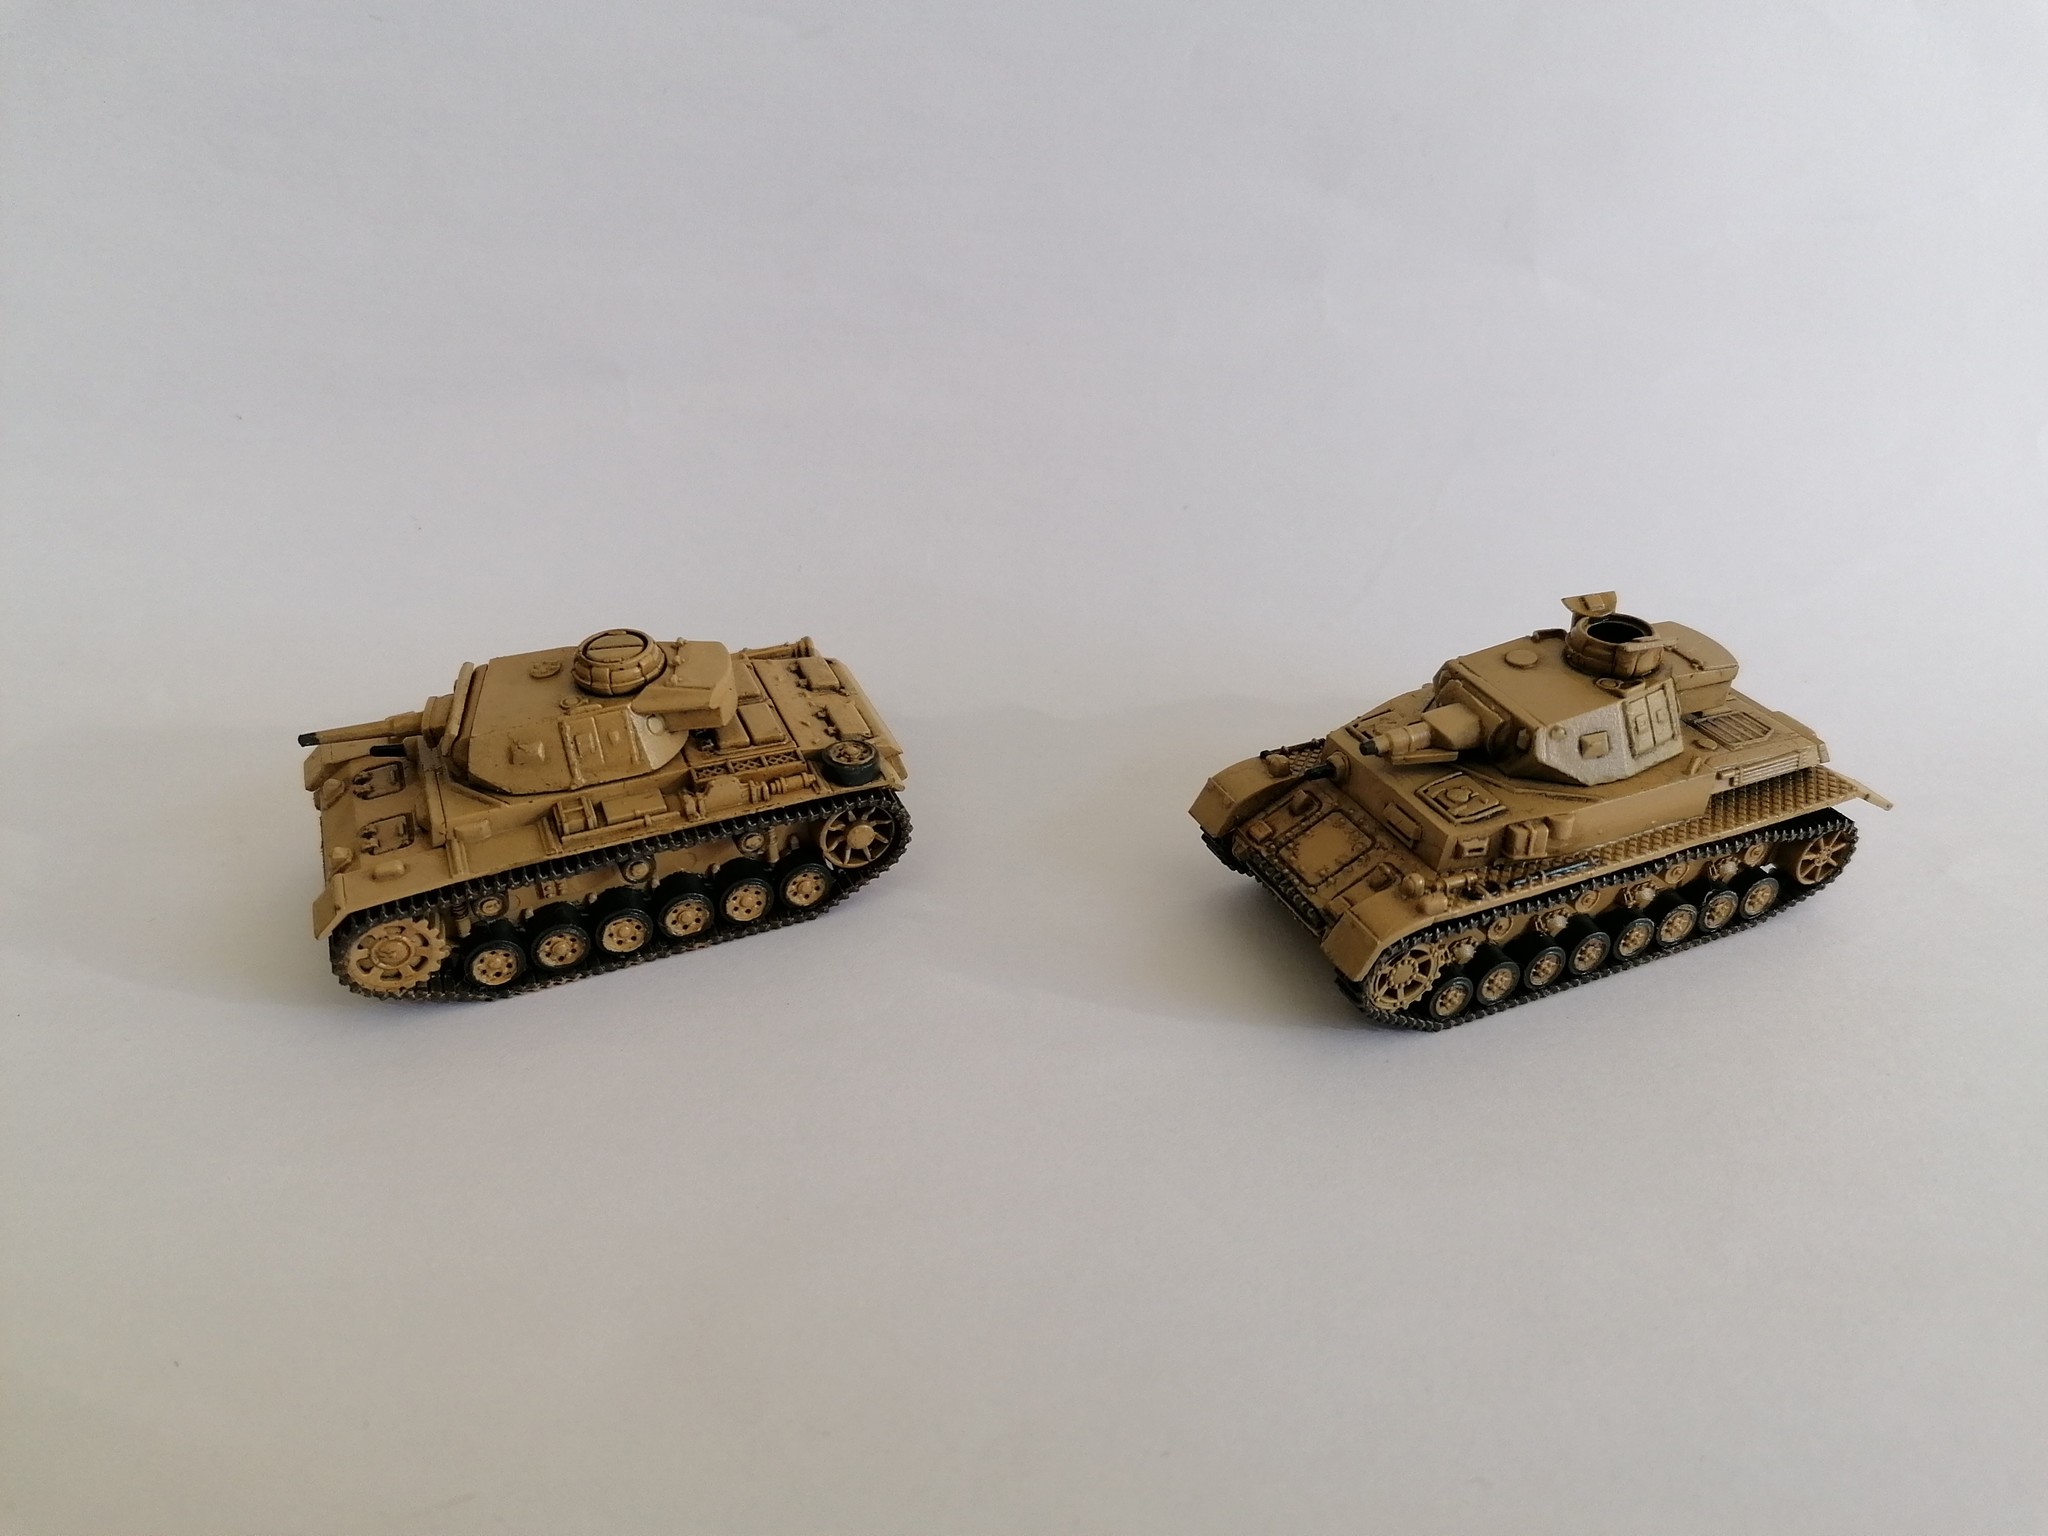
Weathering (optional):
Finally, weathering powders are applied to the underside and tracks of the tanks to represent the build up of dust over time.

Matt varnish:
Last of all, a final varnish of matt is applied to the whole miniature. This does several things; if you applied weathering powder, this fixing them in place, it provides protection for your paint work and will blend the decals in so you can no longer see that they are decals.
Metallics:
Finally, the last details are painted in with oily steel. As this is a metallic paint, we do this after the matt varnish to avoid the varnish dulling the metallic effect.
This is mostly applied to the hull mounted machine gun and various tools.
We hope that you found our how to paint Panzers guide helpful. Show us how you got on and let us know if you have any questions on our Facebook page here.
Comments
Be the first to comment...